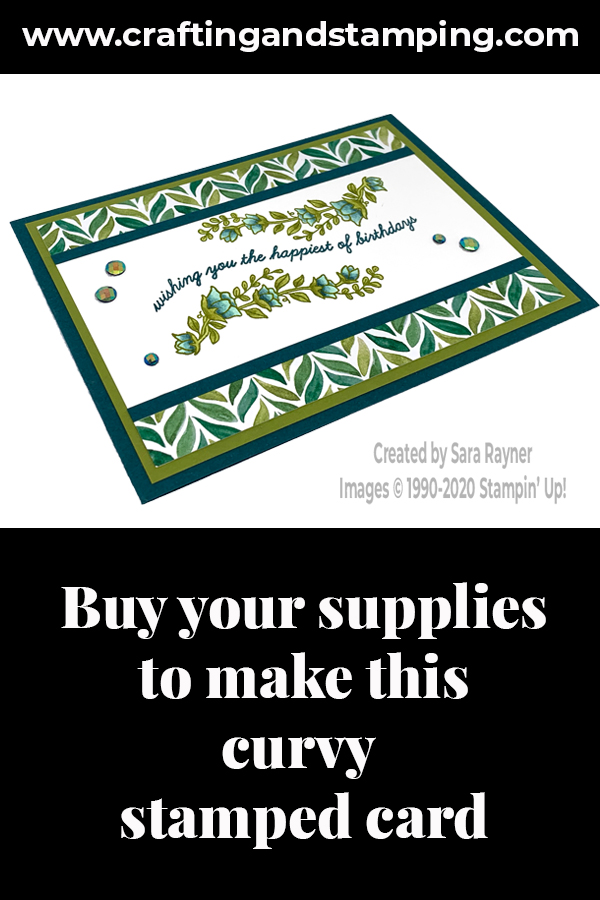
Carrying on with this week’s product pick, using the Quite Curvy bundle, I have a tutorial for a curvy stamped card. At the moment you can only buy the stamp set together with the dies (for a 10% saving) but that doesn’t mean that you have to use them together every time.
In the tutorial below, I take you step by step through creating the curvy stamped card. I also have a supply list for purchasing anything you don’t already own.
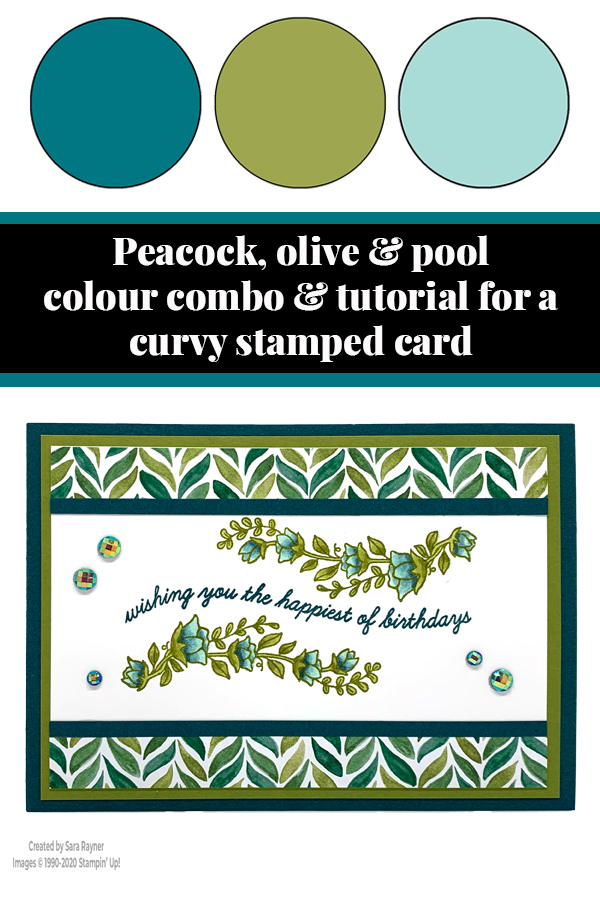
For today’s card, I’ve teamed the Quite Curvy stamp set with Forever Greenery DSP. You could use a different pattern of the same paper such as the one used on this flourishing birthday card. Alternatively, you could switch colour scheme and use Peony Garden DSP with Petal Pink and grey tones.
Colour Combo
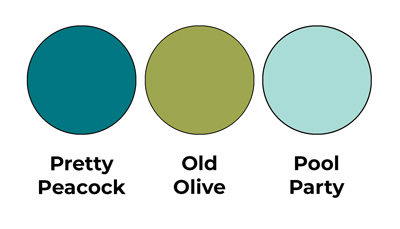
The colour combo mixes Pretty Peacock and Old Olive with just a touch of Pool Party.
Curvy stamped card tutorial
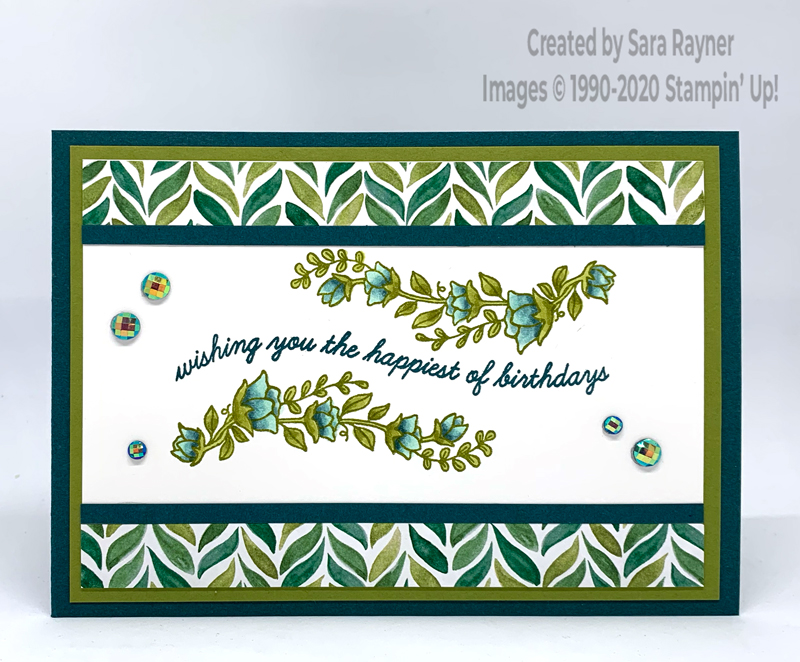
Start with an A6 landscape card of Pretty Peacock and mat with Old Olive card. Take a card front layer of Whisper White and using Pretty Peacock ink, stamp a sentiment from the Quite Curvy set across the centre. Using Old Olive ink, stamp the flower spray both above and below the sentiment. Colour with Blends. Add a narrow strip of Forever Greenery DSP to the top and bottom edges of the card layer and then add a skinny strip of Pretty Peacock card, butted up against each DSP border. Finish with some Blue Adhesive-backed Gems.
Curvy stamped card insert
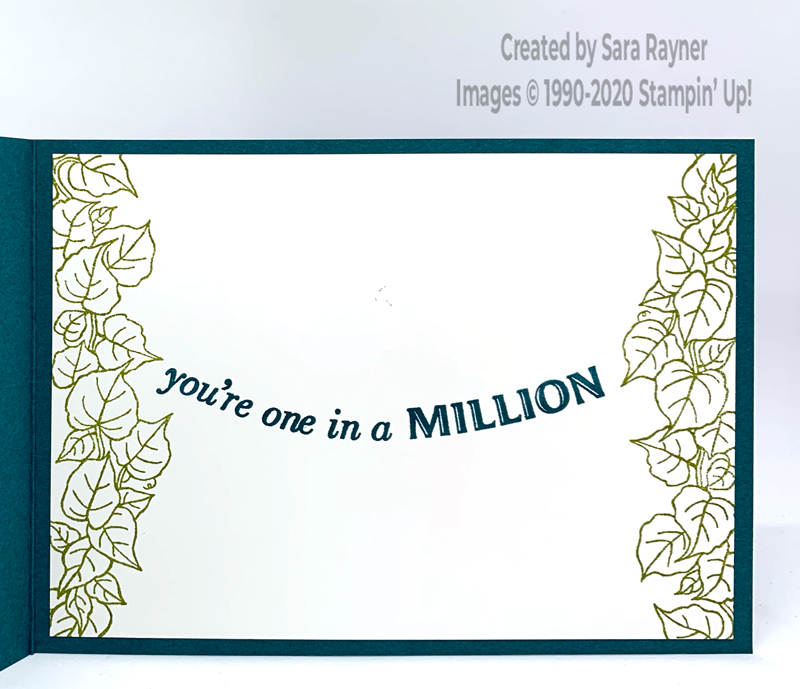
On the Whisper White insert, stamp the broad leaf border at each side using Old Olive ink. Using Pretty Peacock ink, stamp another sentiment in between them.
Thanks for stopping by.
Sara xx
You can find supplies for this Curvy stamped card in my online shop.


0 Comments