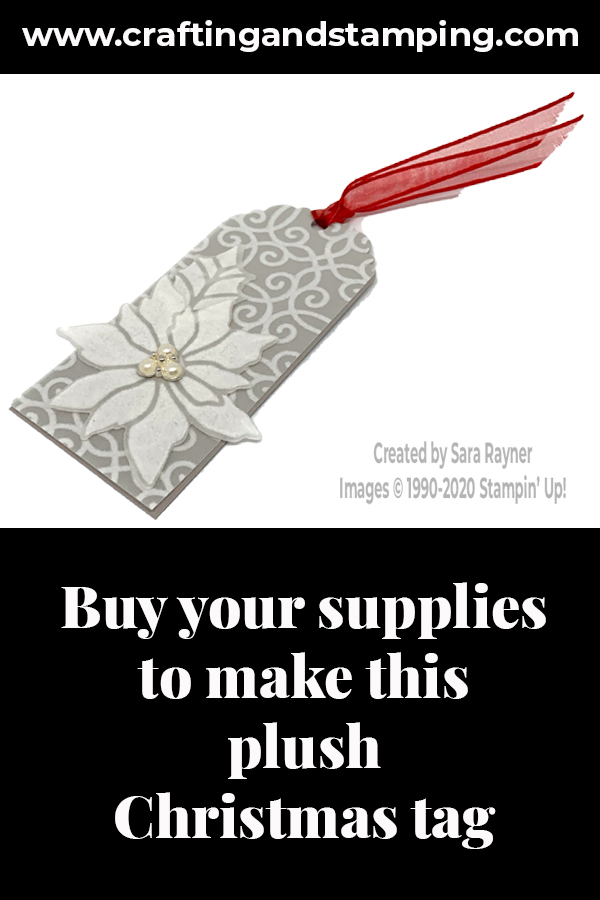
Today I have a quick tutorial for a plush Christmas tag. In the weeks before Christmas I like to add tags to my project shares. If you don’t use tags for your gift packaging, then still give the tutorial a try – they also look great popped up on a card front!
In the tutorial below, I take you step by step through creating the plush Christmas tag. I also have a supply list for purchasing anything you don’t already own.
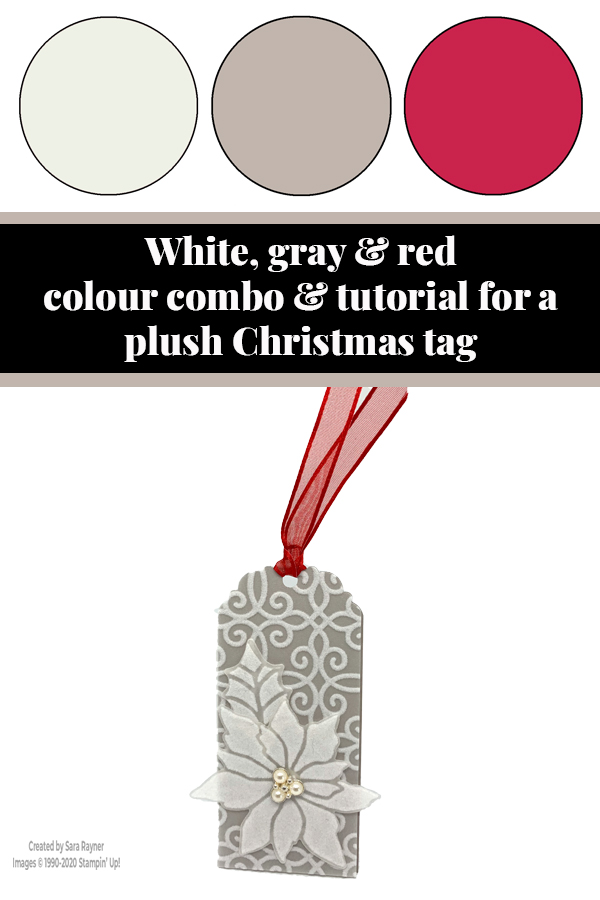
I have a confession! This tag wasn’t the original one I planned (you can see that below). I wasn’t happy with my colouring and so I decided to recreate the tag without colour.
The Plush Poinsettia Specialty Paper looks better with something darker than white behind it to help the flocking stand out. Previously I used Basic Black behind the birthday card and red velvet behind the Christmas card. This time I went with Gray Granite.
Colour Combo
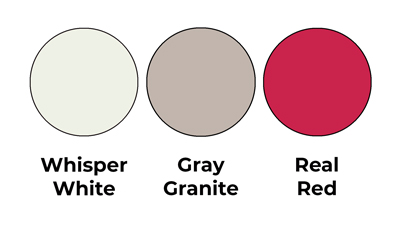
The colour combo mixes Whisper White, Gray Granite and Real Red.
Plush Christmas tag
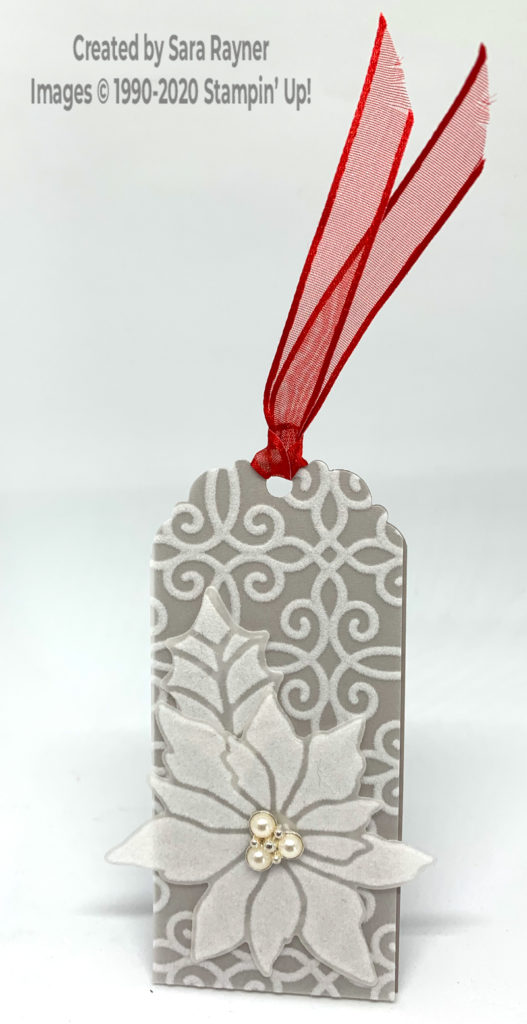
Cut a (smidge less than) 2″ wide strip of the scroll design of Plush Poinsettia Specialty Paper. Cut the same from Gray Granite card. Punch each with the Delightful Tag Topper. Die cut a poinsettia and a holly leaf from Plush Poinsettia Specialty Paper using the Poinsettia dies. Adhere the holly leaf direct behind the flower and pop them up on the tag front with a single dimensional under the centre of the flower. Cover with a Beaded Pearl.
Plush Christmas tag reverse
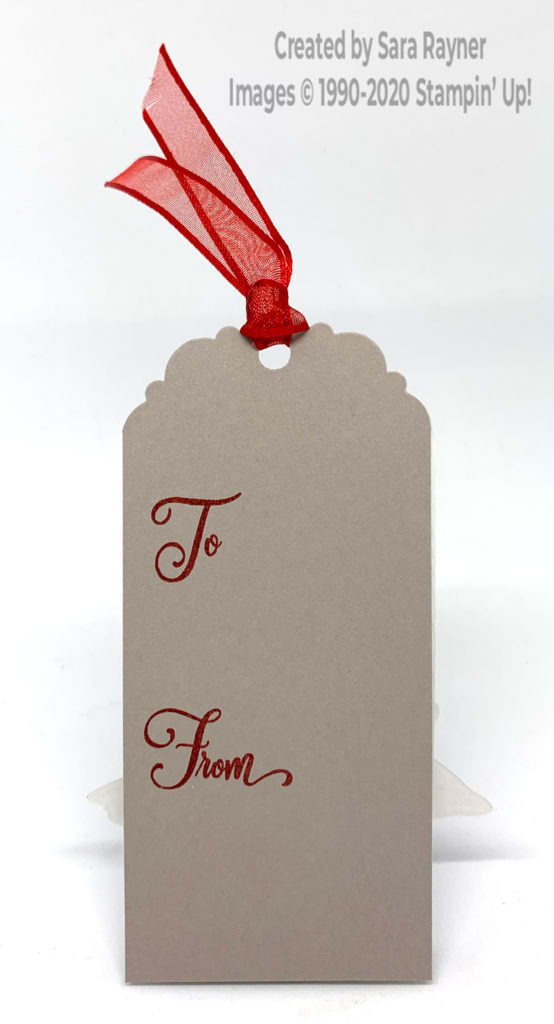
Using Real Red ink, stamp the To and From sentiments from the Tag Buffet set onto the reverse of the Gray Granite tag. Tie the tags together with Real Red Sheer Ribbon.
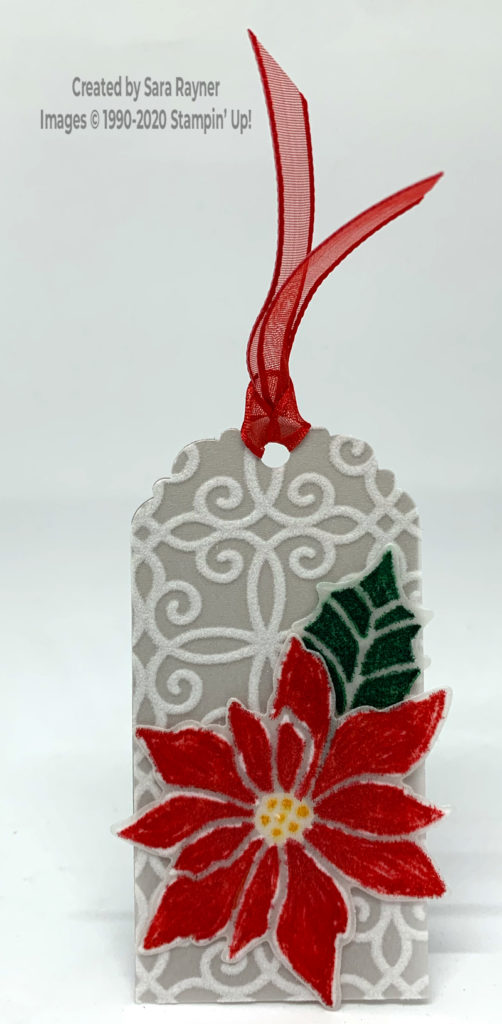
I had advised my team that we could colour the flocked vellum with Stampin’ Blends. Although I’m not an expert, my colouring usually turns out so much tidier than this. It just didn’t work for me. Maybe you can get better results 😊
Thanks for stopping by.
Sara xx
You can find supplies for this plush Christmas tag in my online shop.

0 Comments