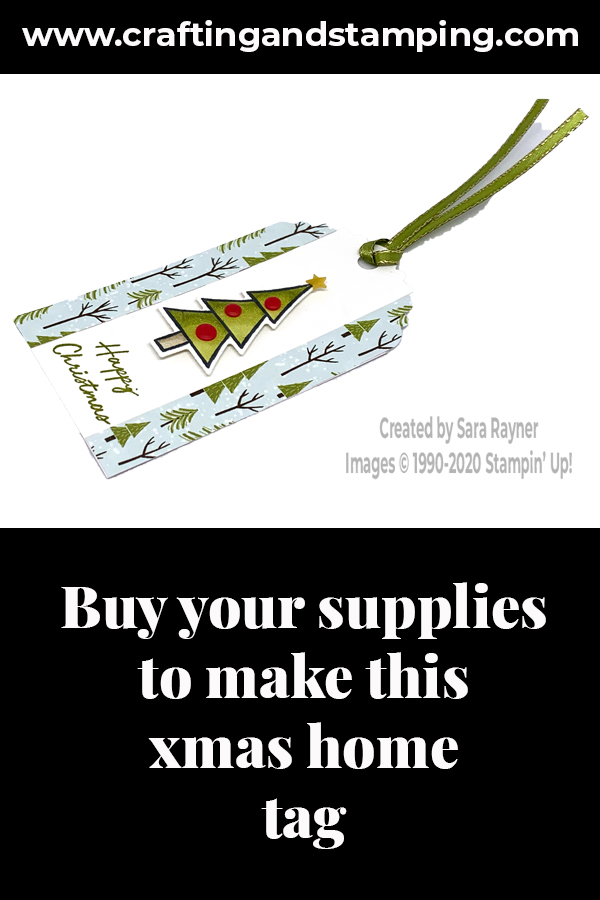
Today’s tutorial is for a Xmas Home tag. In the weeks before Christmas I like to add tags to my project shares. If you don’t use tags for your gift packaging, then still give the tutorial a try – they also look great popped up on a card front!
In the tutorial below, I take you step by step through creating the Xmas Home tag. I also have a supply list for purchasing anything you don’t already own.
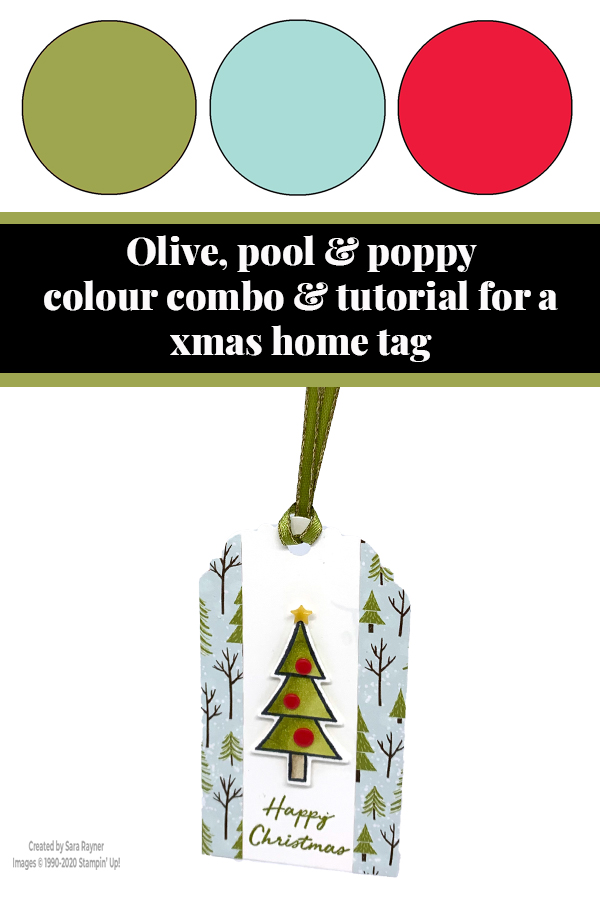
There are two sizes of little trees in the Coming Home set. This is the larger one. I used the smaller one on my Coming Home Christmas card.
One of the things I love about this suite is that for every purchase of either the stamp set alone, or the bundle, Stampin’ Up! will make a donation to charities devoted to adoption, foster care, and infertility ❤️
Colour Combo
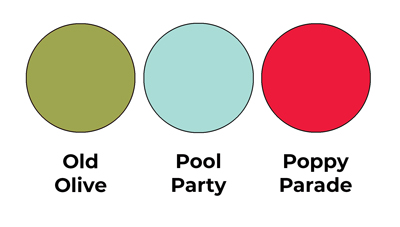
The colour combo mixes Old Olive, Pool Party and Poppy Parade.
Xmas Home tag tutorial
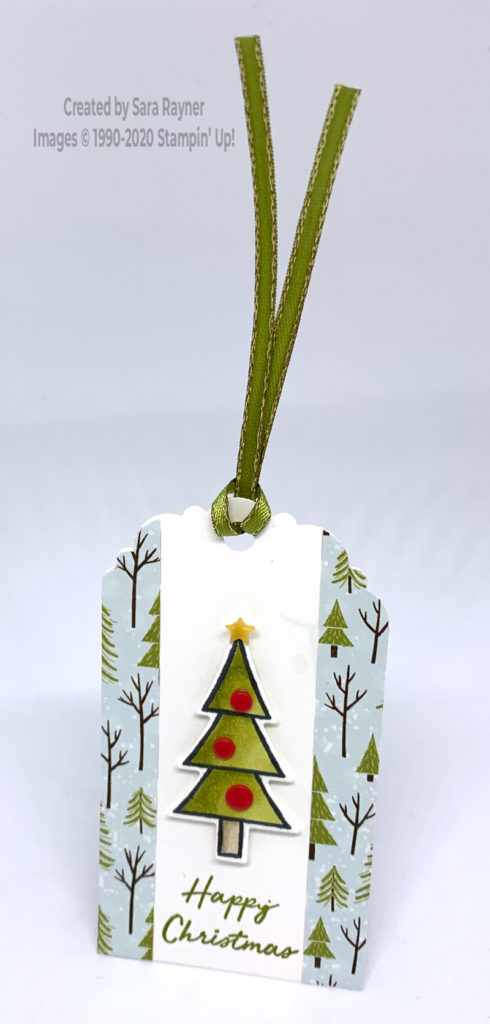
Cut a (smidge less than) 2″ wide strip (x 3-3/4″ long) of the tree design of Trimming the Town DSP. Cut the same from Whisper White card. Punch each with the Delightful Tag Topper. Cut a central 1″ strip from the centre of the DSP tag and adhere the outer strips direct to the Whisper White tag. Using Old Olive ink, stamp the sentiment from the Warm Hugs set in the bottom centre of the tag front. Using Black Memento ink, stamp the large tree from the Coming Home set onto a scrap of Whisper White. Colour with Blends and die cut out with the matching Home Together dies. Pop the tree up on the tag front with mini dimensionals. Decorate your tree with All the Trimmings Embellishments.
Xmas Home tag reverse
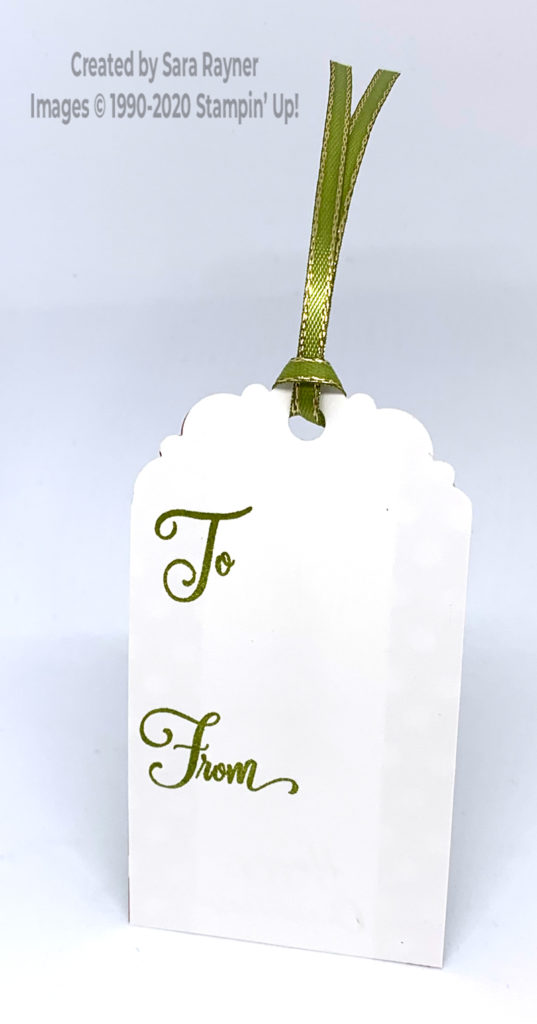
Using Old Olive ink, stamp the To and From sentiments from the Tag Buffet set onto the reverse of the tag. Tie the top of the tag with Old Olive ribbon from the All the Trimmings Ribbon Combo Pack.
Thanks for stopping by.
Sara xx
You can find supplies for this Xmas Home tag in my online shop.


0 Comments