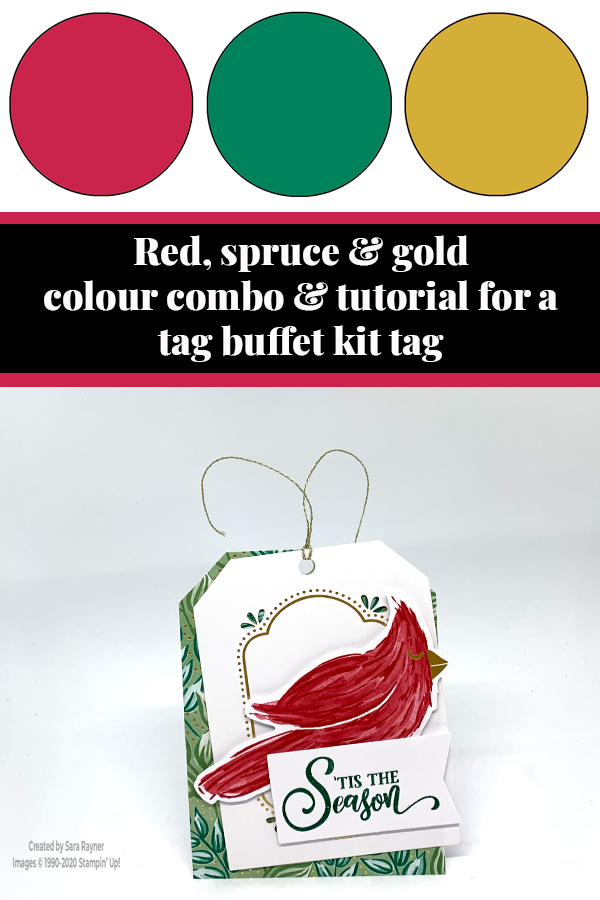
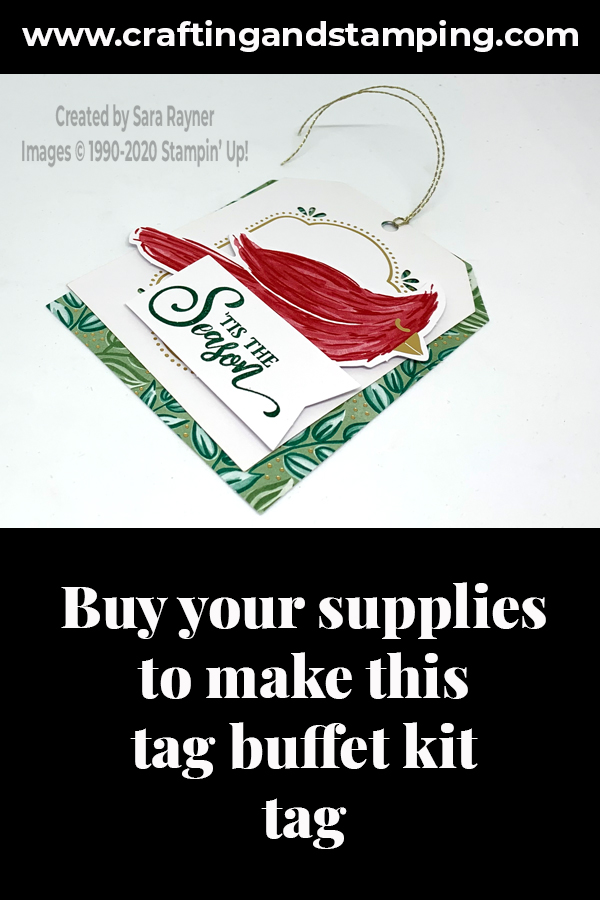
Today’s tutorial is for a Tag Buffet project kit tag. Each week over on my Facebook page (please pop over and Like or Follow) I choose a product pick of the week to feature. This week it’s the Tag Buffet project kit and I’ll have a selection of tutorials (both tag and non-tag) for you that use it.
In the tutorial below, I take you step by step through creating the Tag Buffet kit tag. I also have a supply list for purchasing anything you don’t already own.
I very nearly overlooked this kit. You may have seen from recent tutorials that I create plenty of Christmas tags on the run up to the season. So I didn’t think I needed the kit. But thanks to one of my lovely Paper Dolls team members (thanks Jean) who created a beautiful swap card with the kit for one of our monthly team meetings, I decided that I had to have it!
Today’s project uses the kit, plus the co-ordinating stamp set and one ink pad, to create a simple tag, pretty much in line with the instructions. It may be the only time that I do 😂
Colour Combo
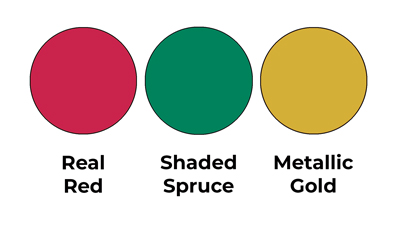
The colour combo mixes Real Red, Shaded Spruce and Metallic Gold.
Tag Buffet project tag tutorial
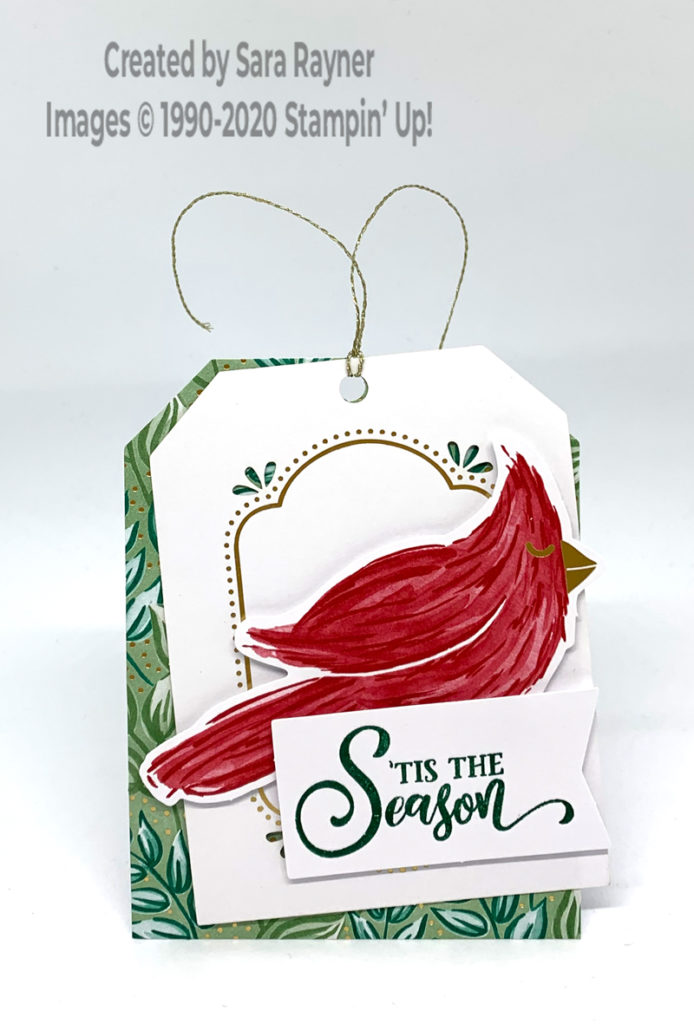
Press out the cardinal (red bird) from the die cut pieces and pop up over a white and gold tag using dimensionals. Using Shaded Spruce ink, stamp a sentiment from the Tag Buffet stamp set onto one of the small banners. Once dry, press out the sentiment and pop up over the cardinal. Add these layers over the top of one of the gold foiled leaf tags.
Tag Buffet project tag reverse
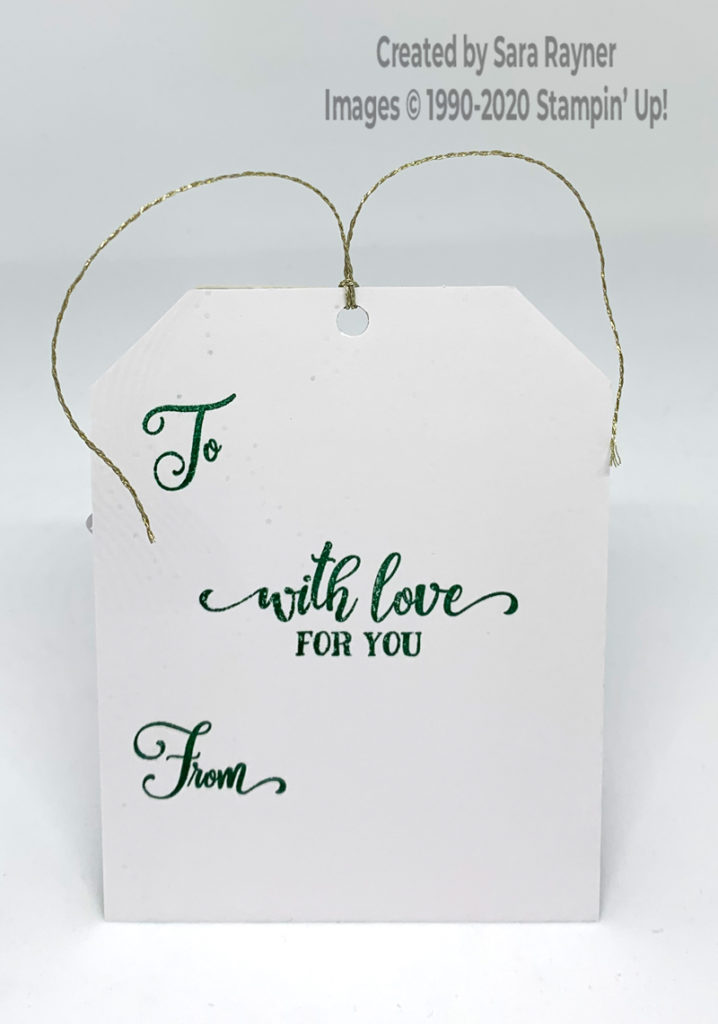
Using Shaded Spruce ink, stamp the To and From sentiments from the Tag Buffet set onto the reverse of the foiled tag with space between. Use the same ink to stamp another sentiment in between. Tie the top of the tag with Metallic Gold thread from the project kit.
Thanks for stopping by.
Sara xx
You can find supplies for this Tag Buffet kit tag in my online shop.



0 Comments
Trackbacks/Pingbacks