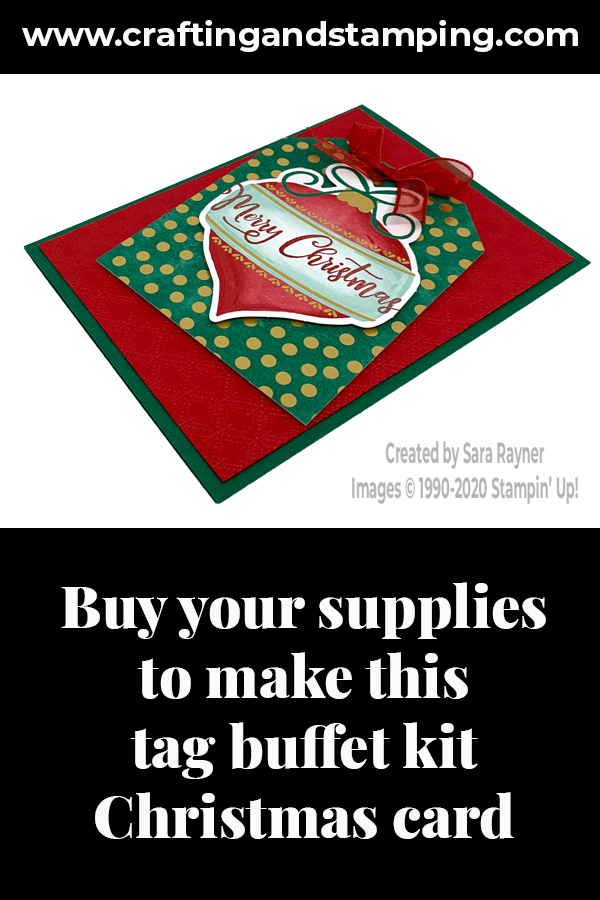
Today I’m sharing a tutorial for a Tag Buffet Christmas card. The Tag Buffet project kit is extremely versatile and you can use it for so much more than tags.
In the tutorial below, I take you step by step through creating the Tag Buffet Christmas card. I also have a supply list for purchasing anything you don’t already own.
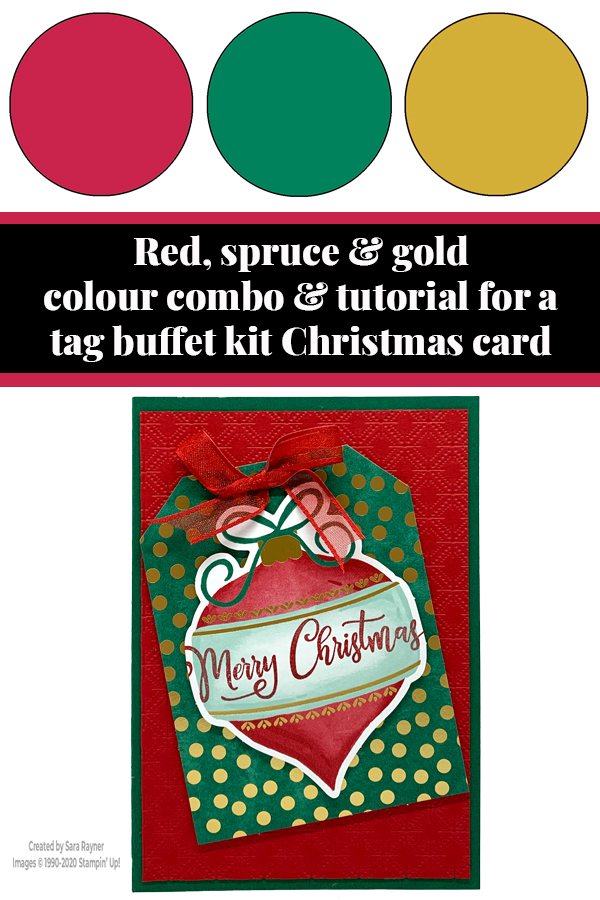
The background to this card is embossed but if you’re a beginner crafter then you could use a plain card layer. Or you could use the stamp set and Real Red ink to create a tone on tone background that will add interest without drawing the eye from the bauble.
Colour Combo
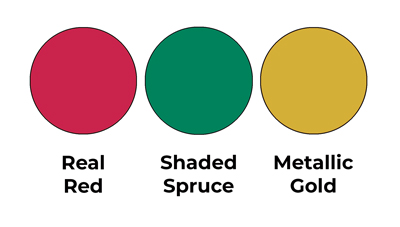
The colour combo is the same one that we used for the basic tag and it mixes Real Red, Shaded Spruce and Metallic Gold.
Tag Buffet Christmas card tutorial
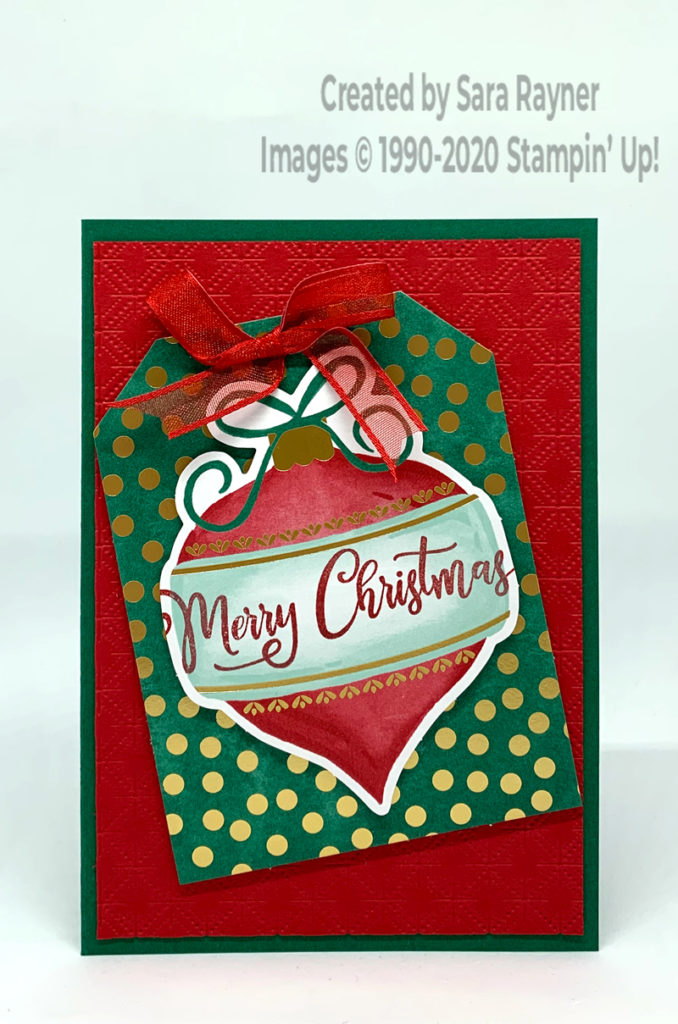
Start with an A6 portrait card of Shaded Spruce. Using Real Red ink, stamp a sentiment from the Tag Buffet stamp set across the bauble from the Tag Buffet project kit and set aside to dry. (There is a slight coating to the die cut shapes in the kit so you could smudge the ink if you try to use it straight away). Meanwhile, cut a card front layer of Real Red and run through the Dainty Diamonds embossing folder before adhering direct to the card front. Take the gold foil dotted tag and pop it up on the card front with dimensionals, at an angle. Tie a bow of Real Red Sheer Ribbon and add it to the top of the tag with Mini Glue Dots. When you’re sure that the ink on the bauble is dry, add it to the tag with more dimensionals.
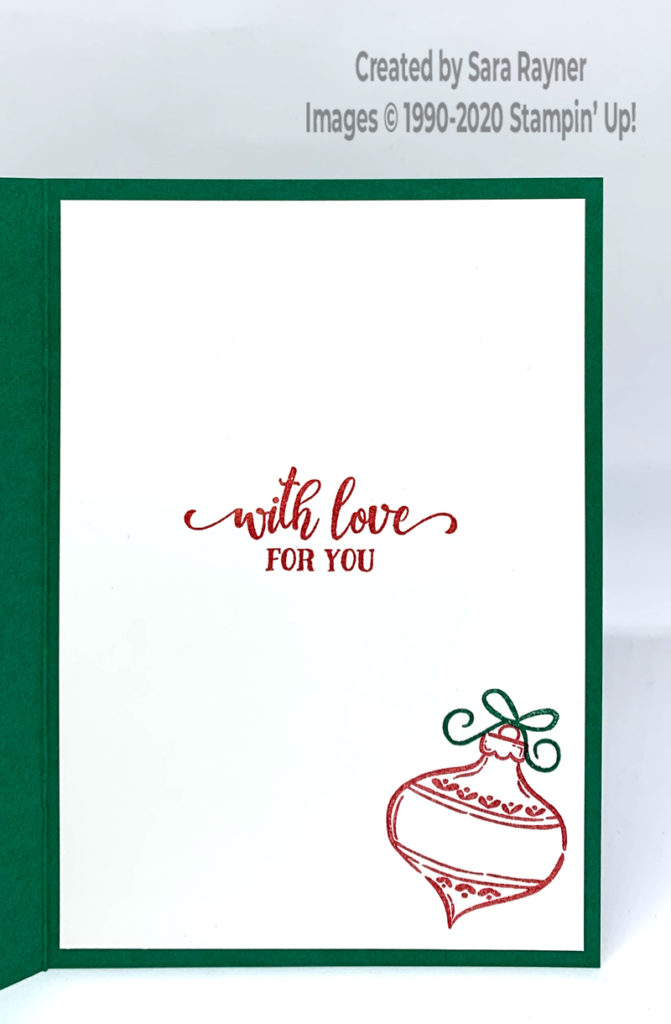
On the Whisper White insert, using Real Red ink, stamp another sentiment and the bauble from the Tag Buffet set. Add a bow over the top of the bauble using Shaded Spruce ink.
Thanks for stopping by.
Sara xx
You can find supplies for this Tag Buffet Christmas card in my online shop.


0 Comments
Trackbacks/Pingbacks