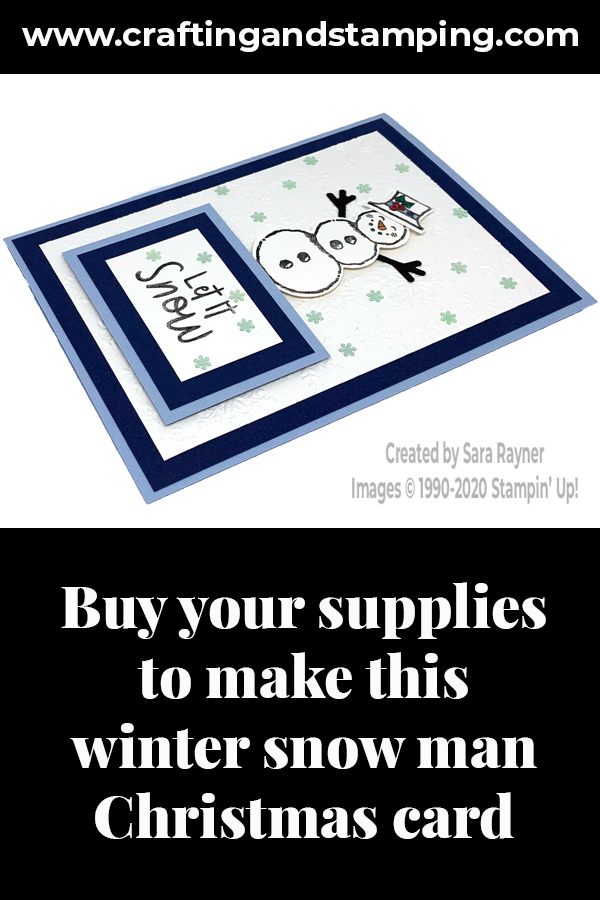
Today’s tutorial is for a Winter Snowman Christmas card. Each week over on my Facebook page (please pop over and Like or Follow) I choose a product pick of the week to feature. This week I’m using the Winter Snow embossing folder. It works so well with both new and old stamp sets and dies – pretty much anything with a “snow” theme.
In the tutorial below, I take you step by step through creating the Winter Snowman card. I also have a supply list for purchasing anything you don’t already own.
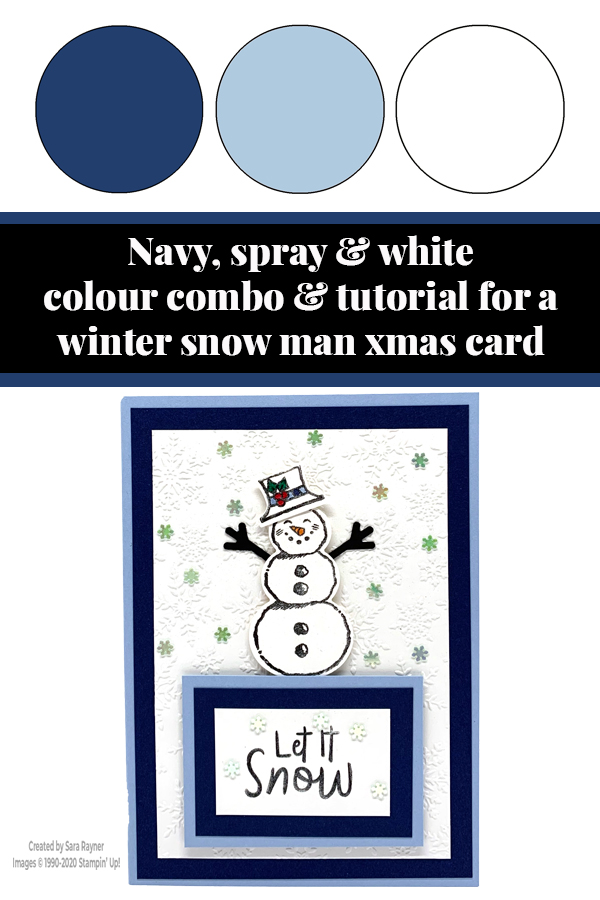
Today’s project combines the Winter Snow embossing folder with an older stamp set, Snowman Season. I’ve actually used this combination before.
I also pulled out my Shimmery White cardstock to add a little shimmer that requires no effort.
Colour Combo
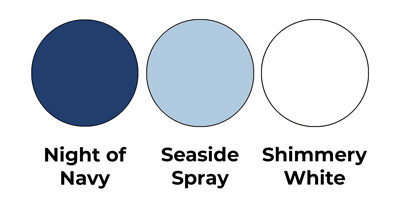
The colour combo mixes Night of Navy, Seaside Spray and Shimmery White.
Winter Snowman Christmas card tutorial
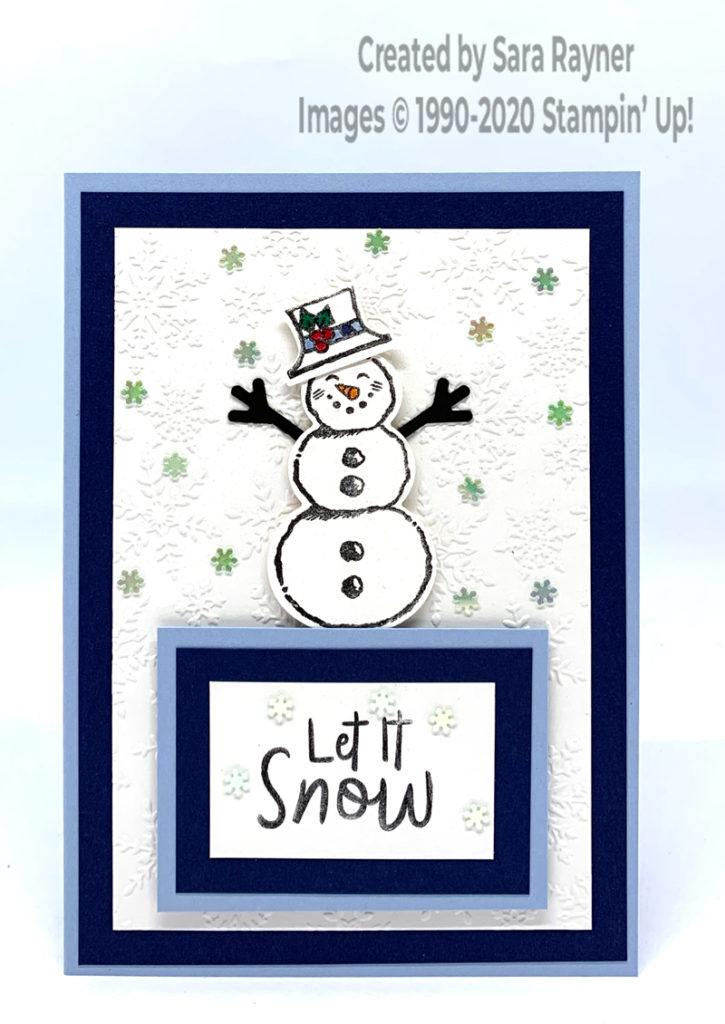
Start with an A6 portrait card of Seaside Spray. Mat with Night of Navy card. Cut a card front layer of Shimmery White card and run through the Winter Snow embossing folder before adhering direct to the card front. Using Black Stazon ink, stamp the tall snowman and his hat onto Shimmery White card. Punch out with the Snowman Builder. Colour with markers and pop up on the card front with dimensionals. Punch out arms from Basic Black card and adhere direct, tucked slightly behind the snowman. Use the same Stazon Black ink to stamp a sentiment from Snowman Season onto a panel of Shimmery White card. Mat onto Night of Navy and then Seaside Spray card and pop up on the card front with dimensionals. Finish with a scattering of Snowflake Adhesive-Backed Embellishments.
Winter Snowman Christmas card insert
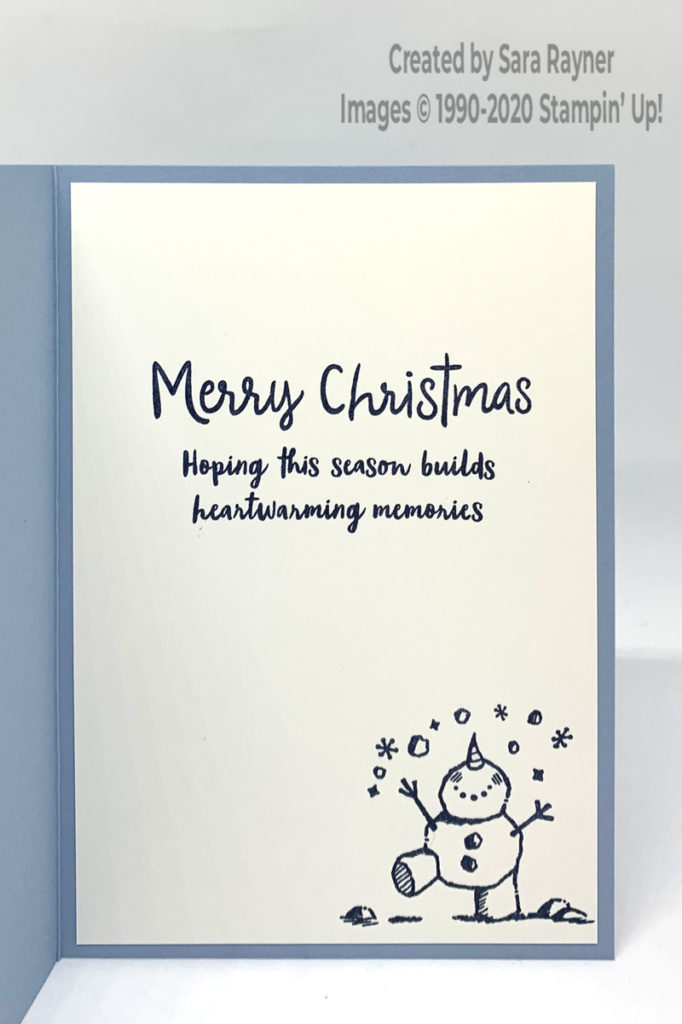
On the Whisper White insert, using Night of Navy ink, stamp further sentiments and the juggling snowman from the Snowman Season set.
Thanks for stopping by.
Sara xx
You can find supplies for this Winter Snowman Christmas card in my online shop.


0 Comments