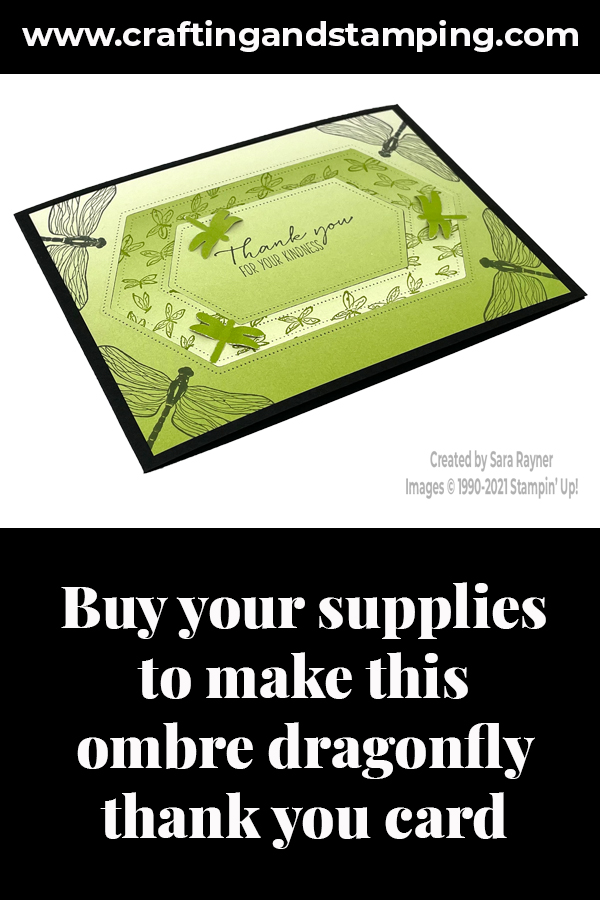
My tutorial today is for an ombre dragonfly thank you card.
In the tutorial below, I take you step by step through creating the ombre dragonfly thank you card. I also have a supply list for purchasing anything you don’t already own.
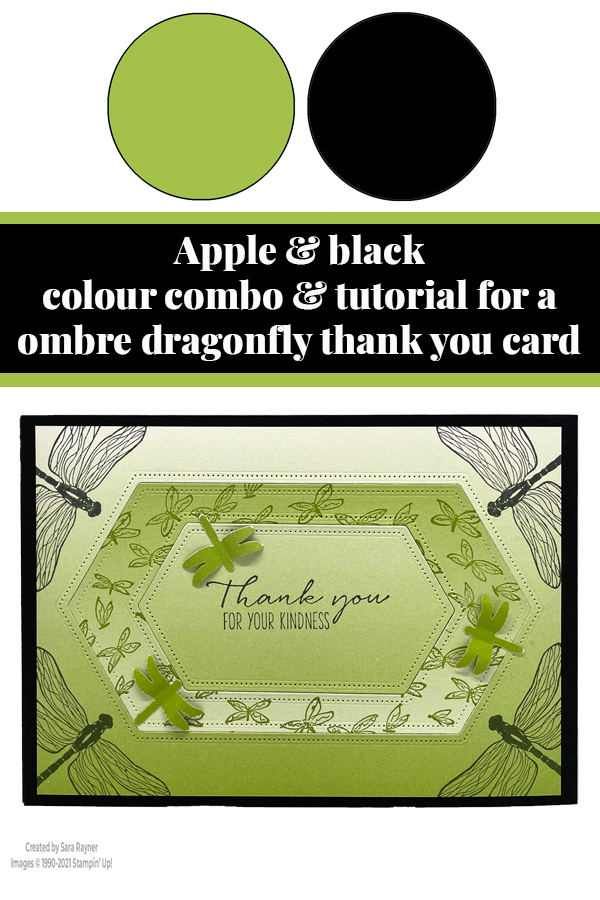
I’ve used the Stitched Nested Labels die set here to switch the ombre pattern around but this technique would work with any symmetrical dies that you may have.
Colour Combo
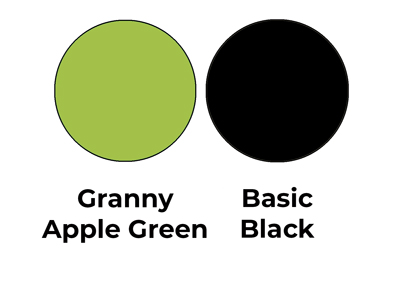
A very simple colour combo this time using only Granny Apple Green and Basic Black.
Ombre dragonfly thank you card tutorial
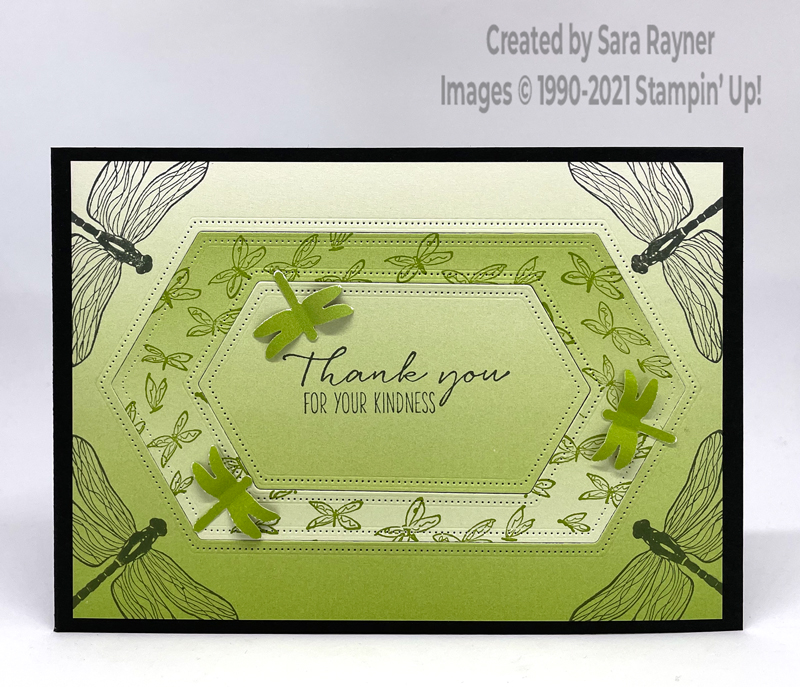
Start with an A6 portrait card of Basic Black. Cut a a card front layer from Oh So Ombre DSP with the dark area at the base. Use Stitched Nested Label dies to die cut two sections from the layer. Flip the middle section around so the light area is at the base and stamp with the little cluster of dragonflies from Dragonfly Garden using Granny Apple Green ink. Keeping the inner layer with the light area at the top, stamp a sentiment from the set using Memento Black ink. Use the same ink to stamp the solid body dragonflies in the corners of the outer section of the card front layer (with the dark area at the base). Reassemble the sections of the card front layer, adhering them direct to the card front. Using the Dragonfly punch, punch three small dragonflies from a dark section of the ombre DSP and adhere direct to the card front.
Ombre dragonfly thank you card insert
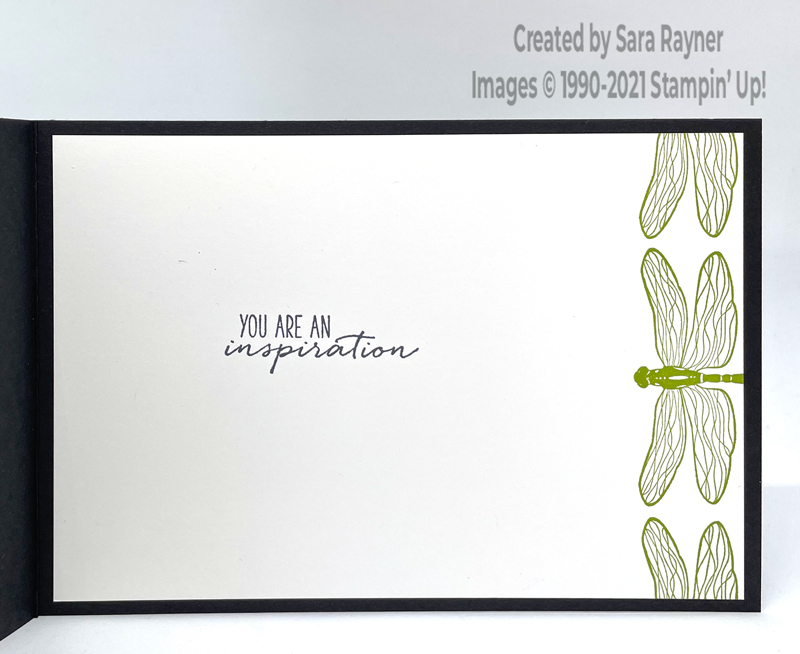
On the Whisper White insert, using Memento Black ink, stamp another sentiment from the Dragonfly Garden set. Using Granny Apple Green ink, stamp the solid body dragonfly in the centre of the right border so that just the wings show. Reink to stamp again, above and below the central dragonfly.
Thanks for stopping by.
Sara xx
You can find the supplies for this ombre dragonfly thank you card in my online shop.
Reminder – you can now choose a free Sale-a-bration product with every £45 you spend. To add this Oh So Ombre DSP to your basket, use the code 155225 once your order reaches £45.


0 Comments