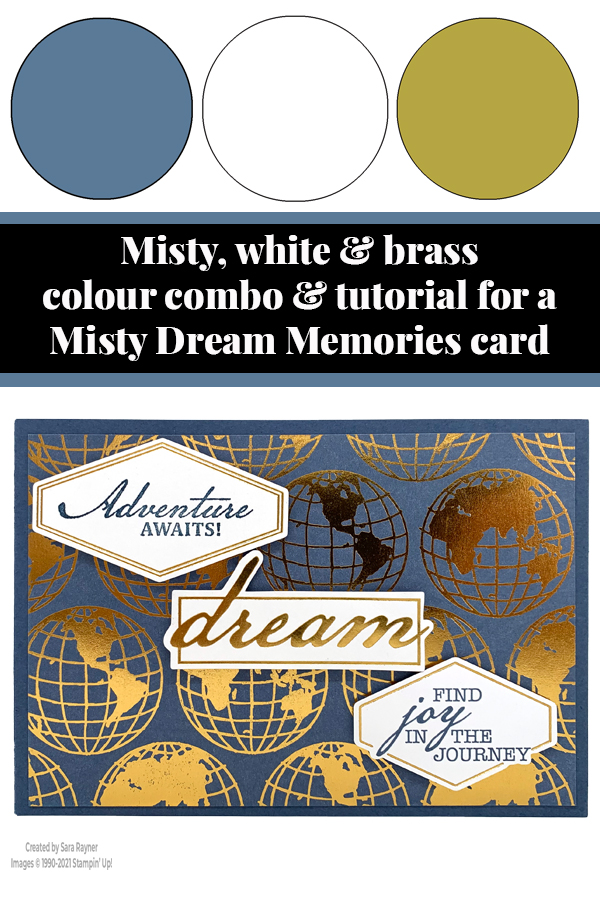
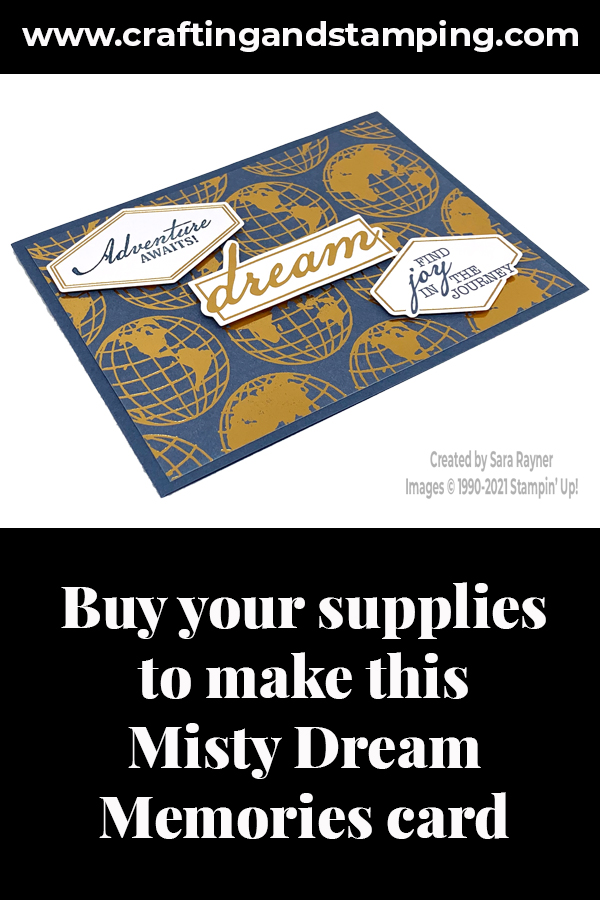
Today’s tutorial is for a Misty Memories dream card. This is a really simple and quick card to make.
In the tutorial below, I take you step by step through creating the Misty Memories dream card.
Now, as I explained yesterday, the World of Good Memories & More Card Pack has sold out! Right now, you can still get the Flowers For Every Season Memories and More Card Pack which is on sale! My supply list links to the floral pack.
If the floral pack also sells out, then another option is the Dandy Garden Memories and More Card Pack.
Colour Combo
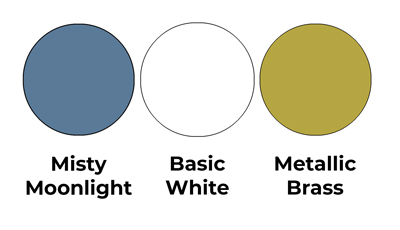
The colour combo mixes Misty Moonlight, Basic White and Metallic Brass.
Misty Memories dream card
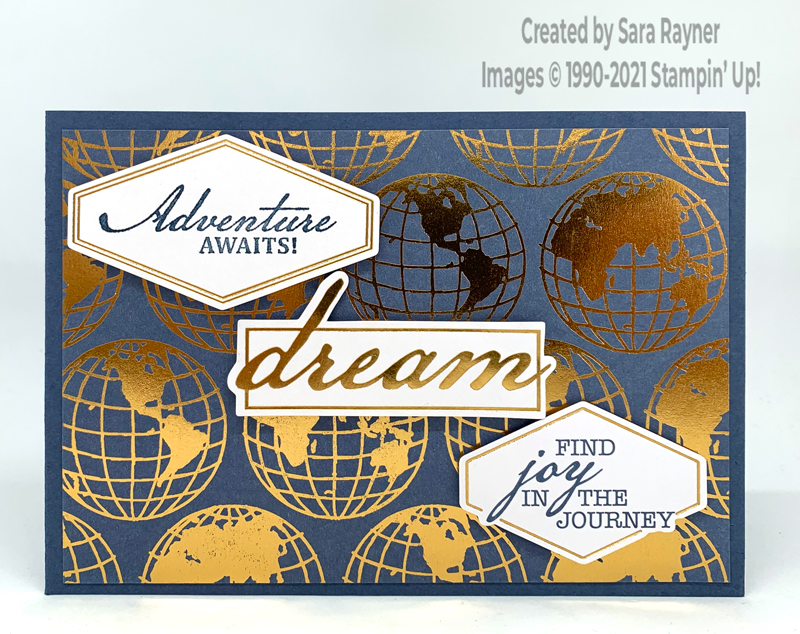
Start with an A6 landscape card of Misty Moonlight. Take one of the large foiled cards from the World of Good Memories & More Card Pack. Trim the card slightly on all four sides so that it fits on the card front and adhere direct. Using Misty Moonlight ink, stamp the sentiment from the World of Good set onto one of the blank stickers in the pack. Pop the Misty Moonlight sentiment stickers up on opposite corners of the card front with dimensionals. Pop the Brass foiled “dream” sticker up on dimensionals in between them.
Misty Memories dream card insert
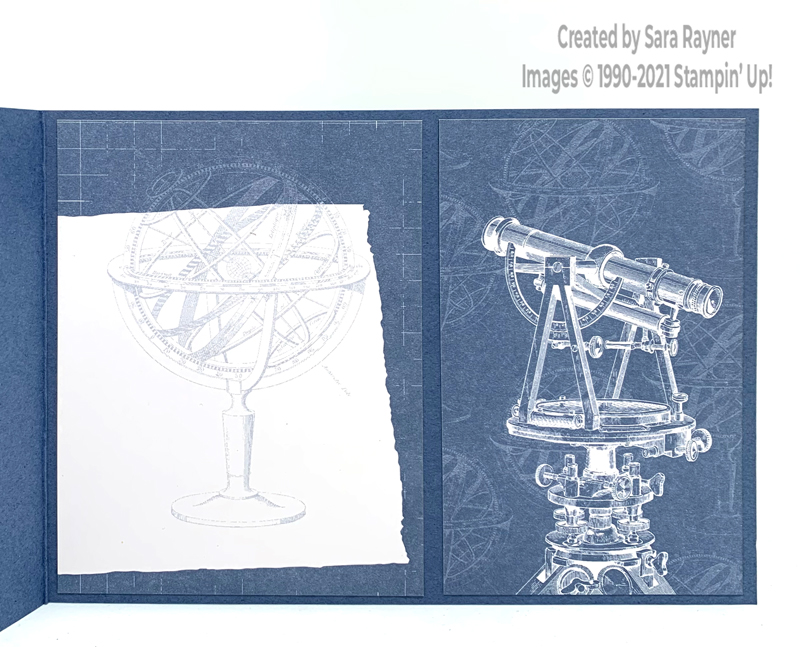
Take one of the smaller Misty Moonlight coloured cards from the World of Good Memories & More Card Pack. (Tip choose one with some white space for writing your message). Adhere direct to the inside of the card, lined up with the card edge. Choose another, matching small Misty Moonlight card and trim to fit in the remaining space on the inside of the card. Adhere direct.
Thanks for stopping by.
Sara xx
Buy the supplies to make a floral version of this Misty Memories Dream card in my online shop.


0 Comments