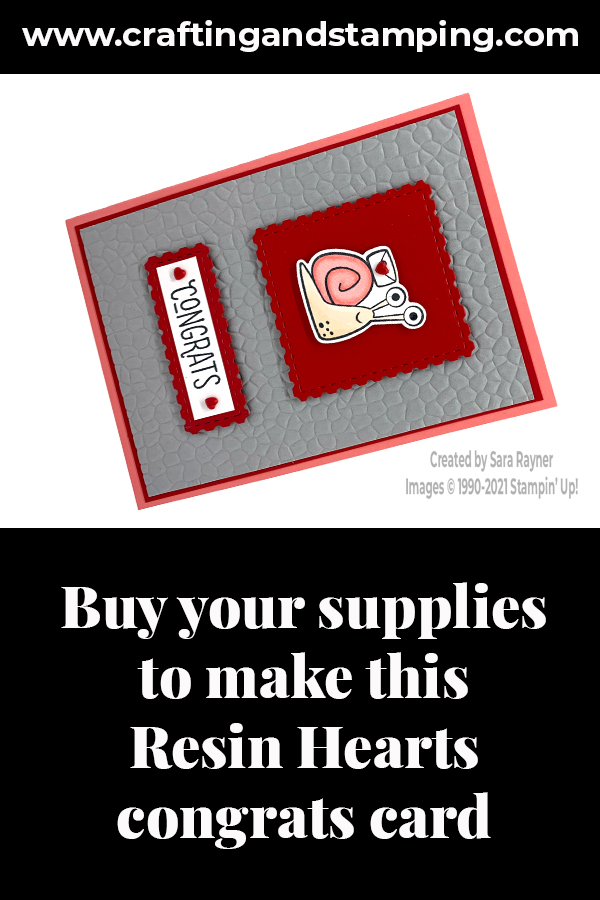
Today’s tutorial is for a Resin Hearts congrats card. This particular one was created to celebrate a friend moving to a new home. I thought the cheery snail with his home on his back appropriate to the occasion.
Each week over on my Facebook page (please pop over and Like or Follow) I choose a product pick of the week to feature. This week, it’s the Resin Hearts Embellishments. I’ll have a selection of tutorials for you throughout the week that use different elements of this pack.
In the tutorial below, I take you step by step through creating the Resin Hearts congrats card. I also have a supply list for purchasing anything you don’t already own.
Each pack of Resin Hearts contains 150 hearts, 75 each in Real Red and Basic White.
The hearts are part of the Snail Mail suite and I used them with the Snailed It bundle for this card (and for a couple of other snail cards here and here) but of course you can use them to embellish so much more.
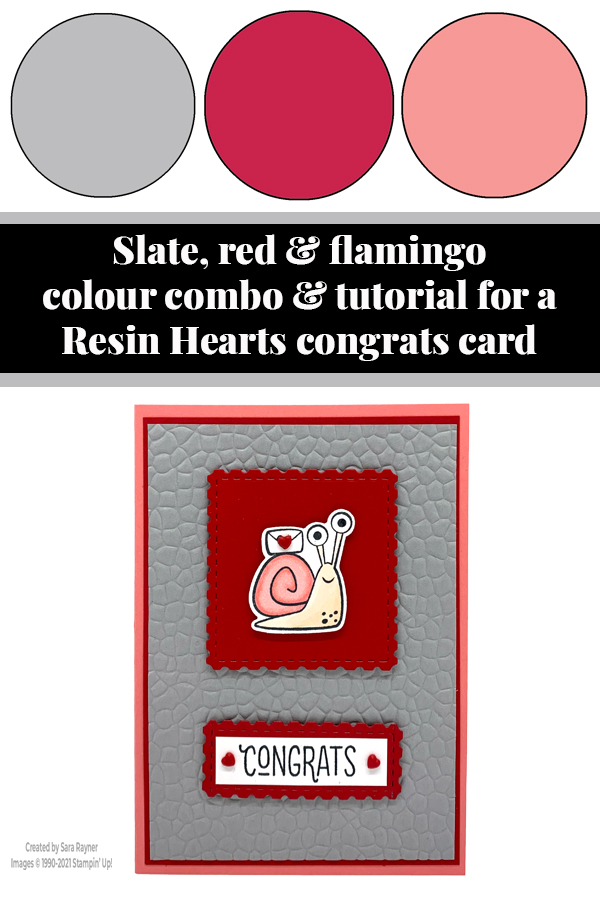
Colour Combo
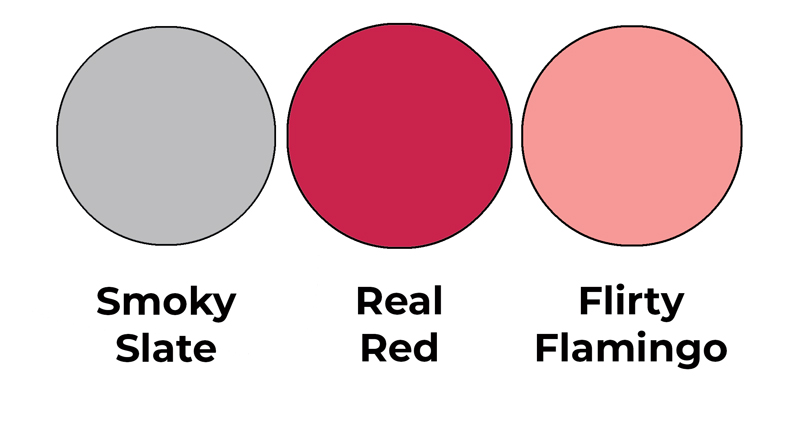
The colour combo mixes Smoky Slate, Real Red and Flirty Flamingo.
Resin Hearts congrats card
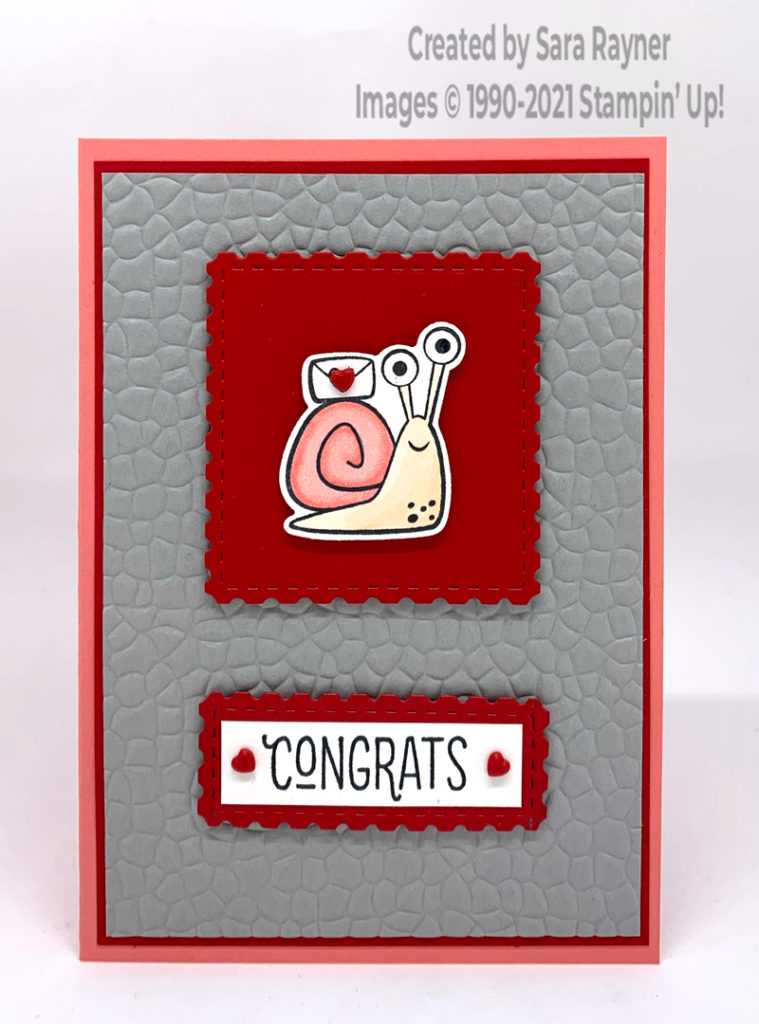
Start with an A6 portrait card of Flirty Flamingo. Mat with Real Red card. Run a card front layer of Smoky Slate through the Hammered Metal embossing folder and adhere direct to the card front. Using Memento Black ink, stamp the snail with message from the Snailed It set onto Basic White card Mat and die cut out with the matching Snail die. This cuts away the “You’ve got mail” sentiment. Colour with Blends. Pop the snail up onto a postage edged square die cut from Real Red card and pop both up on the card front with dimensionals.
Die cut another postage edged square from Real Red card and run through the same die again to trim it to a small rectangle. Using Memento Black ink, stamp a sentiment from Many Mates set (sorry this set has sold out but you could use the “Congrats” from the Sailing Home set instead) onto a strip of Basic White card. Adhere this direct to the die cut panel and pop up on the card front with dimensionals. Finish by adding Real Red Resin Hearts to the sentiment panel and to the envelope the snail is carrying.
Resin Hearts congrats card inside
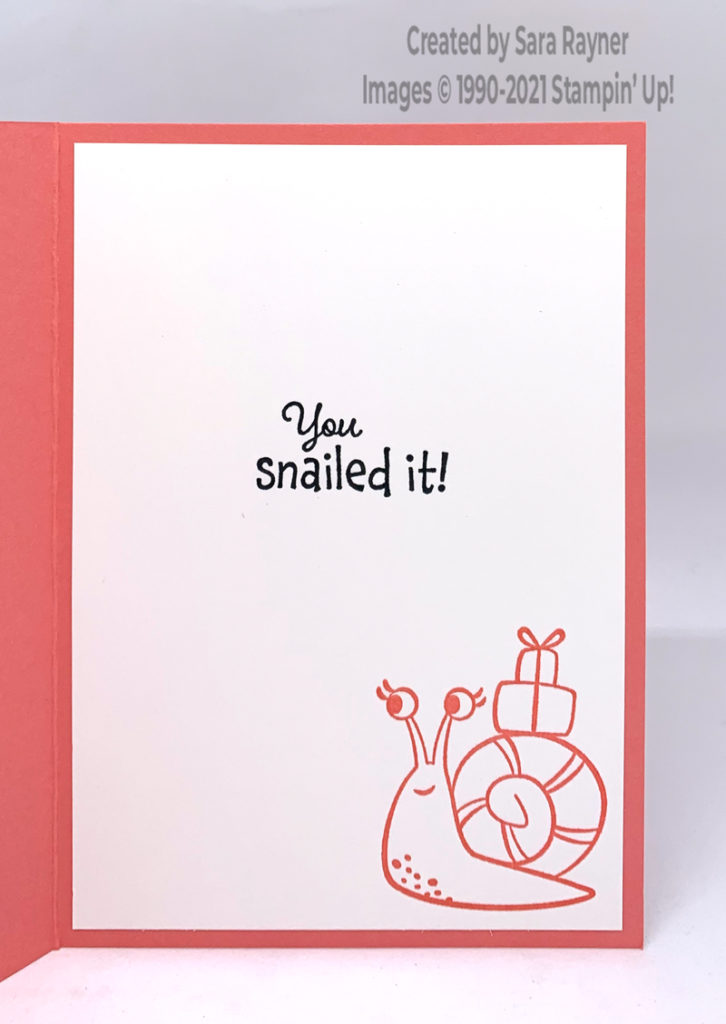
On the Basic White insert, stamp a sentiment from the Snailed It set with Memento Black ink. Add the snail carrying gifts in the lower right corner using Flirty Flamingo ink.
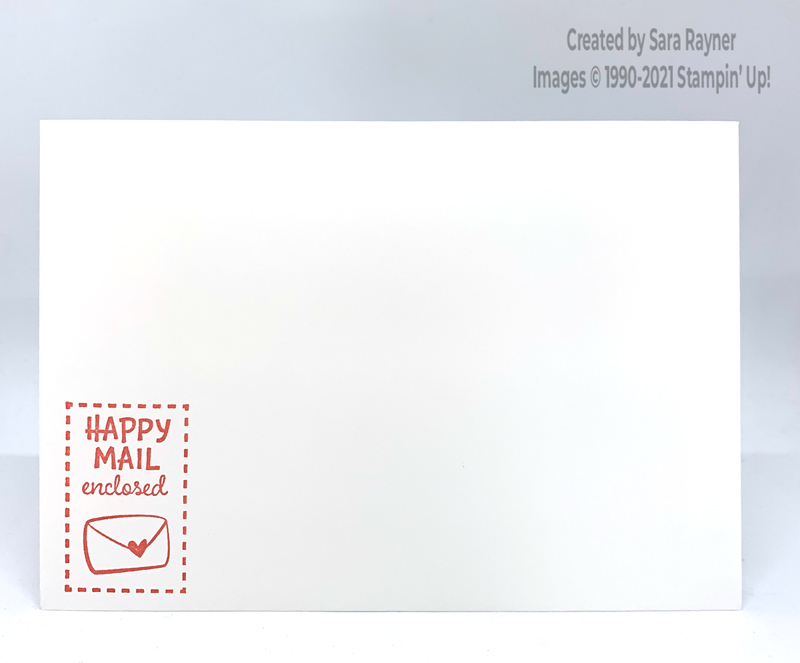
Stamp another sentiment from the Snailed It set on the outside of the envelope with Flirty Flamingo ink.
Thanks for stopping by.
Sara xx
Buy the supplies for this Resin Hearts congrats card in my online shop.


0 Comments
Trackbacks/Pingbacks