Today’s tutorial is for a True Love Papaya card. This gives you a sneak peek of Pale Papaya, which is one of five new 2021-2023 In Colors. One of the great strengths of Stampin’ Up! products is the colour co-ordination. Today’s card uses the Pale Papaya card, ink, ribbon and gems. We will also have Blends, Markers and DSP in each of the In Colors when they launch.
Each week over on my Facebook page (please pop over and Like or Follow) I choose a product pick of the week to feature. This week, it’s the True Love DSP. I’ll have a selection of tutorials for you throughout the week that use different patterns of these papers.
In the tutorial below, I take you step by step through creating the True Love Papaya card. I also have a supply list for purchasing anything you don’t already own. Although you can’t order the new In Colors until 4 May you can easily switch another colour for the Pale Papaya.
My pre-order from the 2021 Annual Stampin’ Up! catalogue arrived on Friday and I shared the unboxing of it yesterday.
If you’d also like to be able to pre-order from the new catalogue and get a discount on your future purchases then please have a think about joining my team and get in touch if you’d like to know more.
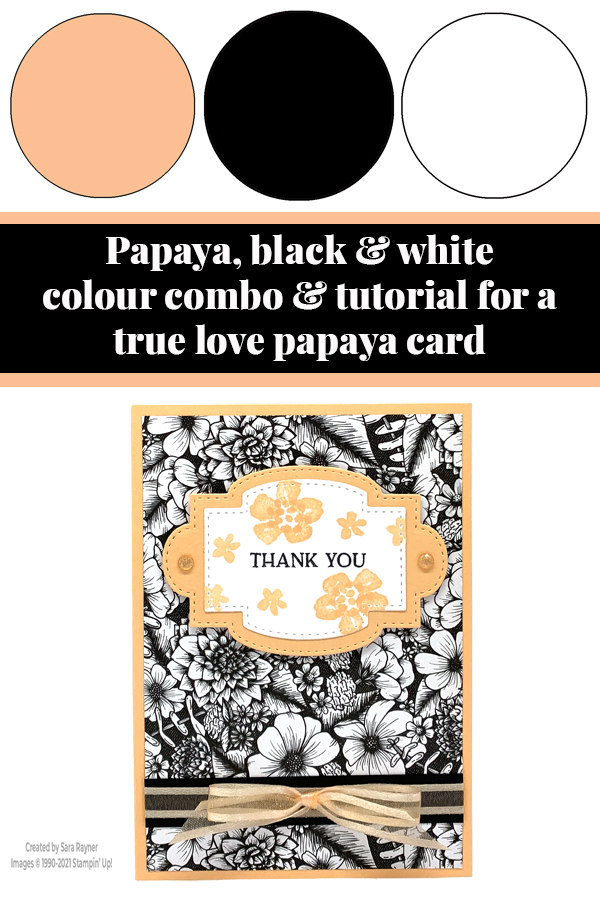
Colour Combo

The colour combo mixes Pale Papaya with simple black and white.
True Love Pale Papaya thank you card
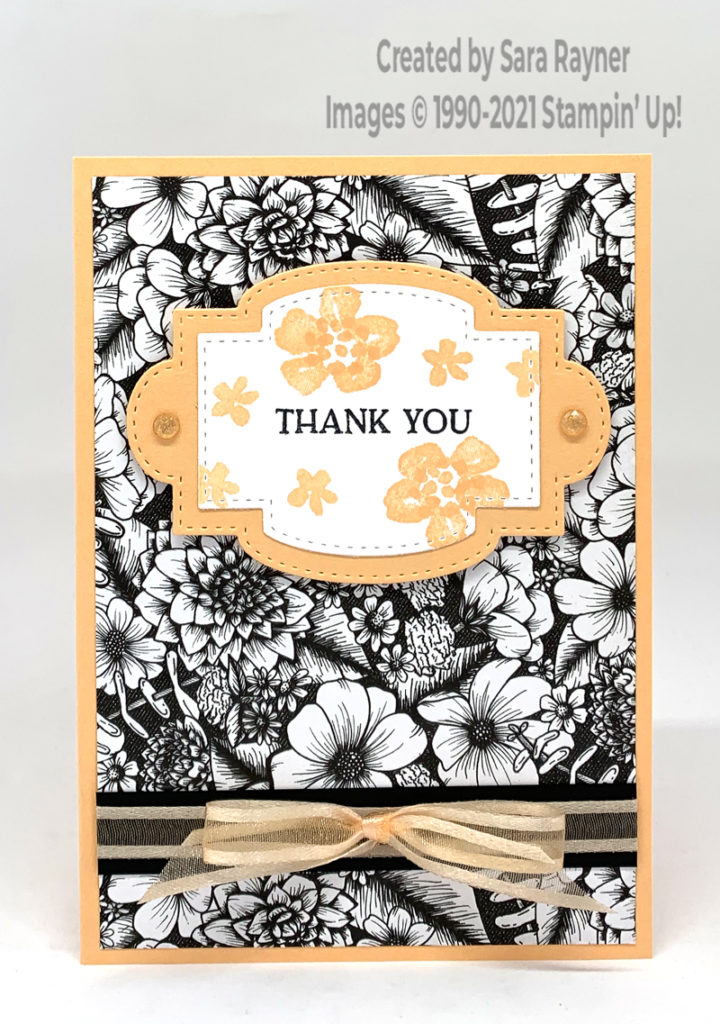
Start with an A6 portrait card of Pale Papaya. Add a thin strip of Basic Black Card to the lower portion of a card front layer of True Love DSP. Wrap Pale Papaya ribbon around the Basic Black strip and secure on the reverse. Adhere the layers direct to the card front. Add a bow of the same ribbon to the centre of the wrapped ribbon.
Die cut two different size labels from Pale Papaya and Basic White card using the Stitched So Sweetly dies. Using Memento Black ink, add a sentiment from the Blossoms in Bloom set to the white label. Add larger and smaller flowers from the same set using the Pale Papaya ink. Adhere the labels together direct and pop them up on the card front with dimensionals. Finish with a couple of Genial Gems.
True Love Pale Papaya thank you card insert
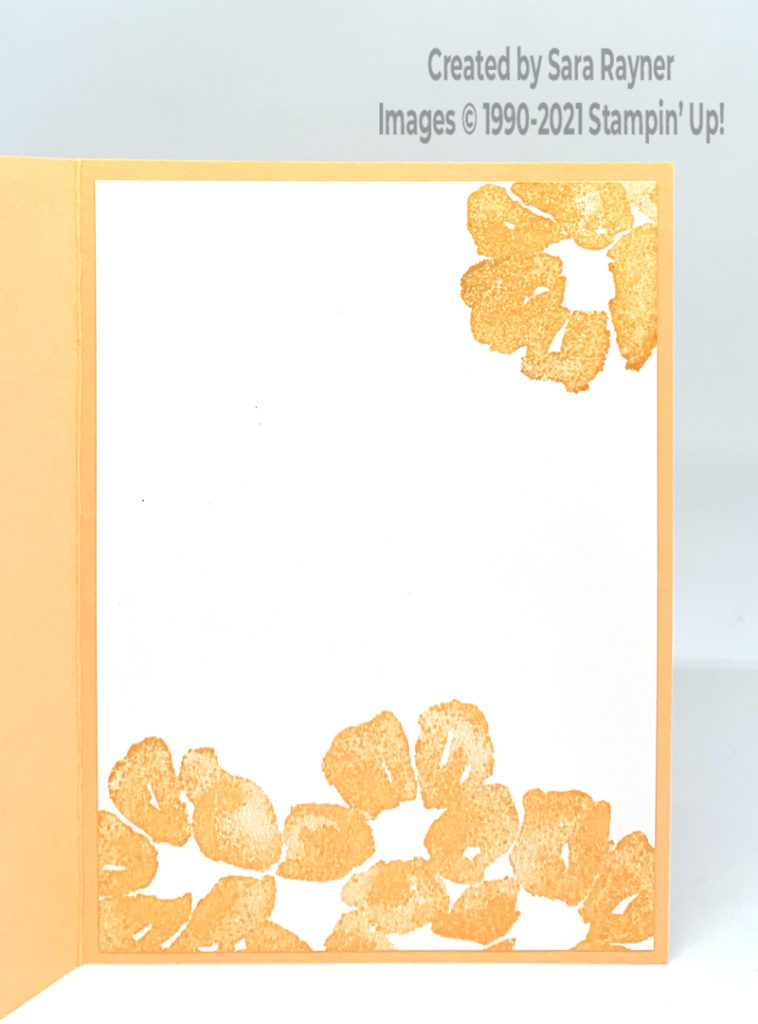
On the Basic White insert, stamp portions of the large flower spray from the Blossoms in Bloom set on the top and bottom of the insert with Pale Papaya ink.
Thanks for stopping by.
Sara xx
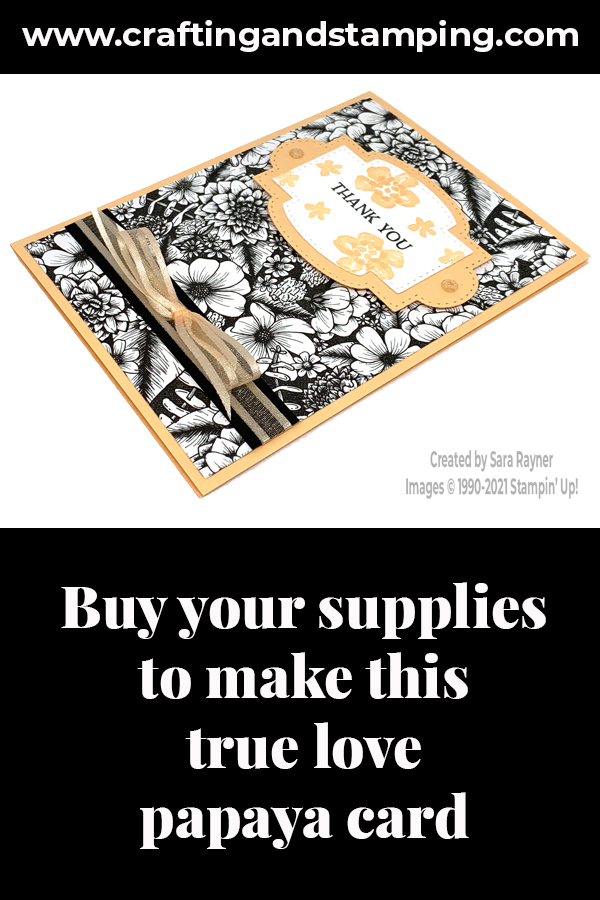
Buy the supplies for this True Love Papaya card in my online shop.


0 Comments
Trackbacks/Pingbacks