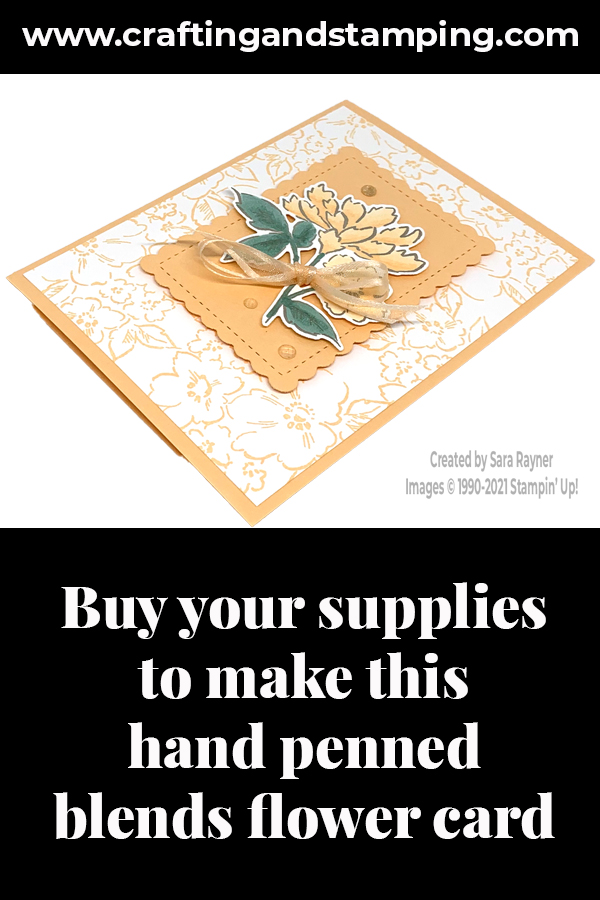
Today’s tutorial is for a hand-penned blends flower card. This card steps up the Hand-penned Freesia card I shared here.
In the tutorial below, I take you step by step through creating the hand-penned blends flower card. I also have a supply list for purchasing anything you don’t already own.
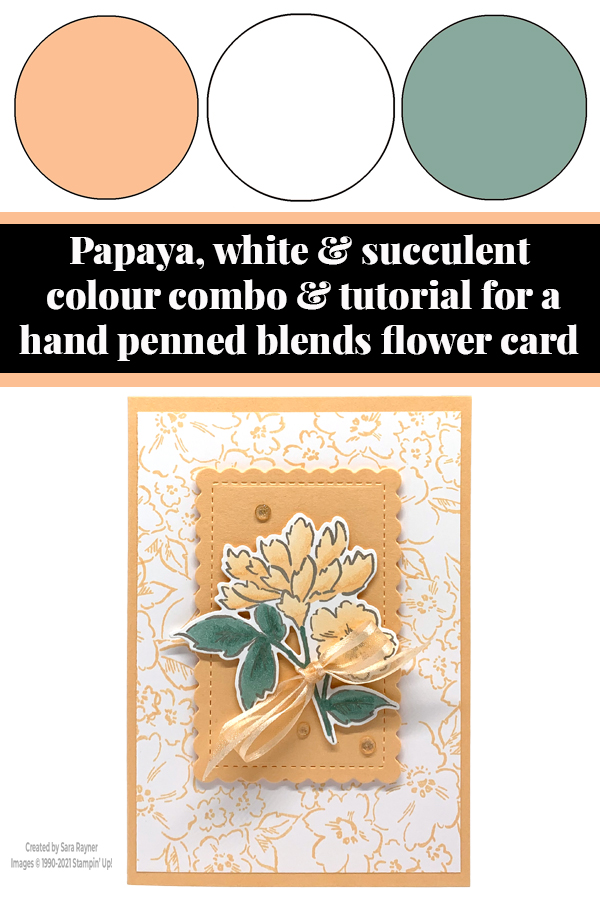
To step up the card we’ve added a die cut panel instead of plain cut, die cut out our flowers and coloured them with Blends and added a few Genial Gems.
Colour Combo
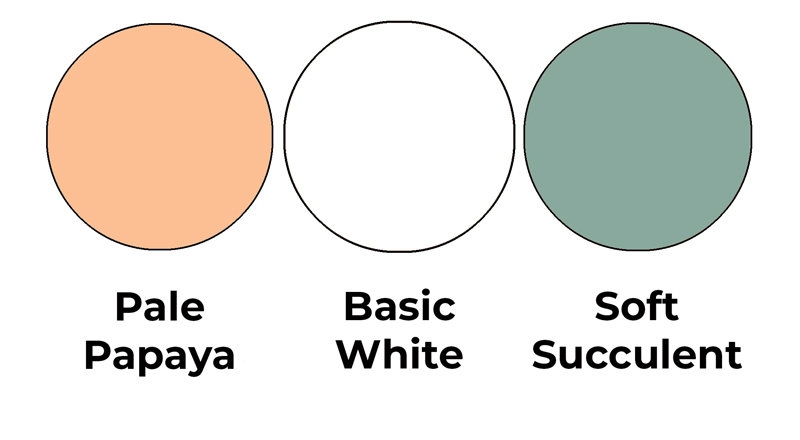
The colour combo mixes Pale Papaya, Basic White and Soft Succulent.
My Facebook readers recently voted for their favourite new In Color. It was a tie between Fresh Freesia and Pale Papaya. As I’ve already created a Fresh Freesia card, this time I used Pale Papaya.
Hand-penned blends flower card
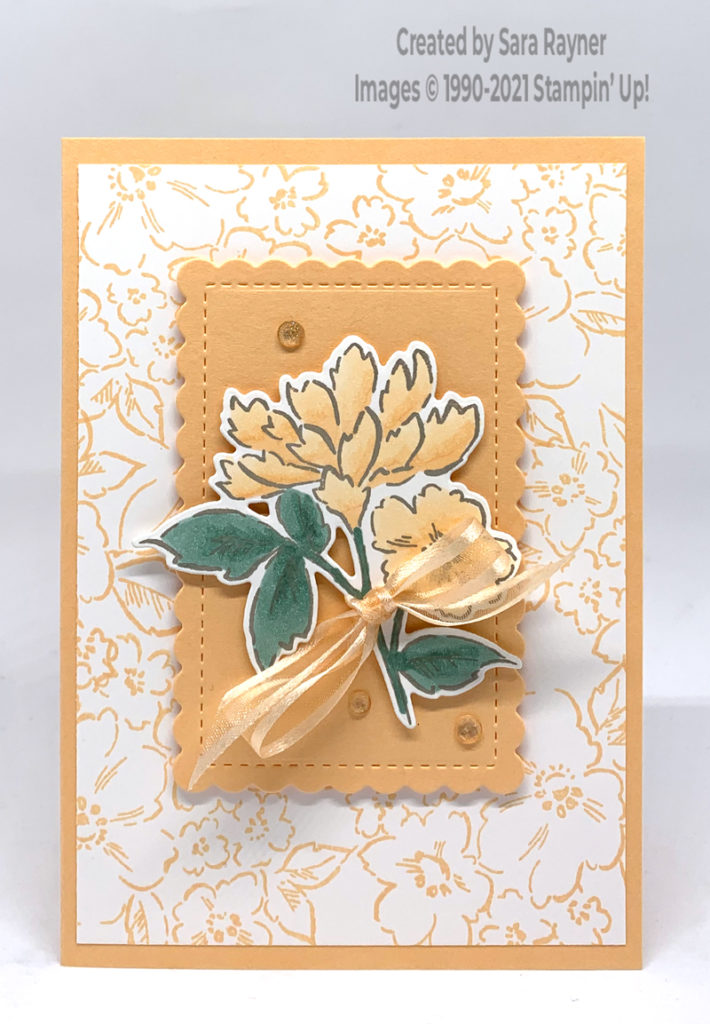
Start with an A6 portrait card of Pale Papaya. Using Pale Papaya ink, stamp around the edges of a Basic White Card front layer with the large flower spray from the Hand-Penned Petals set. Die cut a large stitched scalloped rectangle from Pale Papaya card using the Scalloped Contours dies. Pop this up on the card front with dimensionals. On a large scrap of Basic White, stamp the other large flower from the same set with the Gray Granite ink (this gives a softer look, in keeping with the pastels, than using black ink). Colour in with Blends and die cut out with the co-ordinating Penned Flowers dies. Tie on a bow of the Pale Papaya Open Weave Ribbon. Pop up on the card front with dimensionals. Finish with some Genial Gems.
Here’s a “quick tip video” showing how to stamp the background. Please subscribe to my Youtube channel to make sure you see all future quick tips.
Hand-penned blends flower card insert
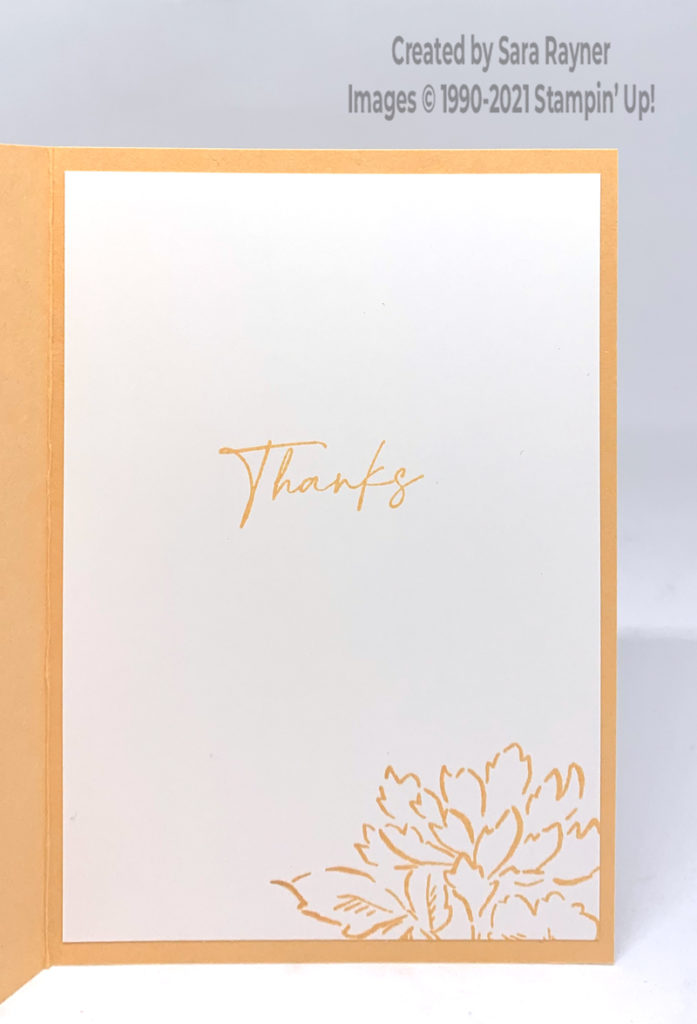
On the inside of the card, stamp a sentiment and the same flower used on the front from the Hand-penned Petals set using Pale Papaya ink.
Thanks for stopping by.
Sara xx
Buy the supplies for this hand-penned blends flower card in my online shop.


0 Comments