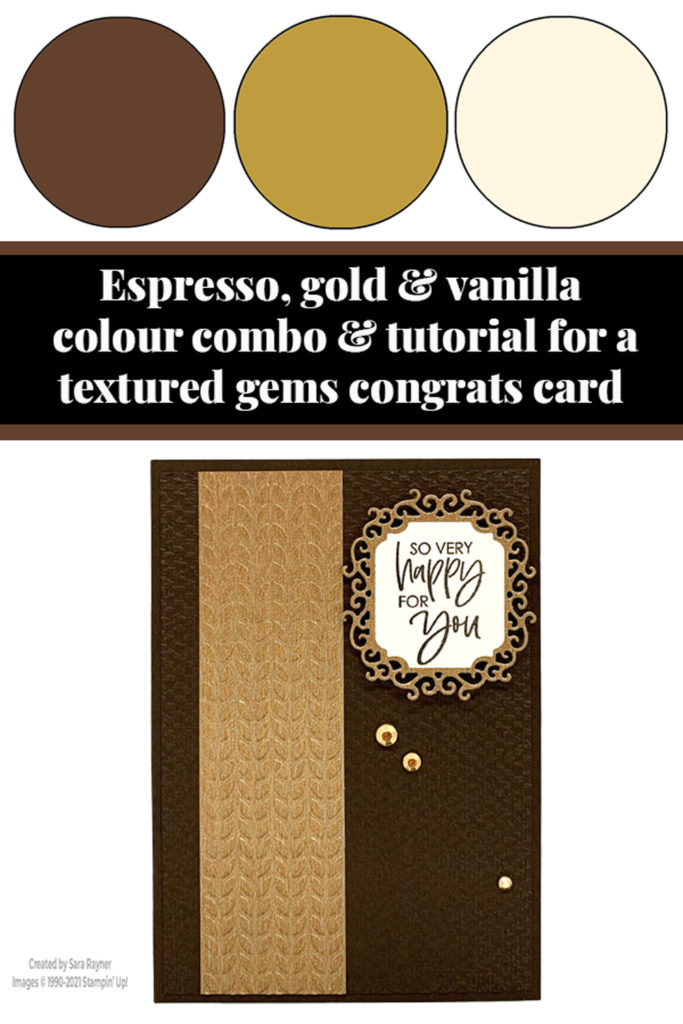
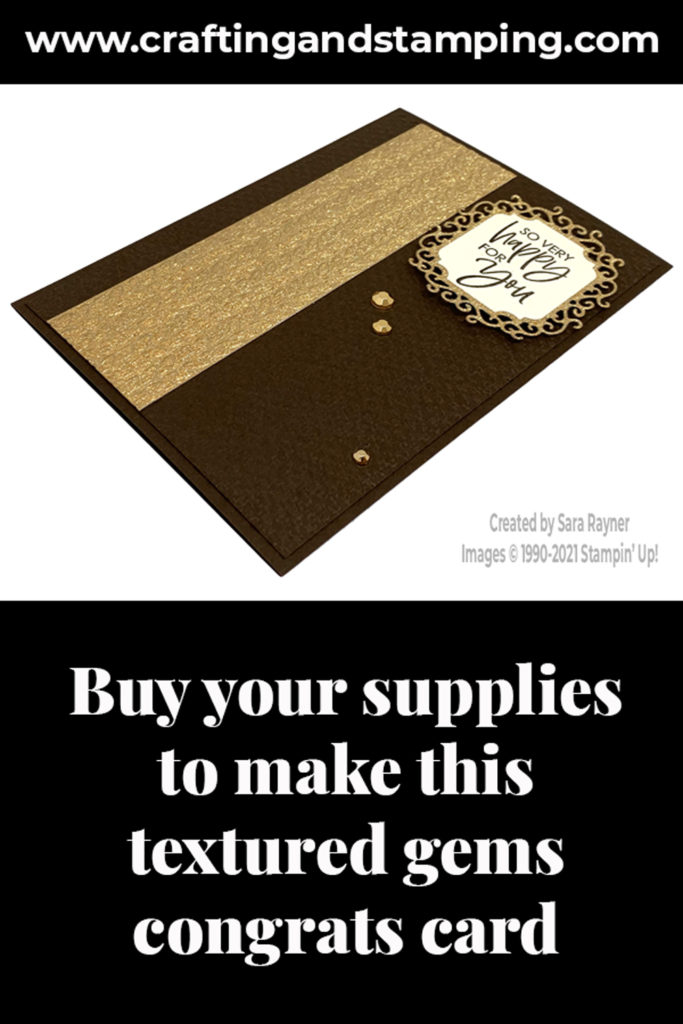
Today’s tutorial is for a textured gems congratulations card. The Gilded Gems are simply scattered on this card, to add a different texture again, to those already present.
In the tutorial below, I take you step by step through creating the textured gems congratulations card. I also have a supply list for purchasing anything you don’t already own.
Texture is the name of the game on this card. The background layer has one texture and the Brushed Gold card has another. You may have missed the gold card? It was a new product in the Annual Catalogue (page 135) and you get both gold and rose gold, both as a brushed metallic – eight 6″ x 6″ sheets, four of each colour.
We’re using the Gilded Gems used here, in this month’s Craft Class (to go) and there’ll be plenty left over for projects such as this one. Registration for the Class kits closes tomorrow.
Colour Combo
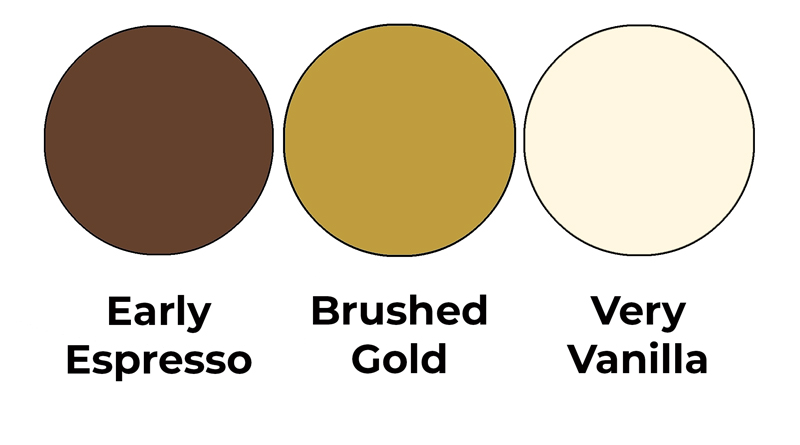
The colour combo mixes Early Espresso, Brushed Gold and Very Vanilla.
Textured gems congratulations card
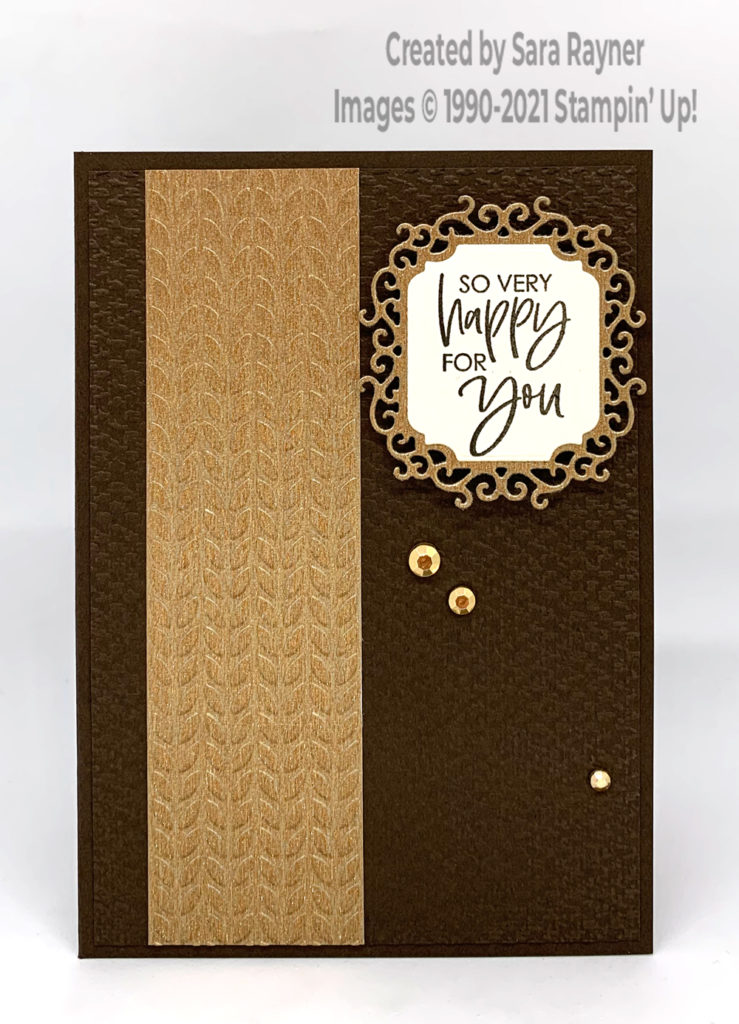
Start with an A6 portrait card of Early Espresso. Run a card front layer of Early Espresso card through the Tasteful Textile 3D folder. Cut a wide strip of the Gold Metallic Specialty Paper and run through one of the Greenery embossing folders. Trim a narrow strip from the embossed Gold paper and retain for the insert. Adhere the remaining wide strip to the embossed card front layer and then adhere the layers direct to the card front.
Using the Ornate Frames set, die cut a fancy label from the Gold Metallic Specialty Paper. Stamp a sentiment from the Color & Contour set onto a scrap of Very Vanilla card with Early Espresso ink. Die cut out with the matching plain label from the Ornate Frames set. Adhere the sentiment direct to the frame then pop up on the card front with dimensionals. Finish with a scattered trio of Gilded Gems.
Textured gems congratulations card insert
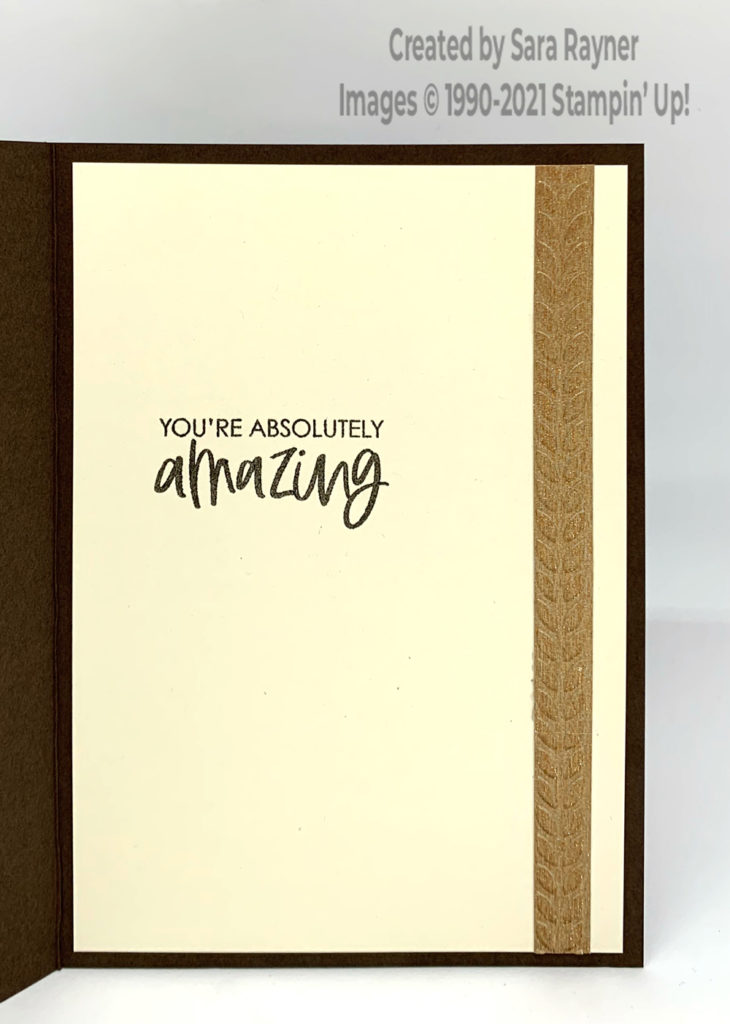
On the Very Vanilla insert, stamp another sentiment from the Color & Contour stamp set using Early Espresso ink. Add the retained skinny strip of the embossed Gold Metallic Specialty Paper, down the right side.
Thanks for stopping by.
Sara xx
Buy the supplies for this textured gems congratulations card in my online shop.


0 Comments