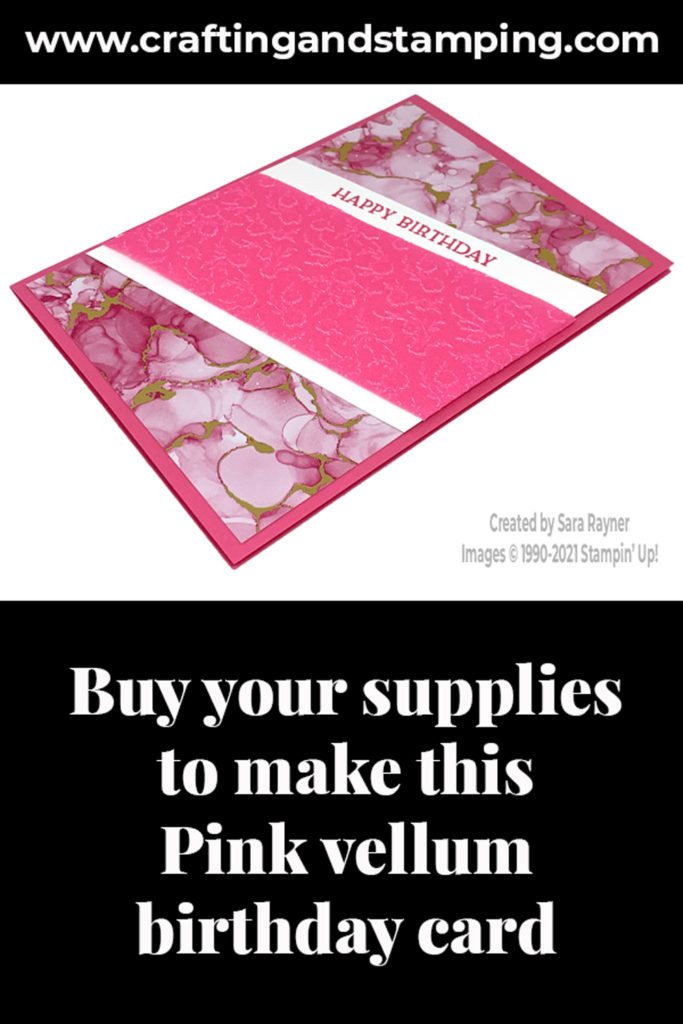
Today’s tutorial is for a Polished Pink shimmer vellum birthday card. Our vellum has been embossed to catch the eye with the shimmer.
Each week over on my Facebook page (please pop over and Like or Follow) I choose a product pick of the week to feature. This week, it’s the 2021-2023 In Color Shimmer Vellum. I’ll have a selection of tutorials for you throughout the week that share different ideas for using these gorgeous vellums on your projects.
In the tutorial below, I take you step by step through creating the Polished Pink shimmer vellum birthday card. I also have a supply list for purchasing anything you don’t already own.
Colour Combo
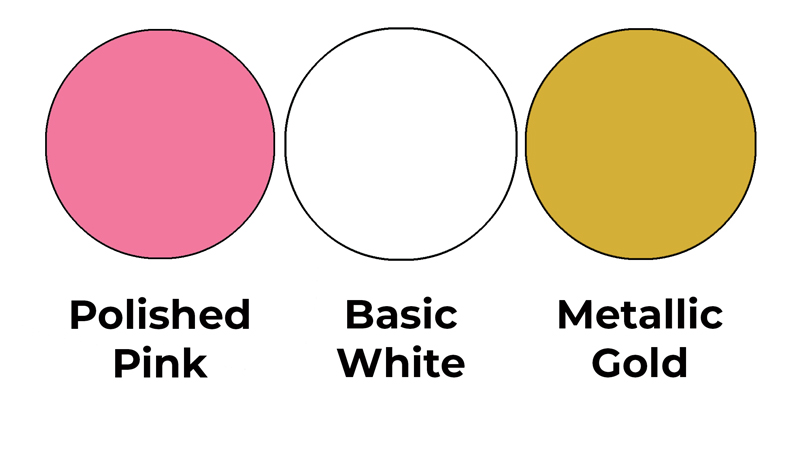
The colour combo mixes Polished Pink, Basic White and Metallic Gold.
Polished Pink shimmer vellum birthday card
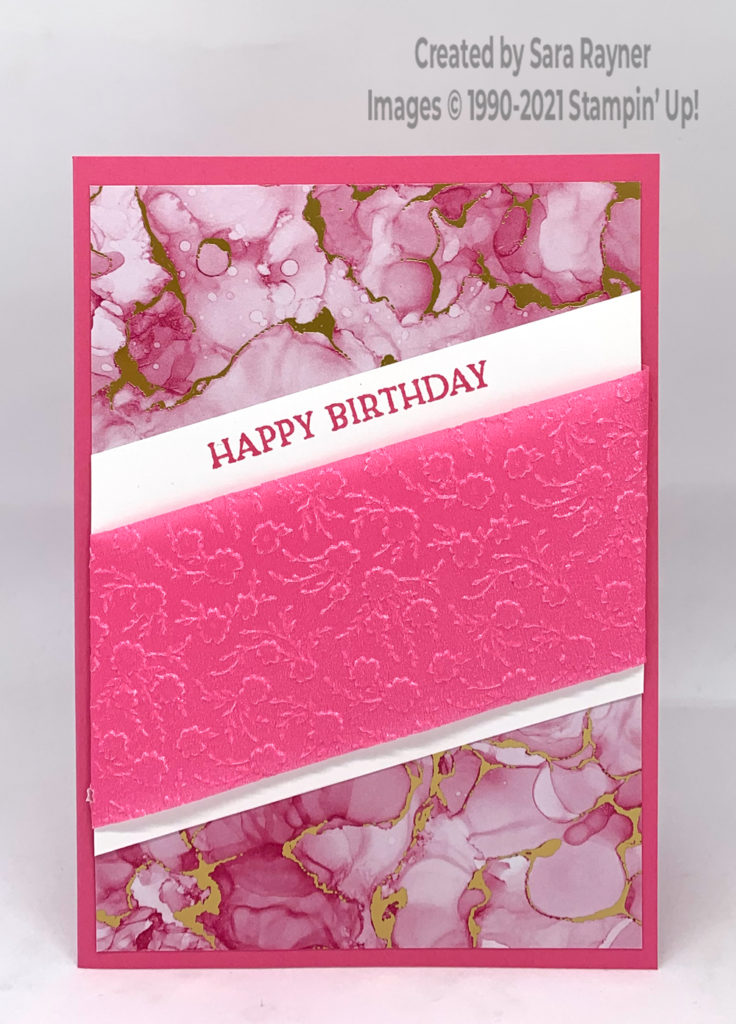
Start with an A6 portrait card of Fresh Freesia. Cut a card front layer of Expressions in Ink Specialty DSP. Cut a deep strip of Basic White card. Using Polished Pink ink, stamp a sentiment from the Blossoms in Bloom stamp set at the top edge of the Basic White panel. Adhere this at an angle across the DSP layer and trim away the excess. Cut a slightly shallower strip of Polished Pink Shimmer Vellum. Run the vellum through the Ornate Floral embossing folder. Fold around the white stamped layer, only adhering on the reverse (so that no glue shows through the vellum). Adhere the layers direct to the card front.
Here’s a short video showing how this quick card comes together.
Polished Pink shimmer vellum birthday card insert
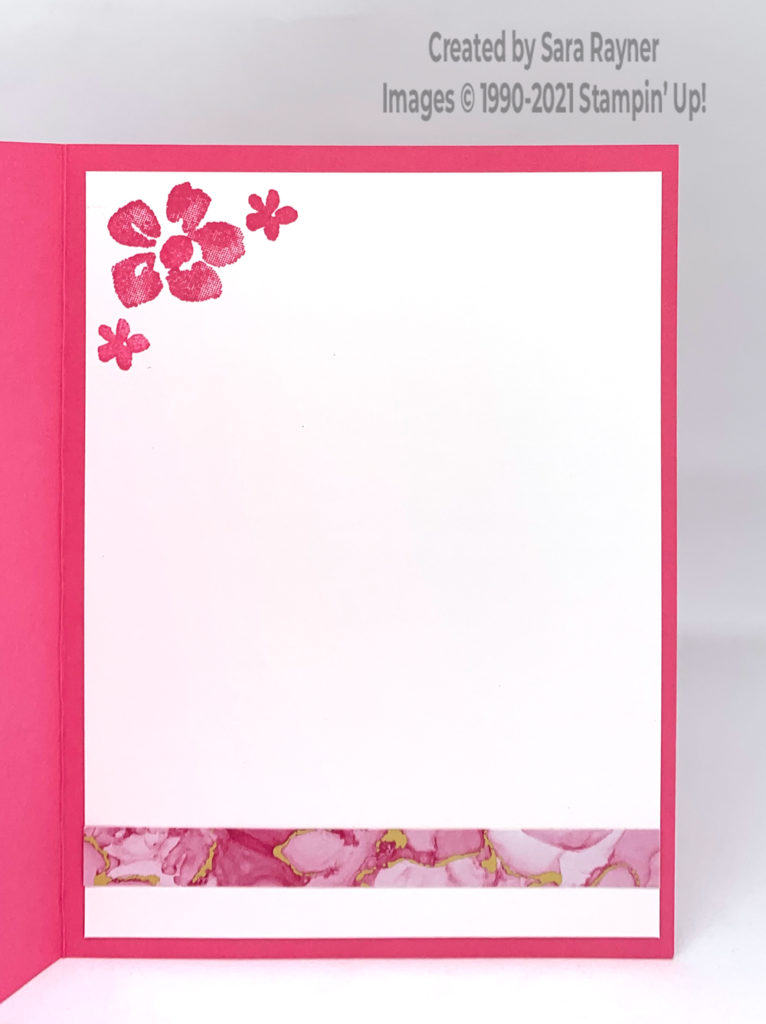
On the Basic White insert, stamp a trio of flowers from the Blossoms in Bloom set in the upper left corner with using Polished Pink ink. Add a skinny strip of the same pattern of DSP used on the front, down at the base.
Thanks for stopping by.
Sara xx
Buy the supplies for this Polished Pink shimmer vellum birthday card in my online shop.


0 Comments