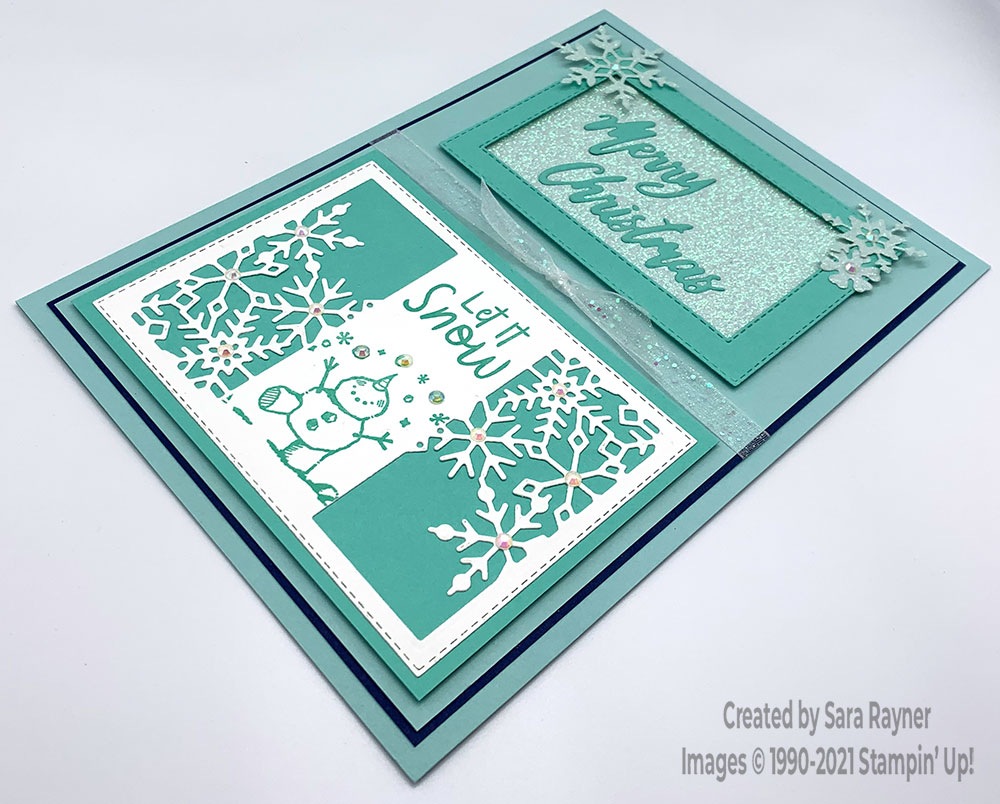
Merry Christmas Eve! Today’s tutorial is for a snowy Christmas card. It combines snowflakes and snowman with the Supple Shimmer Specialty Paper and Iridescent Rhinestones coming in January.
This is another of my rare “kitchen sink” and oversize cards – this time for my husband.
In the tutorial below, I take you step by step through creating the snowy Christmas card.
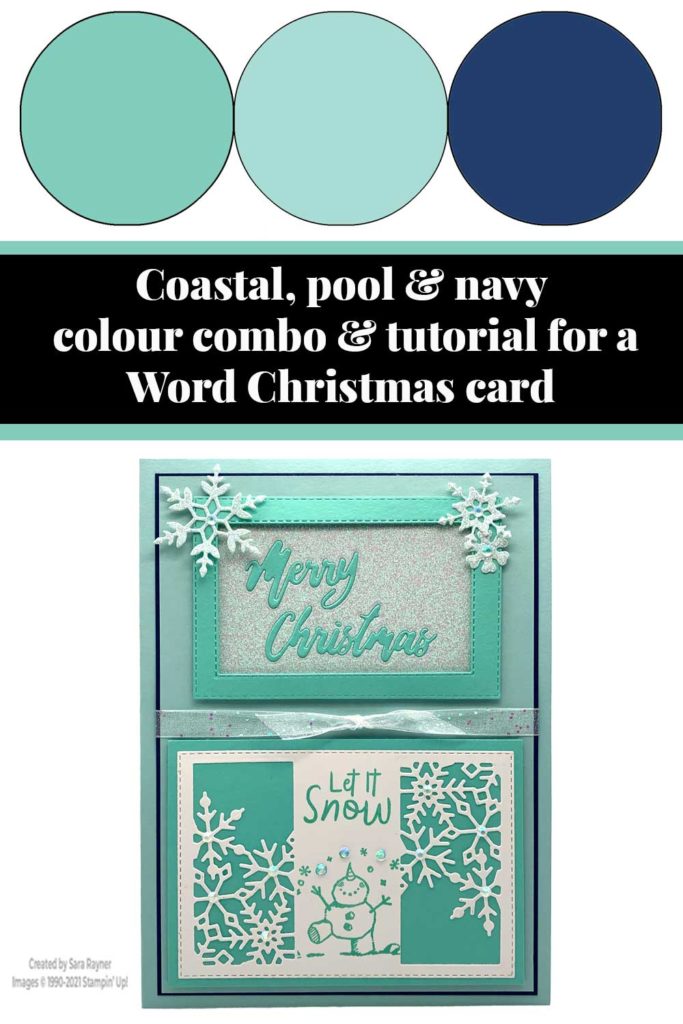
Sneak Peek
One of the sneak peeks on this card is the blue version of the Supple Shimmer Specialty Papers. I shared a teeny peek of this on my chimney Christmas card. Each pack (£4.75) has 2 sheets of 12″ x 12″ single sided glitter paper; a sheet each in pink and blue. The other sneak peek is the Iridescent Rhinestones. Each pack (£7.00) has a total of 200 adhesive-backed gems. The gems are 4mm, 5mm and 6mm.
Colour Combo
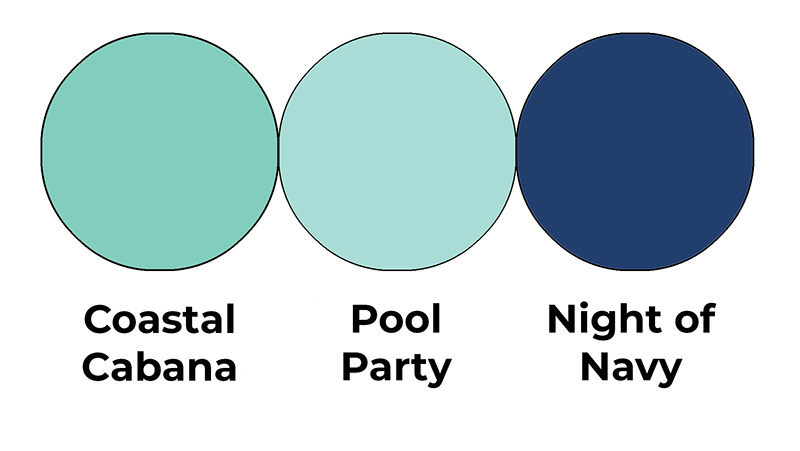
The colour combo mixes Coastal Cabana, Pool Party and Night of Navy.
Snowy Christmas card
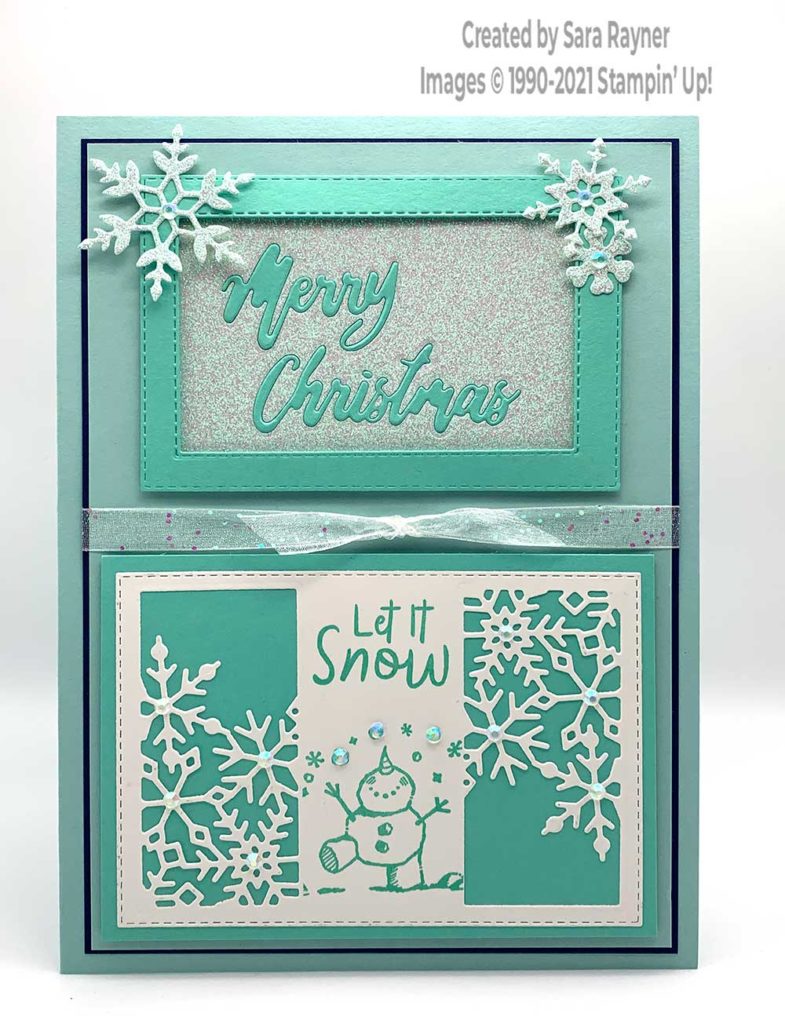
Start with an A5 portrait card of Pool Party. Mat a card front layer of more Pool Party onto Night of Navy. Use the Word Wishes dies to die cut the sentiment from both Coastal Cabana and Supple Shimmer Specialty Paper. Jigsaw the Coastal Cabana words into the negative space of the Supple Shimmer Specialty Paper (see video below). Adhere direct to the top of the card front layers. Die cut a frame from Coastal Cabana card using the Stitched Rectangle dies and pop up over the die cut sentiment with dimensionals. Using the So Many Snowflakes dies, die cut three snowflakes from Supple Shimmer Specialty Paper and adhere them direct to the frame. Adhere White Glittered Organdy Ribbon beneath the sentiment panel and tie on a knot of the same ribbon.
Die cut a large Stitched Rectangle from Basic White card. Using the Giving Gifts dies, die cut the same snowflake aperture from each side of the rectangle but rotate the die 90. Stamp a sentiment and snowman image from the Snowman Season set in between the die cut areas with Coastal Cabana ink. Mat the stamped, die cut panel, onto Coastal Cabana card and then pop up on the lower section of the card front layers with dimensionals. Adhere the layers direct to the card front. Finish with Iridescent Rhinestones in the centres of the snowflakes and above the juggling snowman.
Here’s a quick video with tips for the inlaid die cut technique. Please subscribe to my Youtube channel for future quick tips and quick cards.
Snowy Christmas card insert
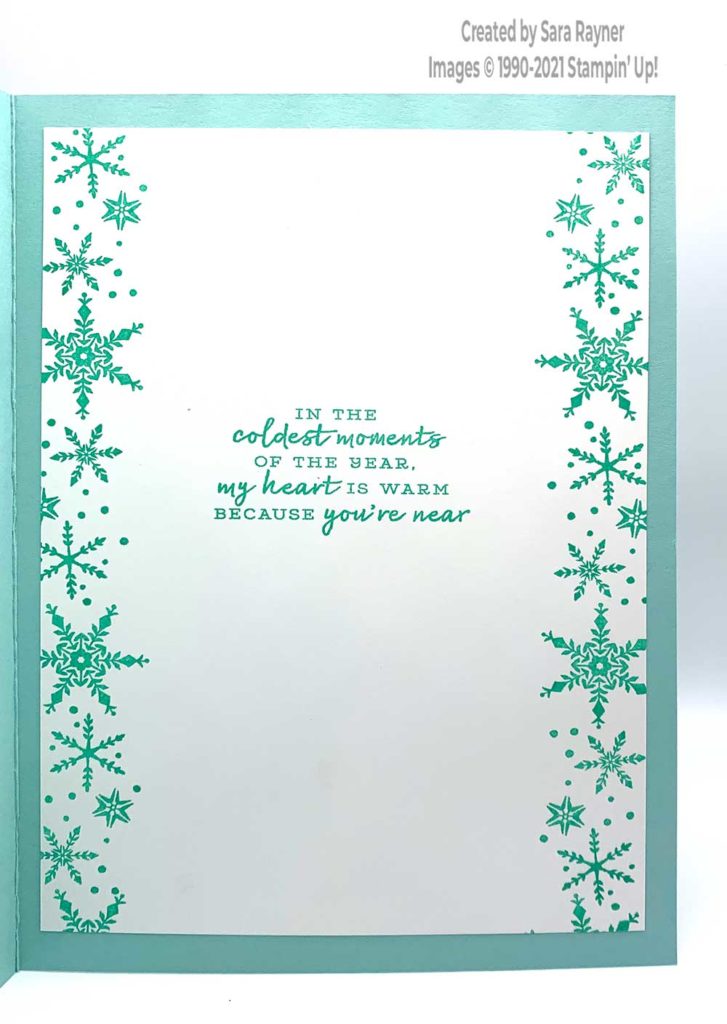
On the Basic White insert, using Coastal Cabana ink, stamp a sentiment from the Snowflake Wishes stamp set. Use snowflakes from the same set to stamp down both left and right borders with the same ink.
Thanks for stopping by.
Sara xx


0 Comments