Today’s tutorial is for an iridescent Christmas card. It combines the iridescent paper from the Whimsy & Wonder DSP with the iridescent rhinestones coming in January.
This is one of my rare “kitchen sink” and oversize cards. As I was making it for my Mum & Dad, I used lots of different stamp sets and dies and mixed and matched from lots of different sources. Not a cost effective card for a beginner but great fun for a craft collector!
In the tutorial below, I take you step by step through creating the iridescent Christmas card.

Sneak Peek
The sneak peek on this card is the Iridescent Rhinestone Basic Jewels. These are just like our Basic Rhinestones but Iridescent (ie. they have shimmer as well as sparkle)! Each pack (£7.00) has a total of 200 adhesive-backed gems. The gems are 4mm, 5mm and 6mm.
Colour Combo
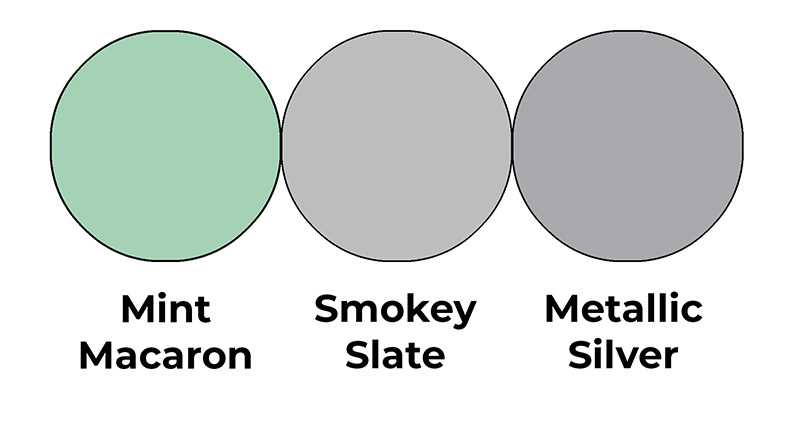
The colour combo mixes Mint Macaron, Smokey Slate and Metallic Silver.
Iridescent Christmas card
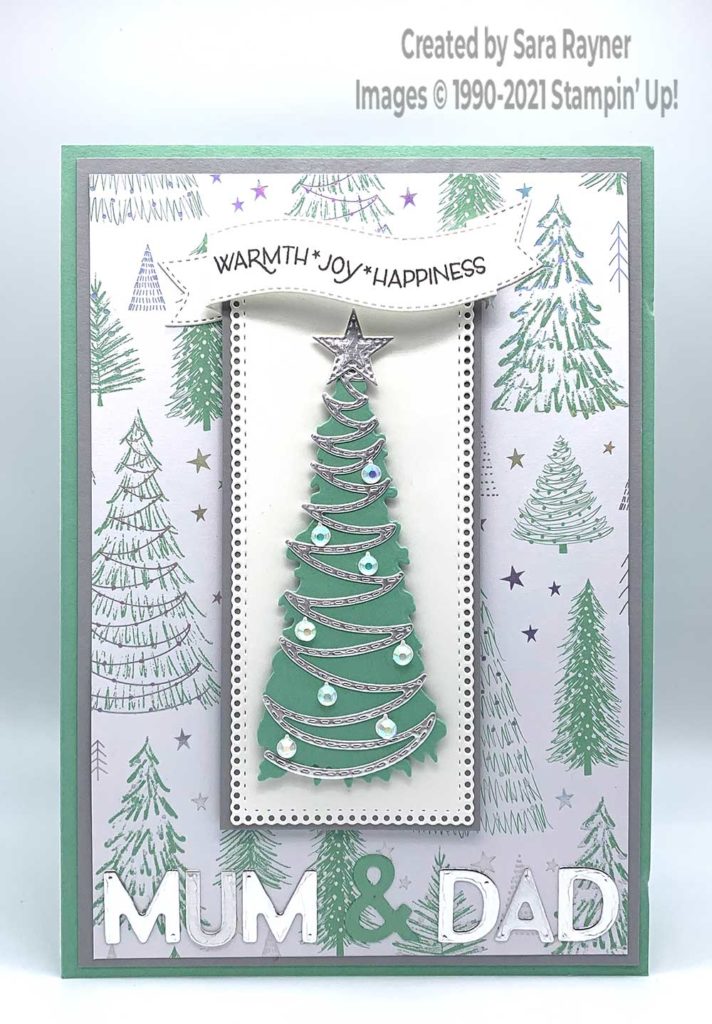
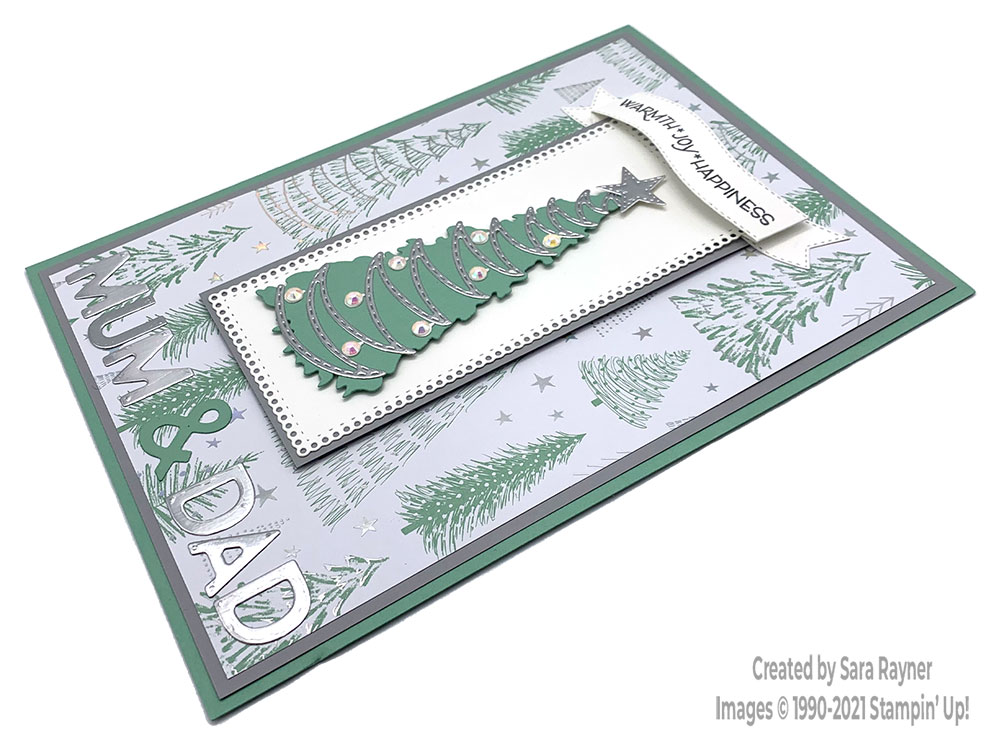
Start with an A5 portrait card of Mint Macaron. Mat with Smokey Slate card and then Whimsy & Wonder Specialty DSP. Using the Ornate Layers die set, die cut the tall rectangle with single hole border panel from Basic White card. Mat onto Smokey Slate card and pop up on the card front with dimensionals. Die cut a tall Christmas tree from Mint Macaron card using the Christmas Trees dies. After backing some Silver Foil with Adhesive Sheet, die cut the long tree trimming from it and apply to the tree. Die cut the set of baubles from Basic White card, adhere them direct to the tree and then top each bauble with an Iridescent Rhinestone. Top the tree with a popped-up, stitched star, die cut from adhesive-backed Silver Foil using the Stitched Stars die set. Pop the panel up on the card front with dimensionals.
Using Basic Gray ink, stamp a sentiment from the Classic Cloche stamp set onto a banner of Basic White die cut out with the Floral Heart dies. Shape the banner along the fold lines and adhere in place over the top of the Christmas tree panel. Using the Playful Alphabet die set, die cut “Mum” and “Dad” from adhesive-backed Silver Foil and “&” from adhesive-backed Mint Macaron card and apply to the lower front of the card.
Iridescent Christmas card insert
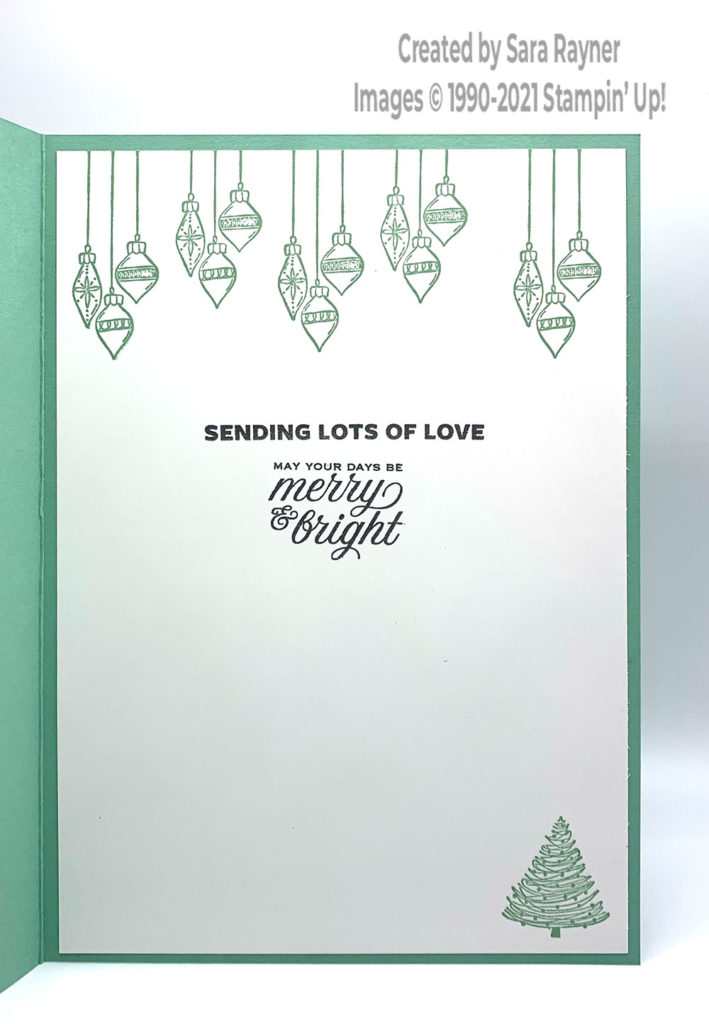
On the Basic White insert, using Basic Gray ink, stamp sentiments from the Sweet Little Stockings and Tidings & Trimmings stamp sets. Switching to Mint Macaron ink, stamp the baubles from the Whimsical Tress stamp set across the top, varying the height of the baubles. Use the same ink to stamp the small Christmas tree in the lower right corner.
Thanks for stopping by.
Sara xx


0 Comments