Today’s tutorial is for a New Horizons trifold card. This simple fun fold card uses the window, to build extra elements into the scene provided by the DSP.
In the tutorial below, I take you step by step through creating the New Horizons trifold card. I also have a supply list for purchasing anything anything you don’t already own.

Colour Combo
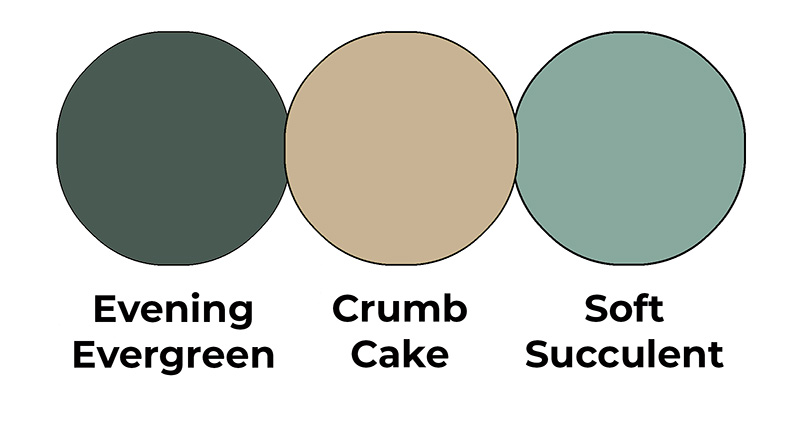
The colour combo mixes Evening Evergreen, Crumb Cake and Soft Succulent.
New Horizons trifold card
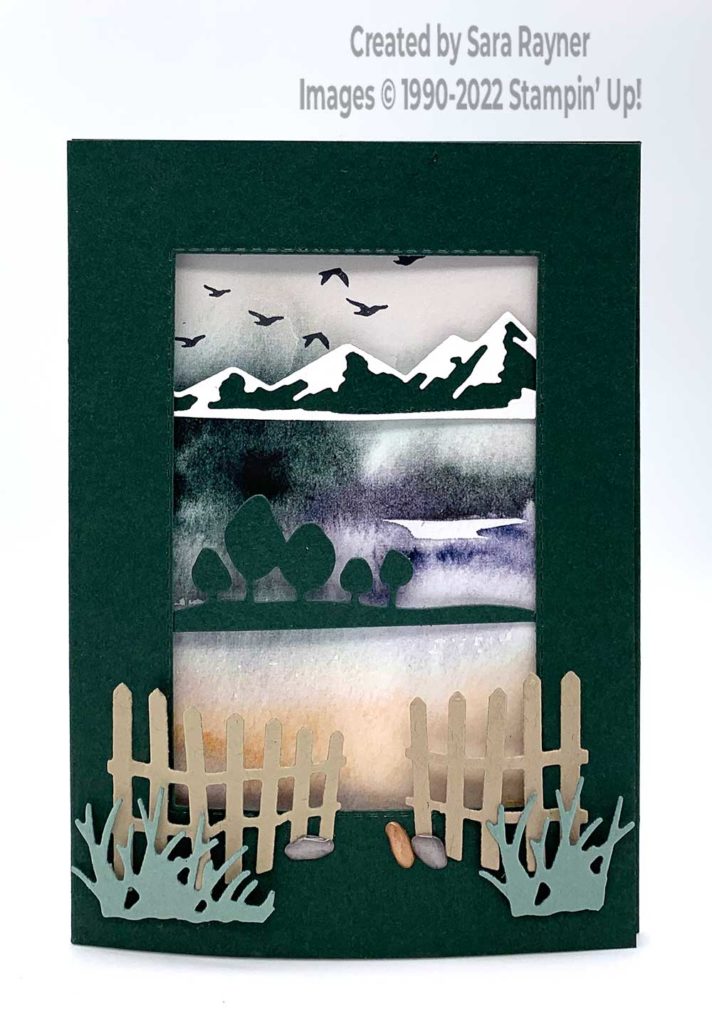
Start with two A6 portrait cards of Evening Evergreen. In one of the card fronts, die cut a window with a Stitched Rectangle die. Flip one of the cards around so that it opens on the left and interleaf it with the window card. Trim a sliver (not even 1/16″) from the card front of the flipped card, if you need to do so to get the cards to fit well together. Adhere the back panel of the flipped card to the back panel of the window card. (See the video below).
Die cut the solid mountains and the tree from Evening Evergreen card using the Horizon dies. Using the same dies, die cut “snow” for the mountains from Basic White card and adhere direct to the mountain. Die cut fences from Crumb Cake card and two lots of grass from Soft Succulent card. Position the New Horizons DSP loose, behind the window and mark where the die cut elements will go (see video below). Open the card and adhere the mountains and tree behind the window, ensuring they can be adhered at each end.
Adhere the die cut fence to the base of the card front, ensuring that you only use adhesive on those sections that don’t overlap the window. Trim the grass to just fit over the ends of the fence and pop up on slivers of dimensional. Finish with a trio of Pebbles Enamel Shapes.
Here’s a short video showing how to assemble the trifold card and how to position the die cut elements. Please subscribe to my Youtube channel to see my quick cards and quick tips each week.
New Horizons trifold card – first insert
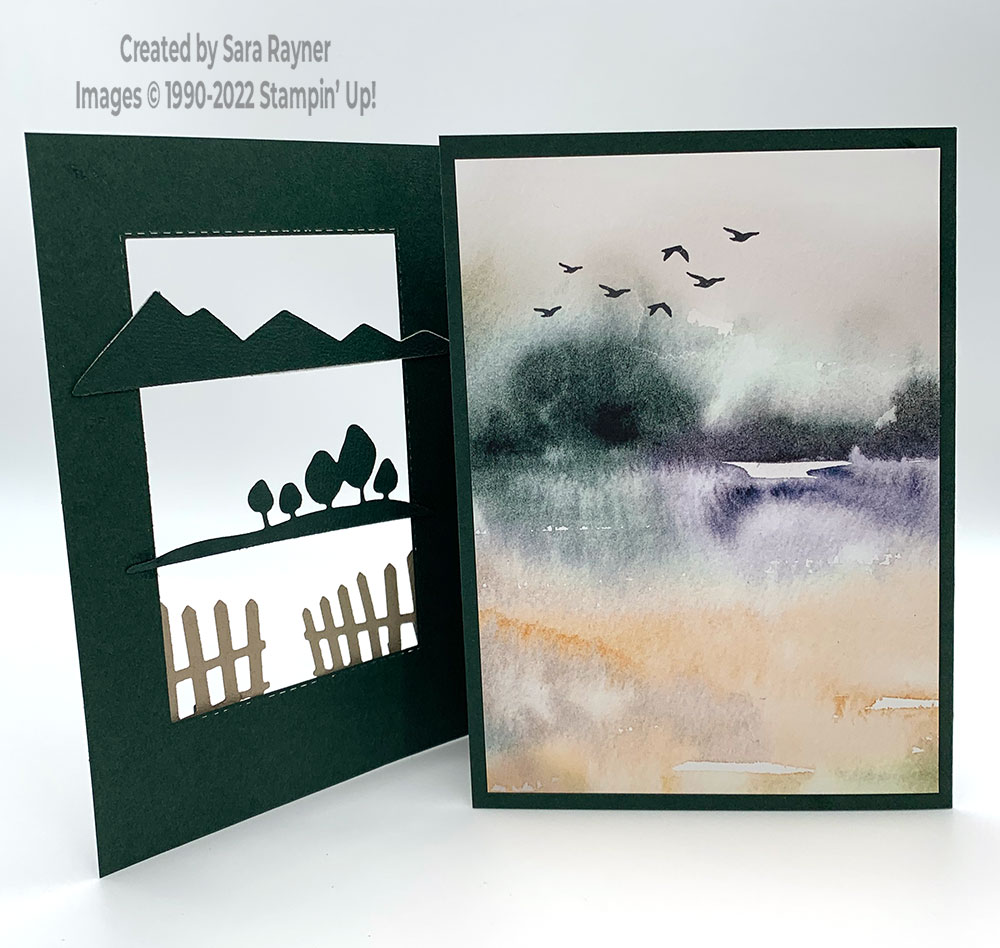
Trim a pattern of New Horizons DSP to fit the inner folded card front (3-7/8″ x 5-1/2″), ensuring that you include the section that will best serve your die cut elements on the card front. Using Memento Black ink, stamp the birds from the On the Horizon set, so that some of them will be seen above the mountains when the card is closed. Adhere the DSP direct to the inner folded card front.
New Horizons trifold card – second insert
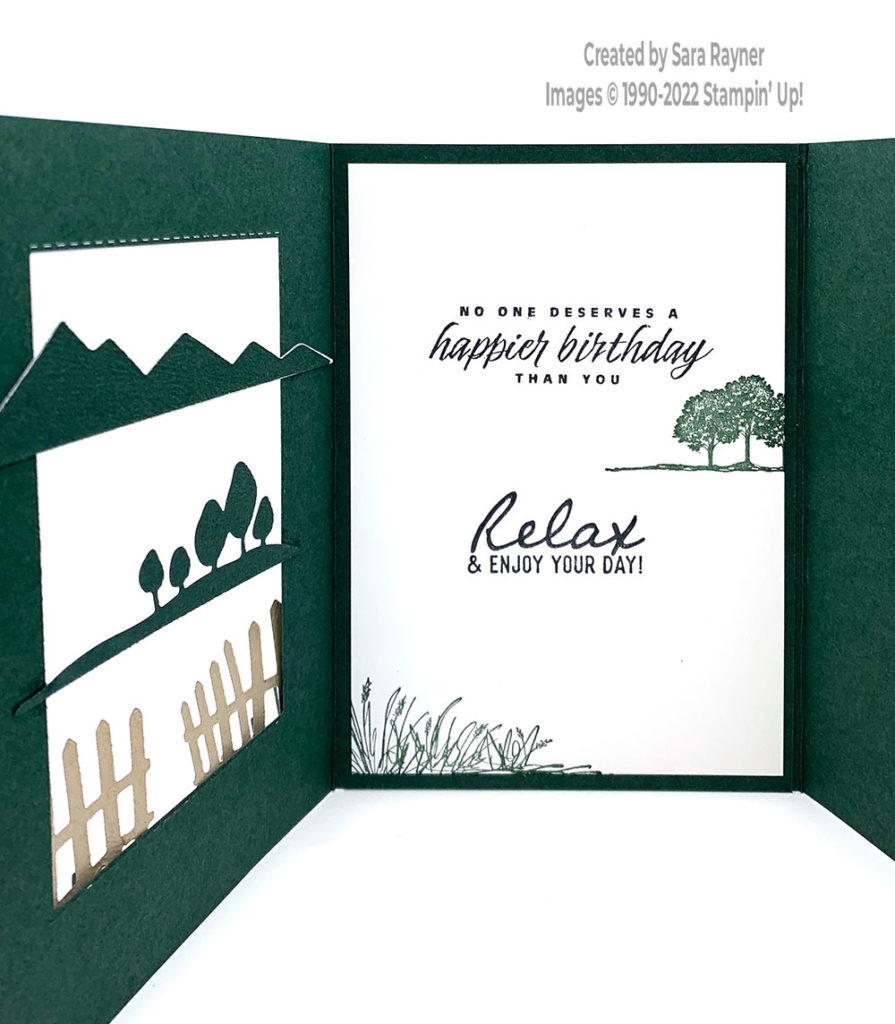
On the Basic White insert, using Memento ink, stamp a sentiment from the Flowering Tulips stamp set. Stamp another sentiment from the On the Horizon set, further down the insert, using the same ink. Switch to Evening Evergreen ink and add the trees from the same set between the sentiments and add the grass in the lower left corner.
Thanks for stopping by.
Sara xx
Buy the supplies for this New Horizons trifold card in my online shop.


0 Comments