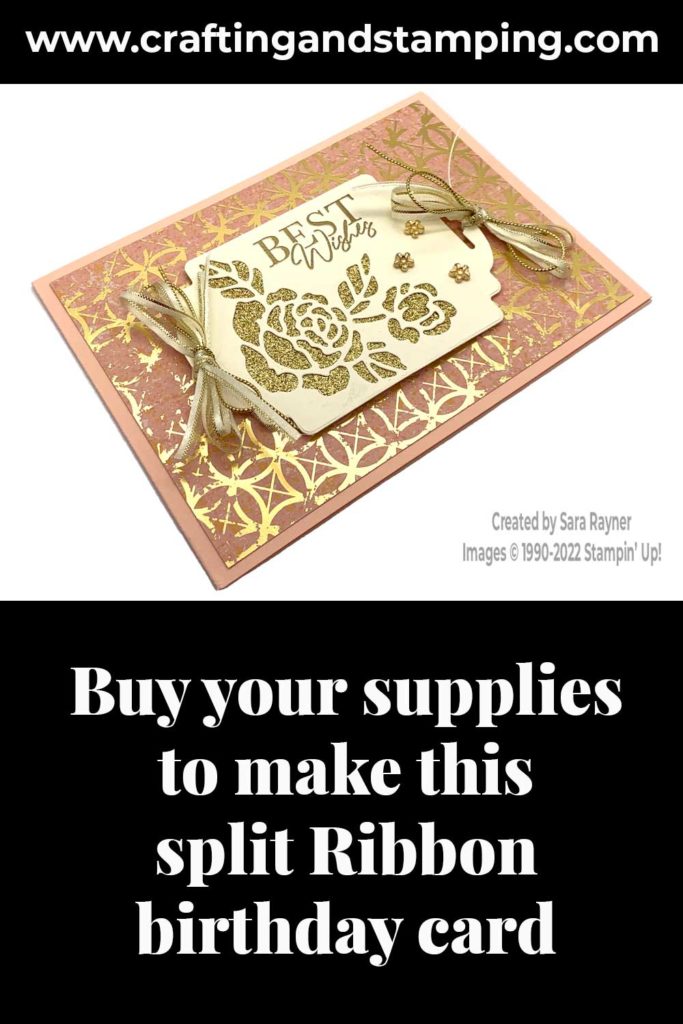
Today’s tutorial is for a split Ribbon birthday card. This time we’re changing the ribbon up by cutting it into two lengthways. This gives it a different look to the ribbon used to frame the Christmas sentiment.
In the tutorial below, I take you step by step through creating the split Ribbon birthday card. I also have a supply list for purchasing anything you don’t already own.
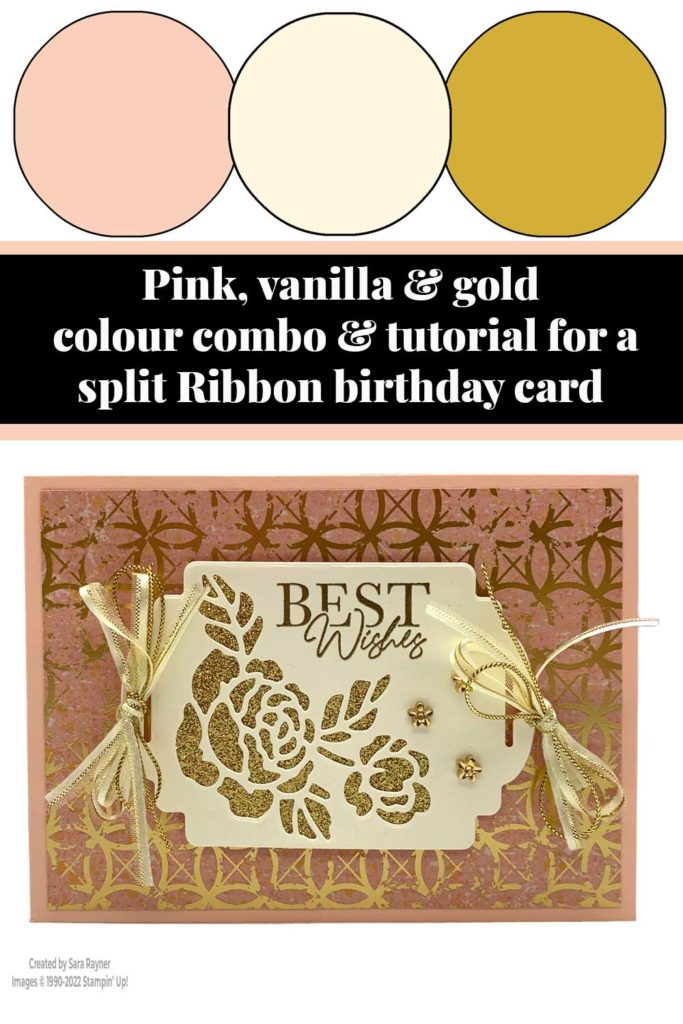
Colour Combo
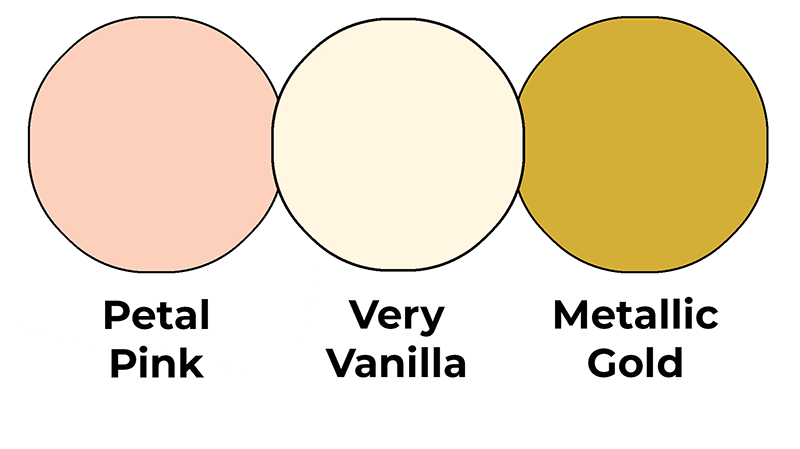
This colour combo mixes Petal Pink, Very Vanilla and Metallic Gold.
Split Ribbon birthday card
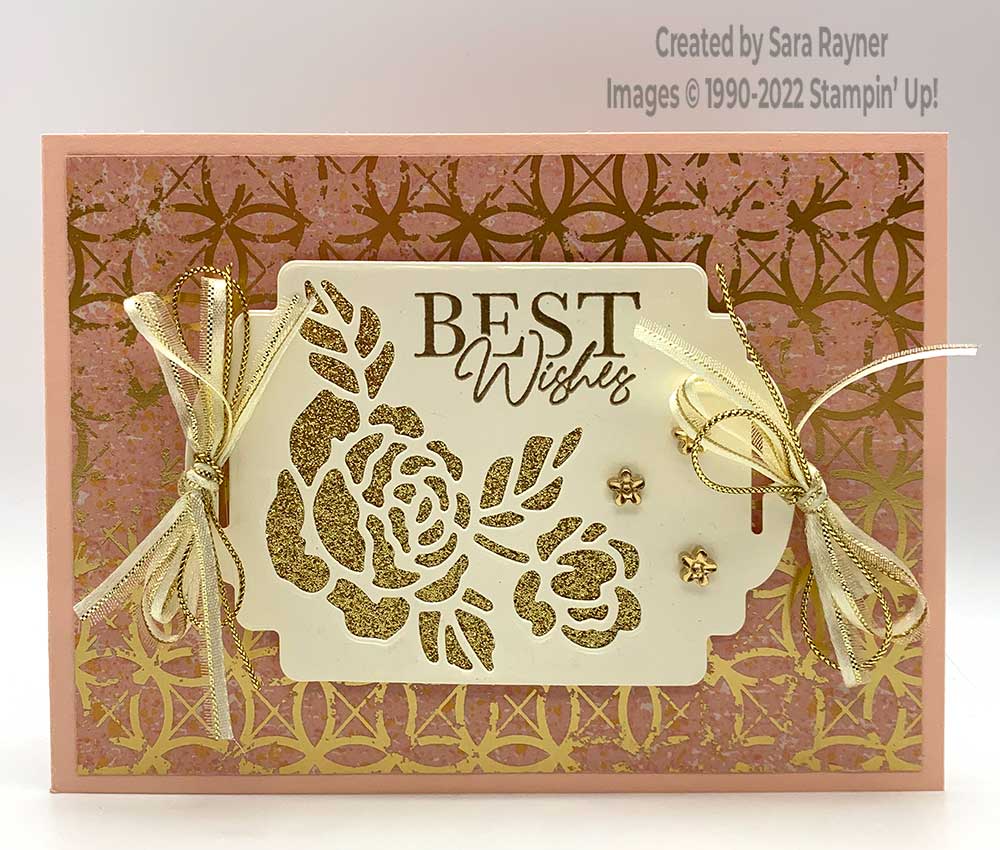
Start with an A6 landscape card of Petal Pink. Mat with Texture Chic Specialty DSP. Using the Designer Tags, die cut the largest tag from Very Vanilla card. Die cut the rose from the same die set from the lower left corner of the tag. Prepare the die cut tag with an Embossing Buddy to ensure that the surface is fully dry and oil free. Stamp a sentiment from the Cottage Rose stamp set using Versamark ink. Cover with Gold Stampin’ Emboss Powder and pour away any excess. If there are any loose specks of powder that are not part of the sentiment, brush these away with the Crafting Brush. Use a Heat Tool to set the powder, moving on to the next section as soon as the powder turns glossy.
Back the tag with Gold Glimmer Specialty Paper. Cut two pieces of Gold & Vanilla Satin Edged Ribbon along the centre. At each end of the tag, tie two pieces of the ribbon and Gold Simply Elegant Trim in a bow. Pop the decorated tag up on the card front with dimensionals. Finish with a trio of brass flower trinkets.
Split Ribbon birthday card insert
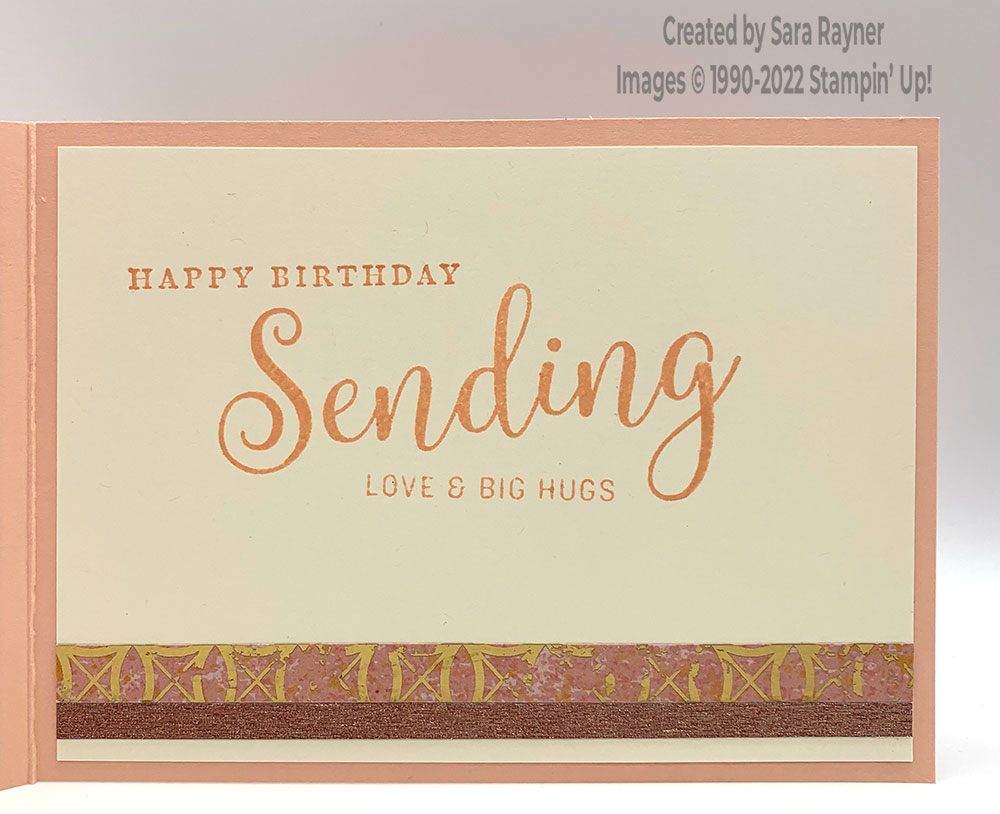
On the Very Vanilla insert, using Petal Pink ink, stamp another sentiment from the Cottage Rose set. Stamp sentiments from the Sending Smiles set beneath it. Add borders of Texture Chic Specialty DSP and Rose Gold Metallic Specialty Paper along the base.
Thanks for stopping by.
Sara xx
Buy the supplies for this split Ribbon birthday card in my online shop.


0 Comments