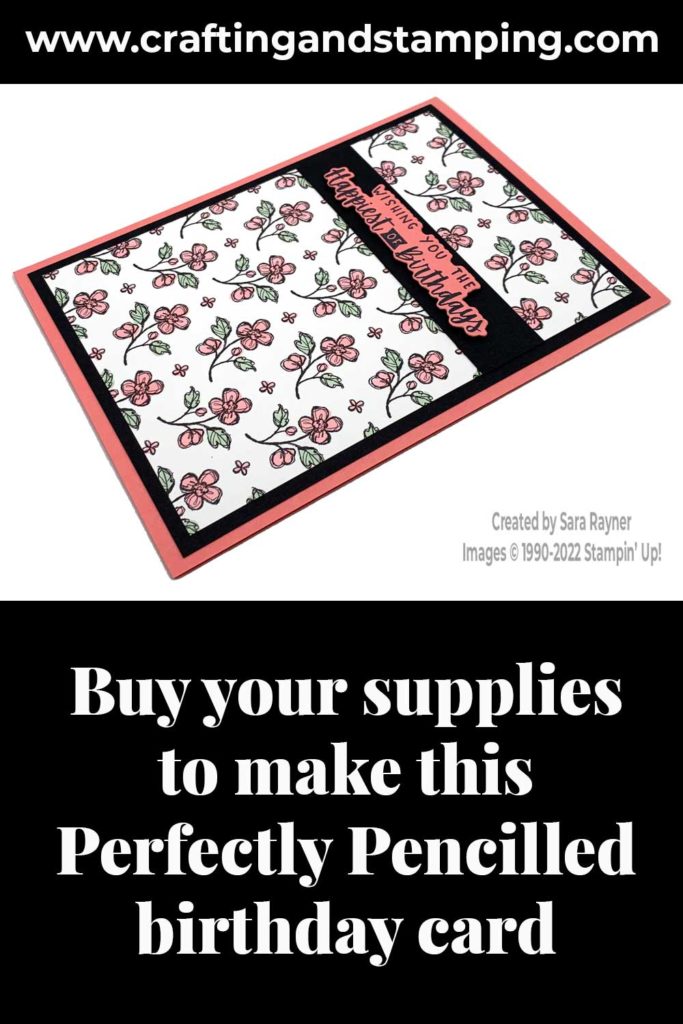
Today’s tutorial is for a Pencilled birthday card. This time instead of just a little spot colouring, the whole card front layer is coloured. The pattern is a small design with a good amount of white space and so it doesn’t take very long to complete.
My favourite colouring medium is our Stampin’ Blends but as we’re only using two colours, you could select from a wide variety of other options. Try our Stampin’ Write Markers, Watercolour Pencils or even Stampin’ Pads with Blender Pens.
In the tutorial below, I take you step by step through creating the Pencilled birthday card. I also have a supply list for purchasing anything you don’t already own.
Colour Combo
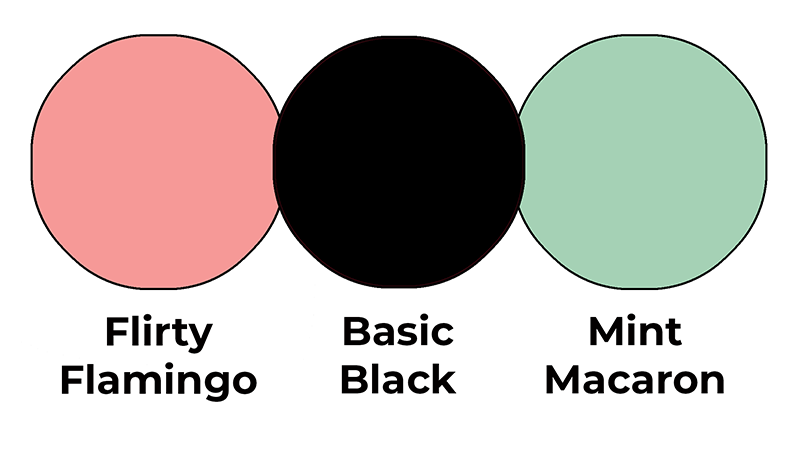
This colour combo mixes Flirty Flamingo, Basic Black and Mint Macaron.
Pencilled birthday card
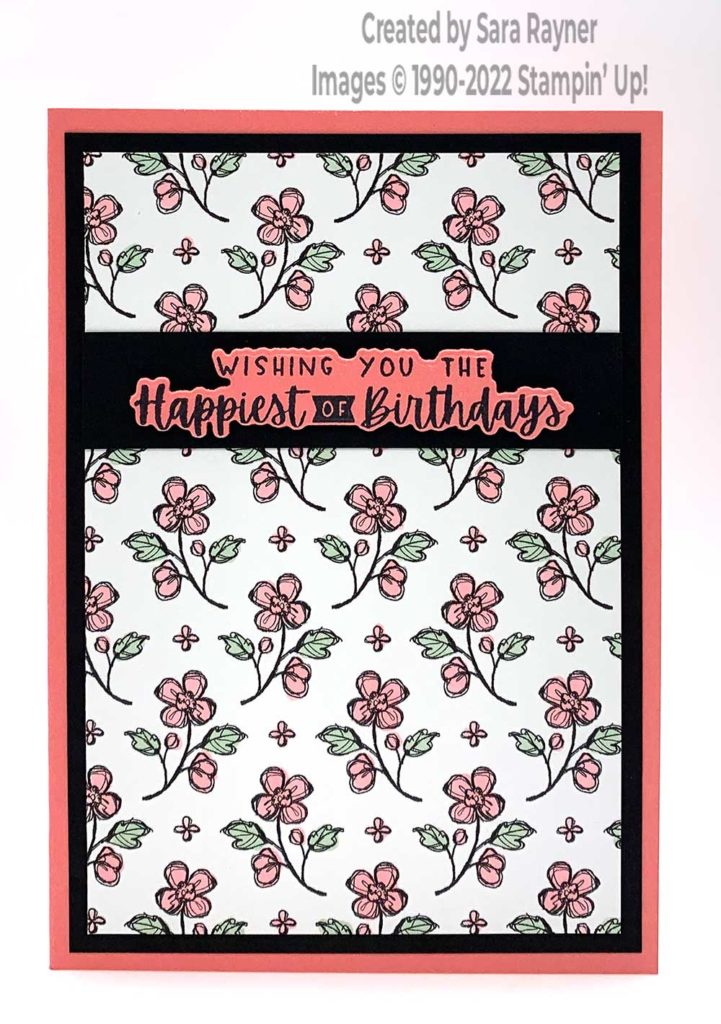
Start with an A6 portrait card of Flirty Flamingo. Mat with a card front layer of Basic Black card. Cut a (slightly smaller) card front layer of Perfectly Penciled DSP. Colour the flowers with Light Flirty Flamingo and Light Mint Macaron Stampin Blends. Adhere direct to the card front. Cut a narrow strip of Basic Black card, the width of the card front and adhere direct to the top third of the card front. Using Memento Black ink, stamp the birthday sentiment from the Charming Sentiments set onto a scrap of Flirty Flamingo card. Die cut out with the co-ordinating Sentiment Silhouettes dies. Pop up on the Basic Black panel with a mix of mini and standard dimensionals.
Pencilled birthday card insert
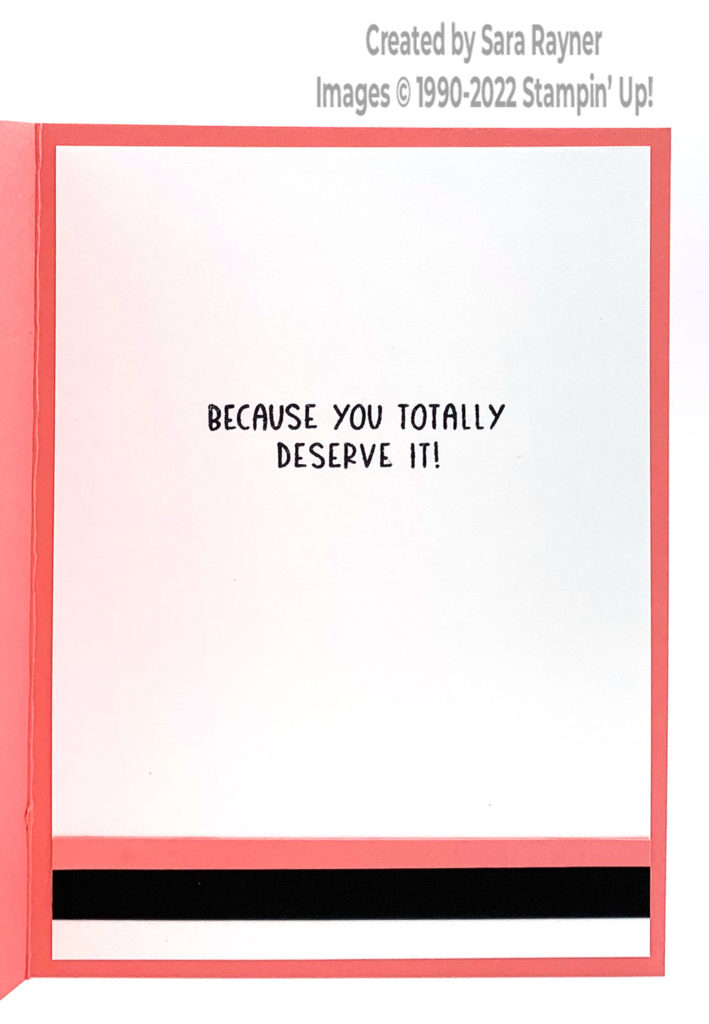
On the Basic White insert, using Memento Black ink, stamp another sentiment from the Charming Sentiments set. Add skinny borders of Flirty Flamingo and Basic Black card along the base.
Thanks for stopping by.
Sara xx
Buy the supplies for this Pencilled birthday card in my online shop.


0 Comments