Today’s tutorial is for a duo of coloured Birthday Organizer cards. This time we’re transforming the Organizer Kit Birthday Cards by adding some colour. This simple technique can be followed by beginners as most homes have some coloured pens in a drawer somewhere. I’m using my Stampin’ Write Markers but almost any coloured pen will work.
In the tutorial below, I take you step by step through creating the coloured Birthday Organizer cards. I also have a supply list for purchasing anything you don’t already own.

Colour Combo 1
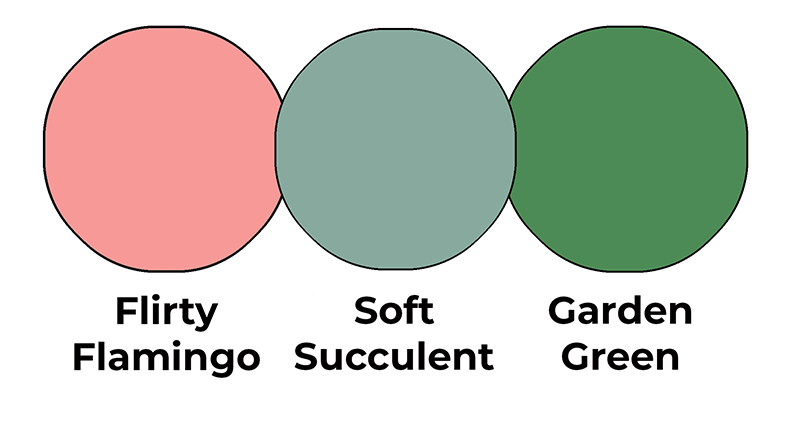
The more feminine colour combo mixes Flirty Flamingo, Soft Succulent and Garden Green.
Coloured Birthday Organizer card 1
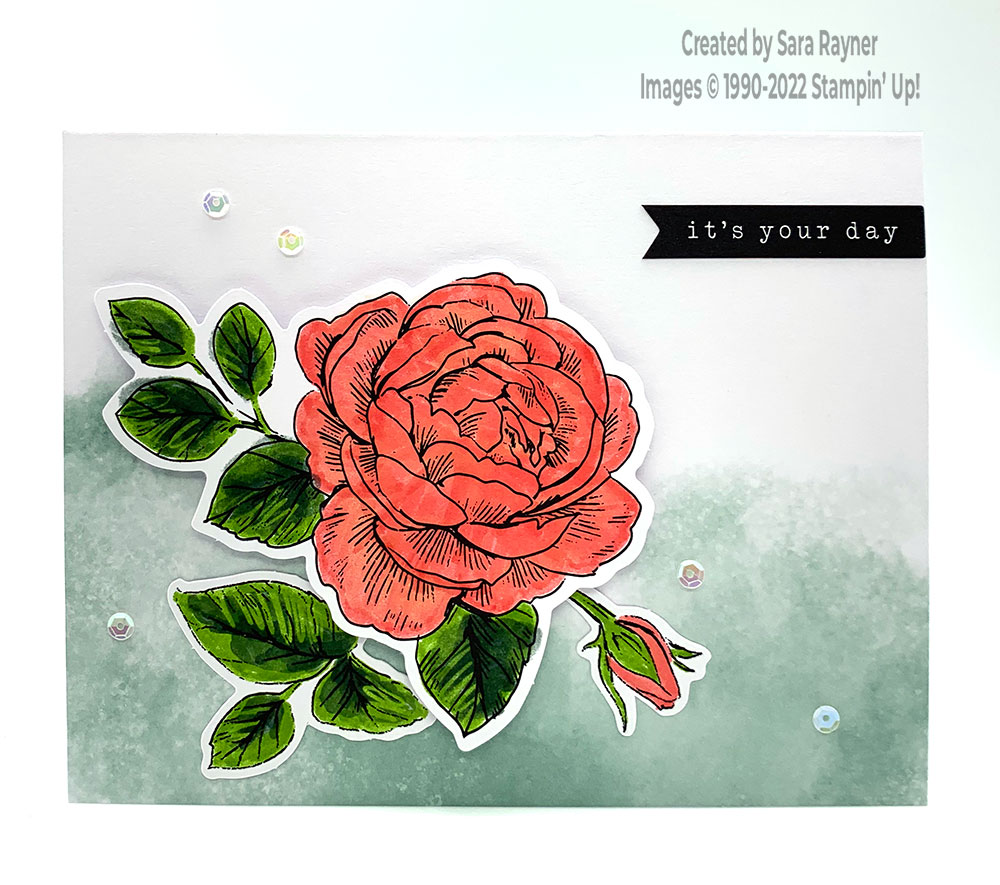
Start with a Soft Succulent card base. Colour in the full bloom flower, part coloured trio of leaves and the flower bud. (I used Flirty Flamingo and Garden Green markers). Even though there’s already some colour there, colour over the top of this, as it will help to blend the colours (see the video). Peel off and stick the sentiment in line with the top and right edge of the card.Pop the flower spray up on the card front with dimensionals. Use mini glue dots to tuck the extra leaves and flower bud underneath the popped up flower. Finish with Iridescent Sequins.
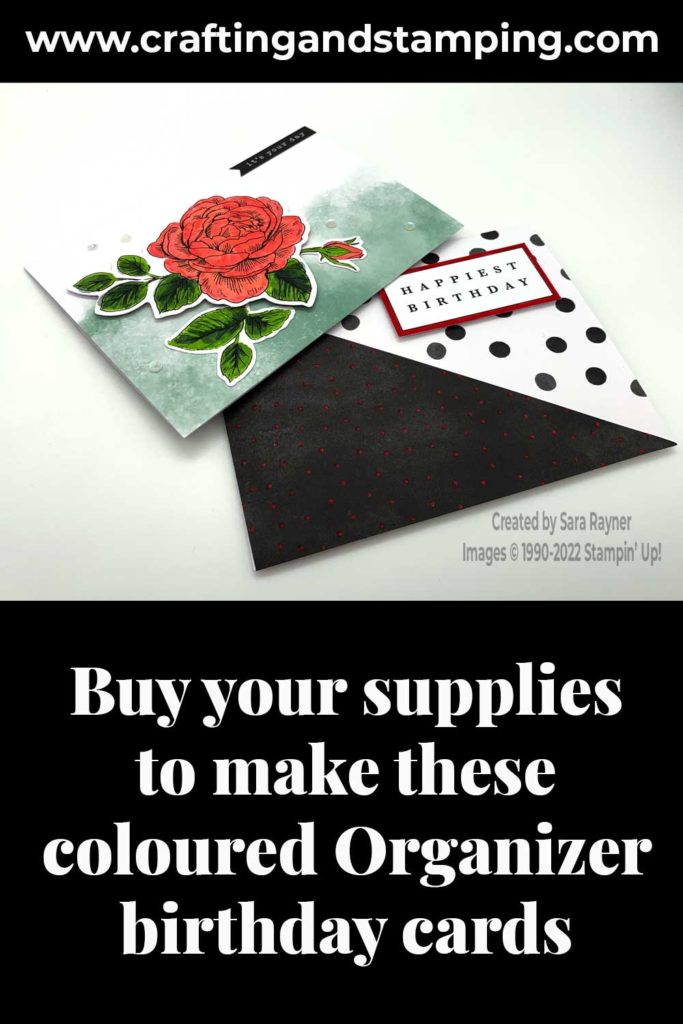
Colour Combo 2
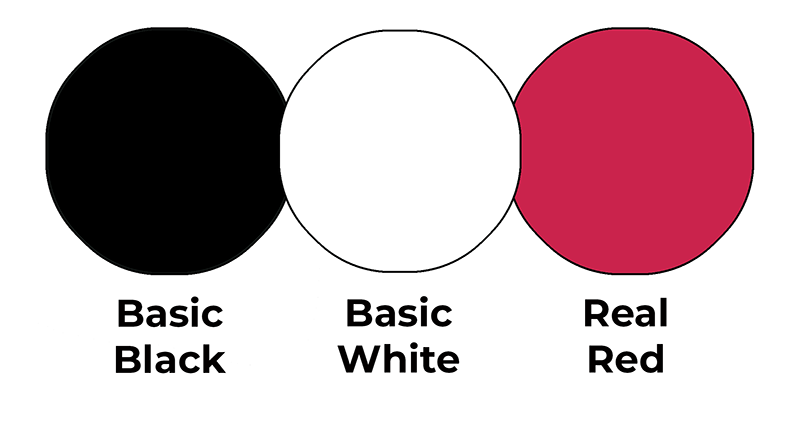
The more masculine colour combo mixes Basic Black, Basic White and Real Red.
Coloured Birthday Organizer card 2
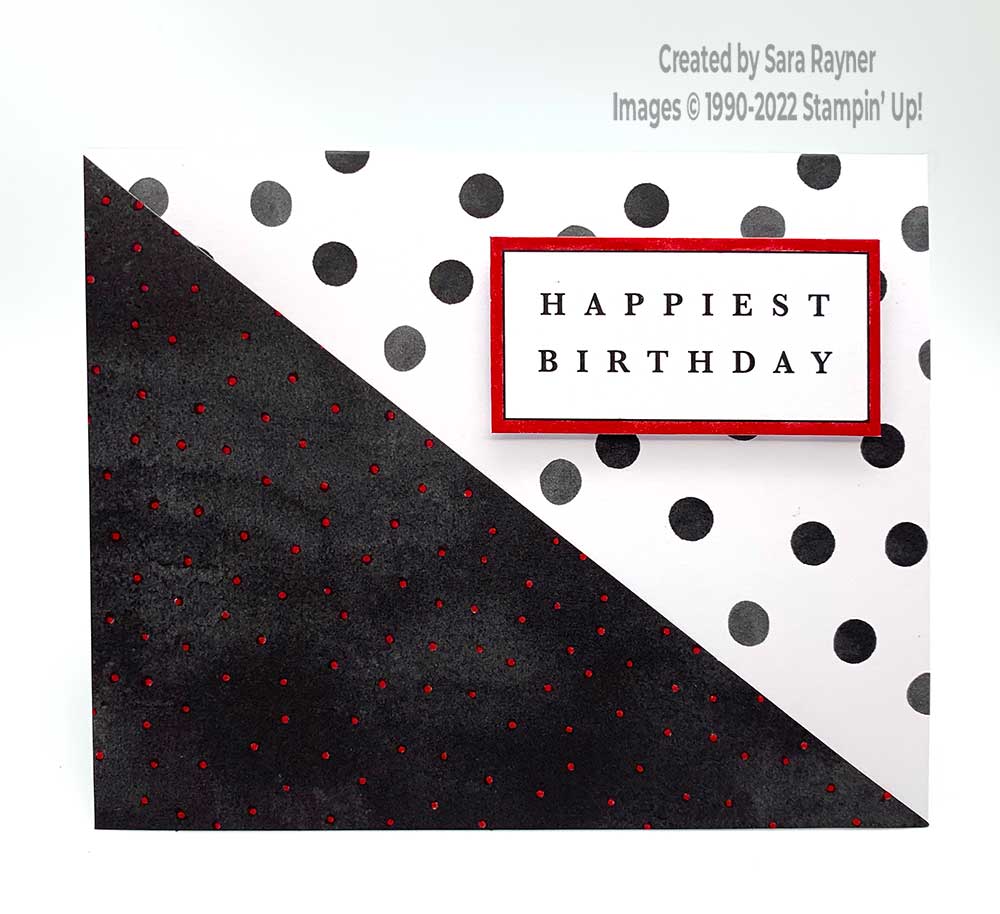
Start with a Basic Black spotted card base. Colour in the teeny spots of the dotted triangle and colour around the outside frame of the birthday sentiment. (I used a Real Red marker). Press out and adhere the Basic Black dotted triangle in the bottom left corner, with Tear and Tape. Peel off the sentiment and use dimensionals (edge pieces) to pop it up on the card front.
Here’s a short video with a few tips on colouring your own kit cards. Please subscribe to my Youtube channel to see my quick cards and quick tips each week.


0 Comments