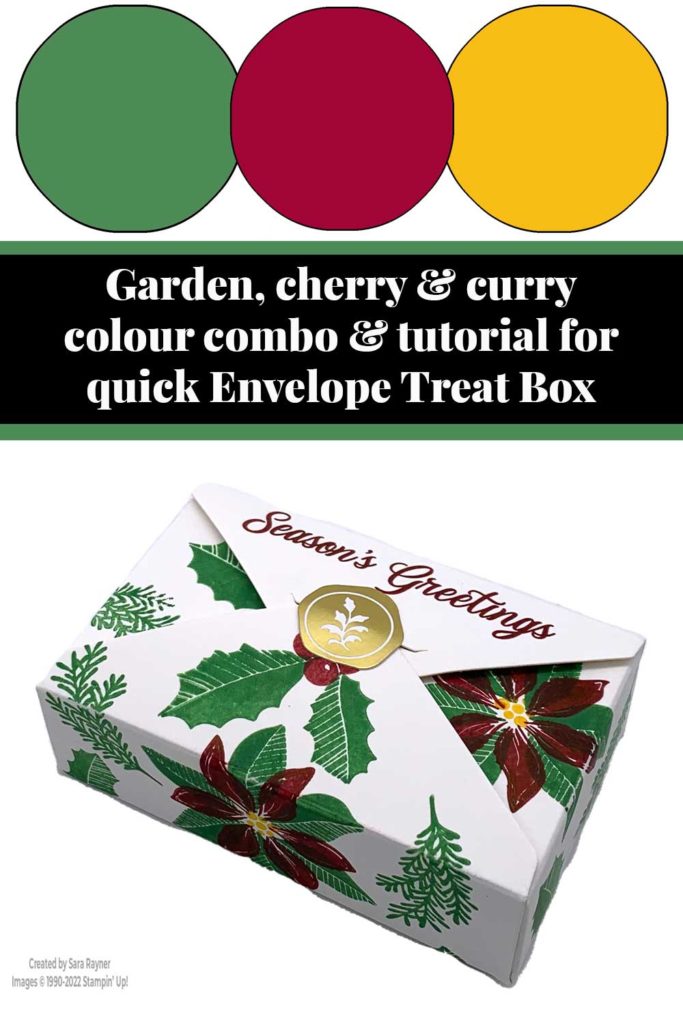
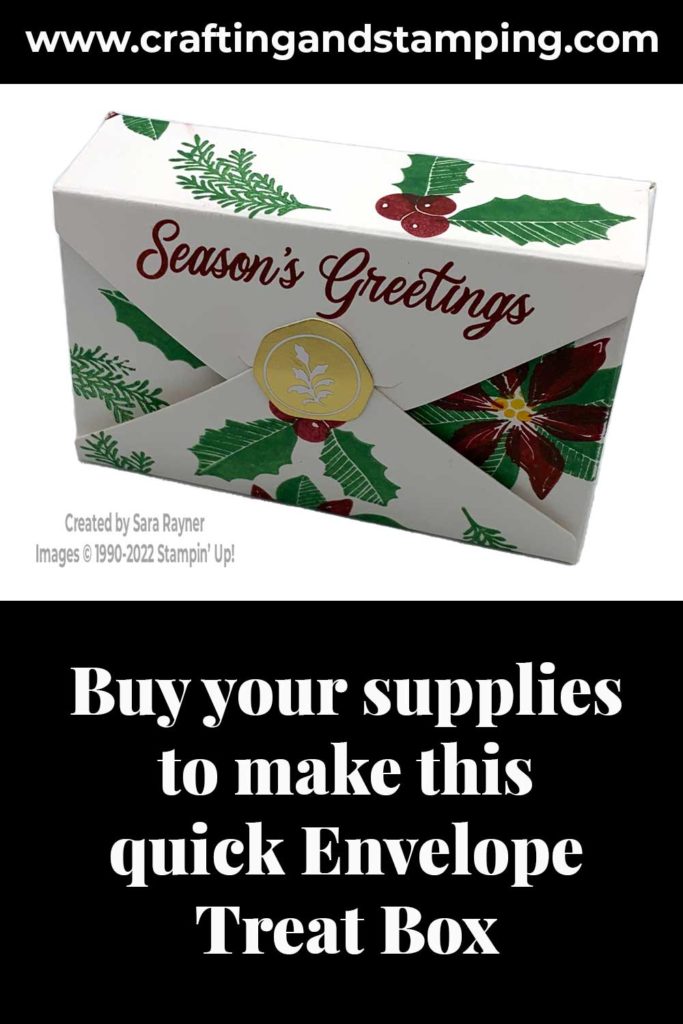
Today’s tutorial is for a quick Envelope Treat Box. This one is simply stamped and closed with one of the included labels. All you need to add is a stamp set and some inks.
Each week over on my Facebook page (please pop over and Like or Follow) I choose a product pick of the week to feature. This week, it’s the Envelope Treat Boxes. These mini boxes are simple to put together and can be decorated in a variety of ways. There are 10 boxes in each package.
In the tutorial below, I take you step by step through creating the quick Envelope Treat Box. I also have a supply list for purchasing anything you don’t already own.
Colour Combo
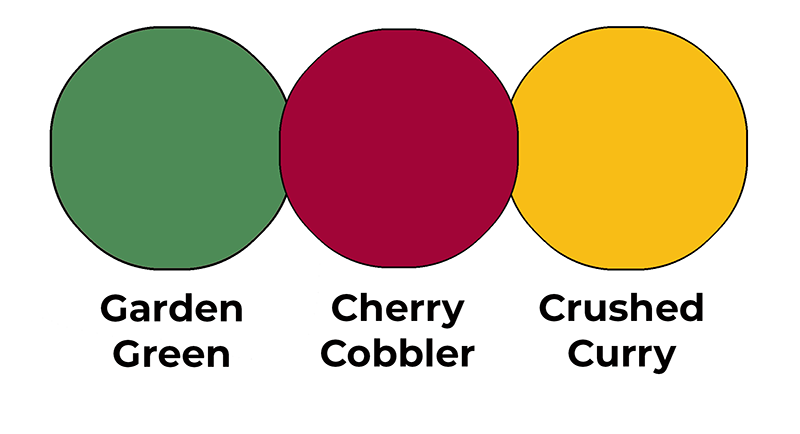
This colour combo mixes Garden Green, Cherry Cobbler and Crushed Curry.
Quick Envelope Treat Box
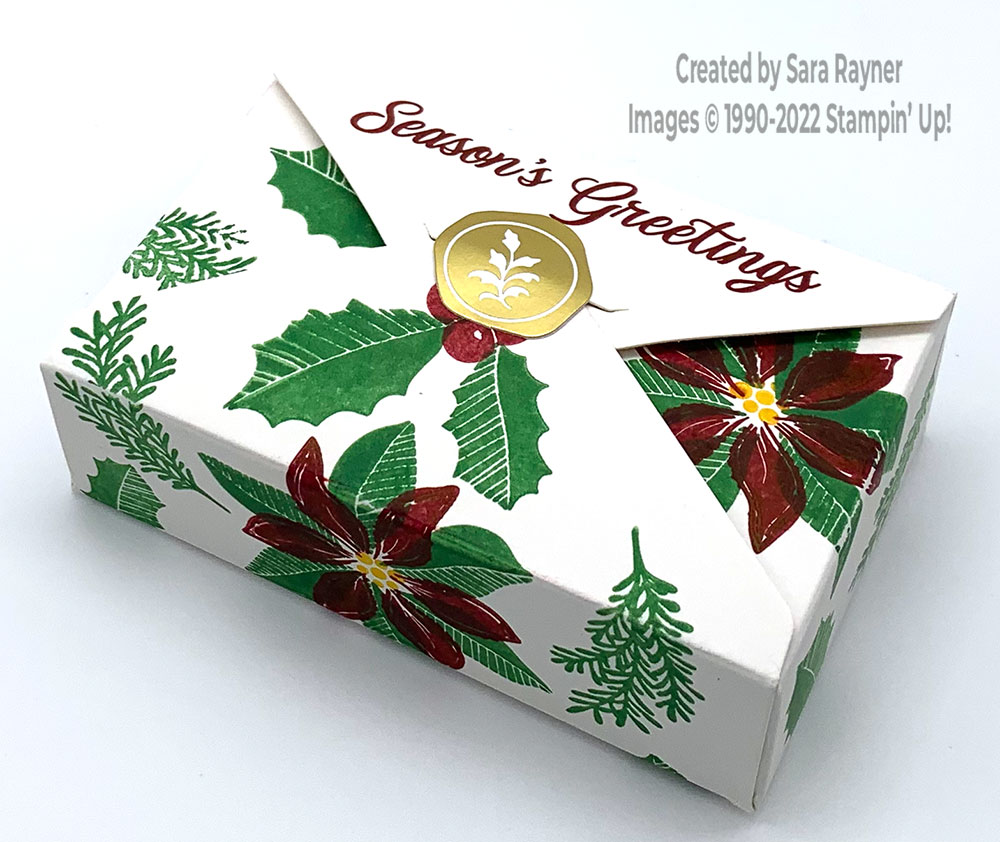
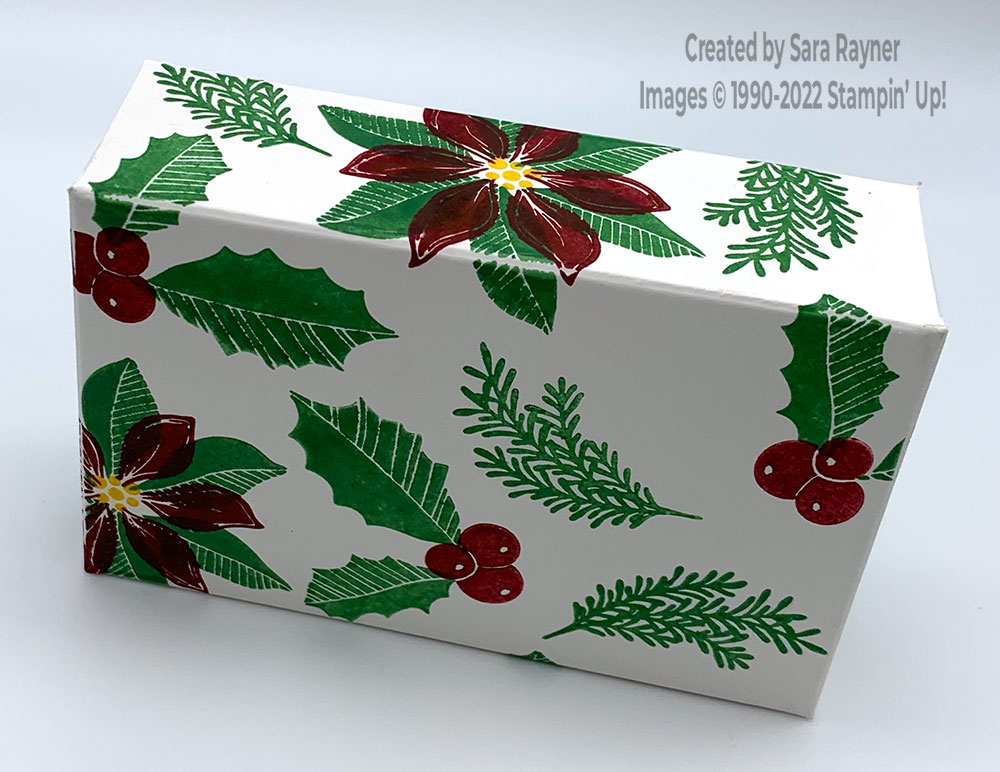
Start with an Envelope Treat Box fully flat for stamping (see the video below for stamping tips). Using Cherry Cobbler ink, stamp a sentiment from the Merriest Moments set above the slot and in line with the scored edge above it. Switch to Garden Green ink and stamp the larger (outer) poinsettia leaves from the same stamp set, spaced out across the box. Add the inner petals with Cherry Cobbler ink, positioning them as best you can between the Garden Green leaves. Finish the poinsettia centres with the mini dot clusters stamped in Crushed Curry ink.
Using Garden Green ink, stamp duos of holly leaves in between the poinsettias, leaving sufficient room to add the berries with Cherry Cobbler ink. Stamp sprigs in remaining white space with Garden Green ink. Allow the ink to dry (the box surface is quite slick so the ink floats on top for a while).

Pre-fold along all the scorelines. Fold the tabs into the centre and peel off the tape backing. Fold up the box sides, aligning the edges to adhere.
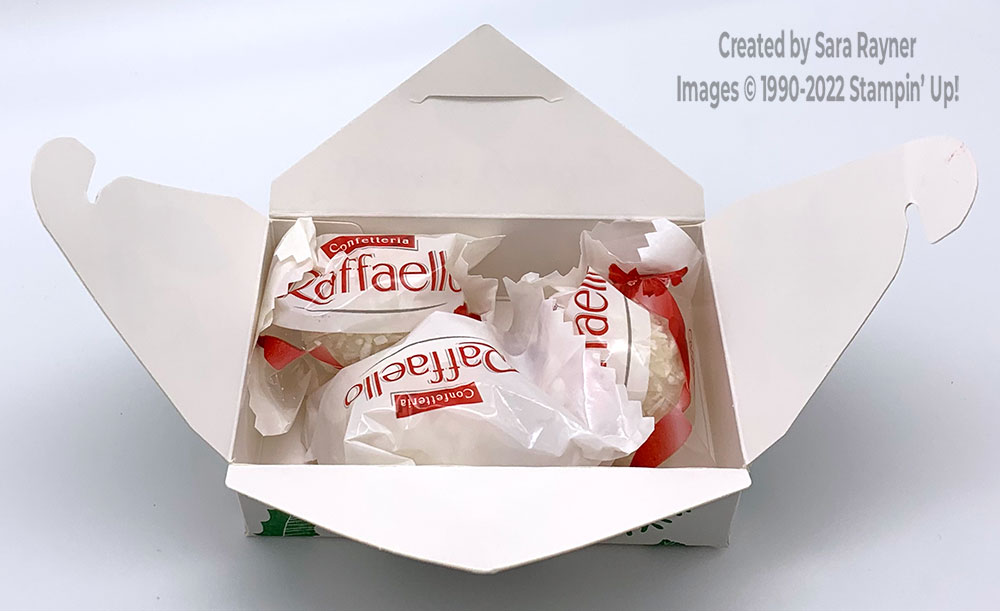
Fill your box. Here I used just three larger chocolates. Hook the end tabs around each other and then slide the point of the other edge into the slot. Finish with a gold label.
This is the back/base of the box.
Here’s a short video showing how this quick box comes together. Please subscribe to my Youtube channel to see my quick cards and quick tips each week.


0 Comments