The same idea could be used with the Evening Evergreen, Very Vanilla and gold pack of Glimmer Specialty Paper.
Colour Combo
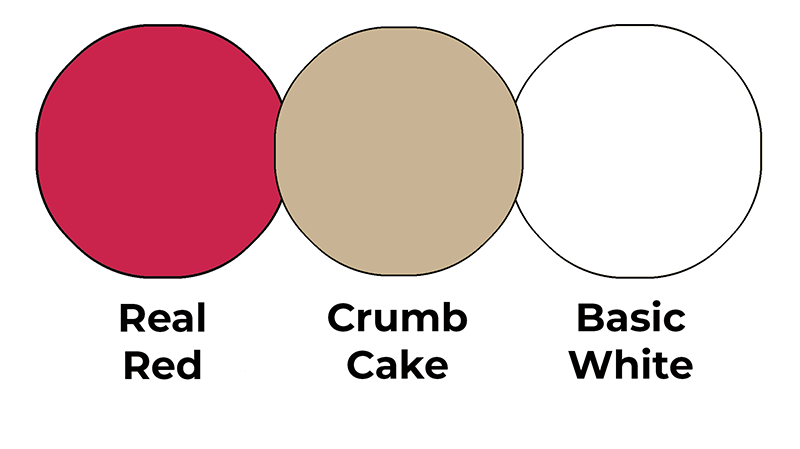
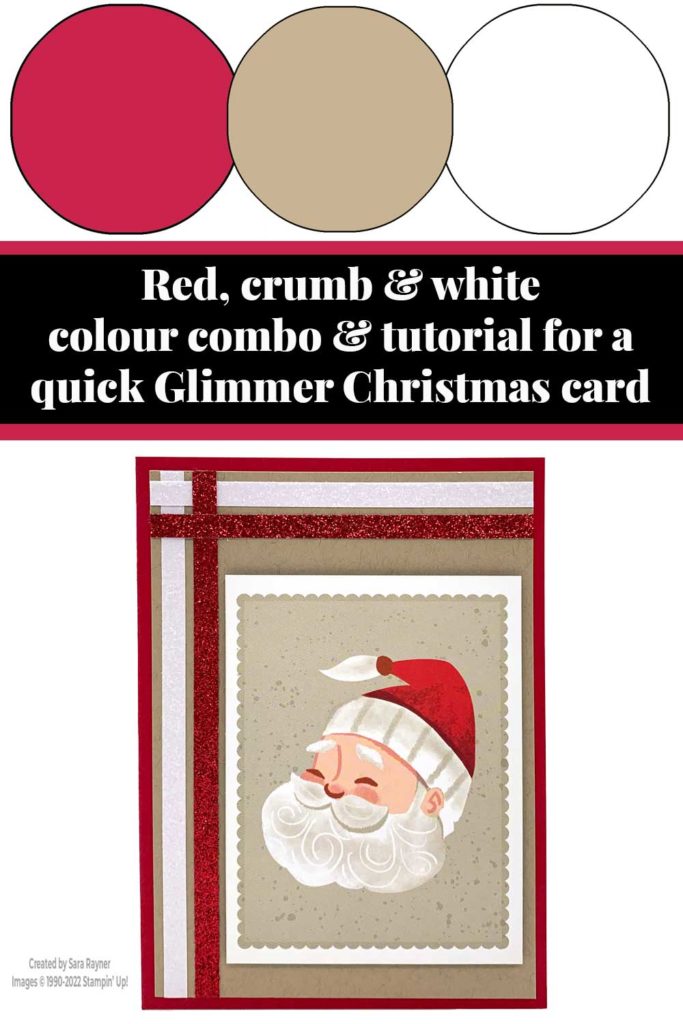
This colour combo mixes Real Red, Crumb Cake and Basic White.
Quick glimmer xmas card
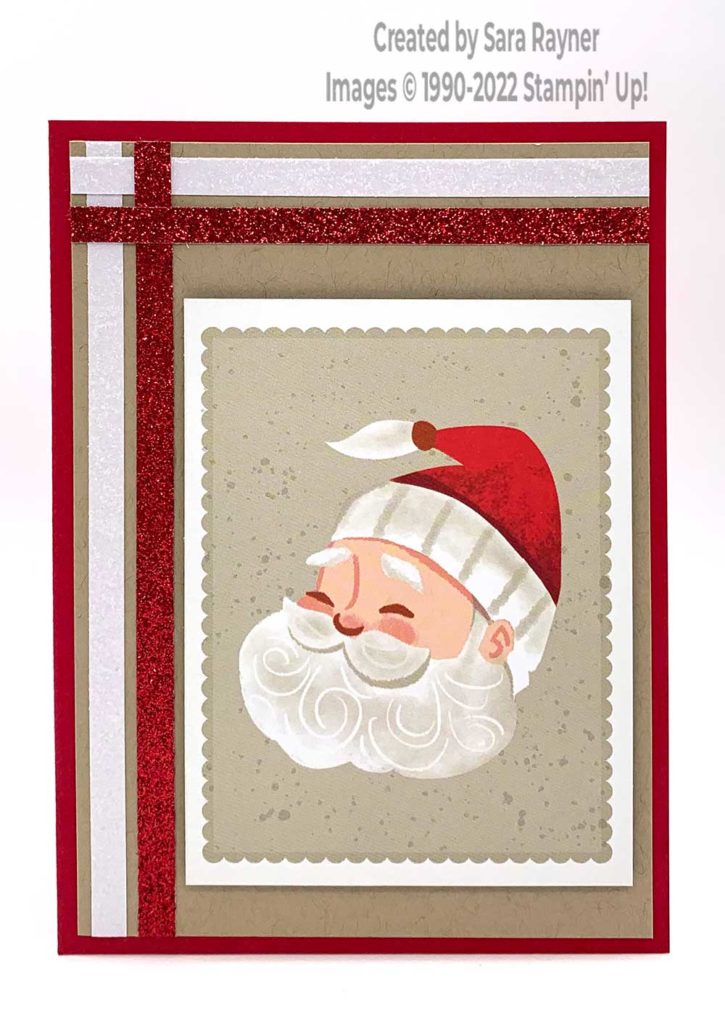
Start with an A6 portrait card of Real Red. Cut two 1/4″ strips from each colour of the Glimmer Paper. Adhere the strips criss-crossed (see video below) to a 3-7/8″ x 5-1/2″ card front layer of Crumb Cake card. Flip the layer over and trim away any excess. Adhere the card front layer direct to the card base. Pop a Santa Express Memories & More card up on the card front with dimensionals.
Here’s a short video showing how this quick card comes together. Please subscribe to my Youtube channel to see my quick cards and quick tips each week.
Quick glimmer xmas card insert
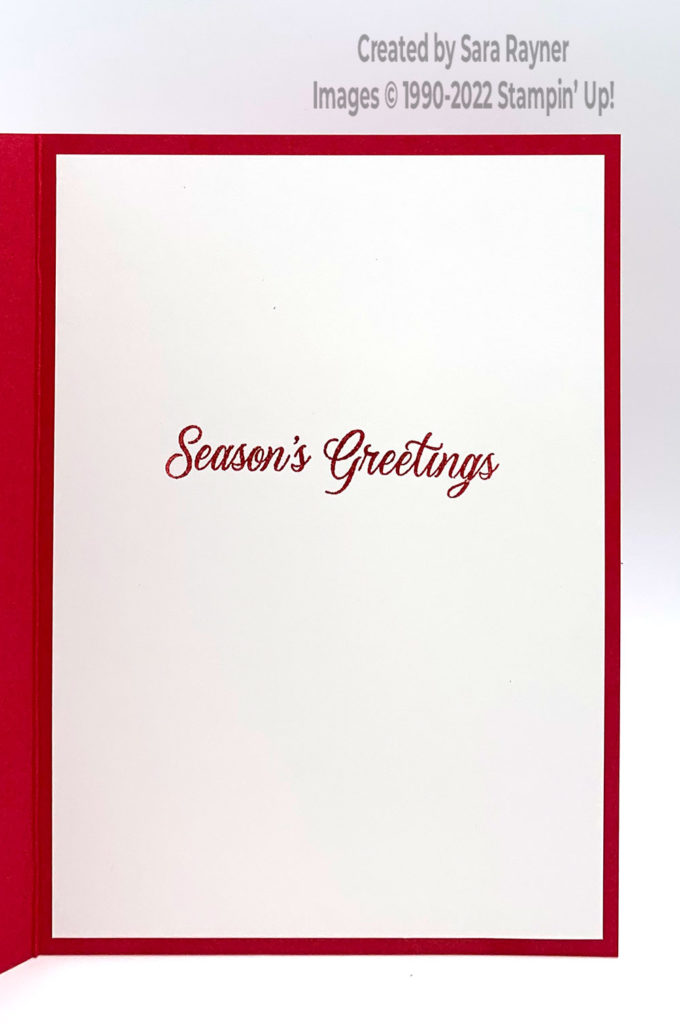
On the Basic White insert, using Real Red ink, stamp a sentiment from the Merriest Moments set.
If you want to simply stamp a sentiment for the front of the card, then you could use an extra strip on each edge. Alternatively you could create a glimmer paper frame on all four sides.
Thanks for stopping by.
Sara xx
Buy the supplies for this quick glimmer xmas card in my online shop.


0 Comments