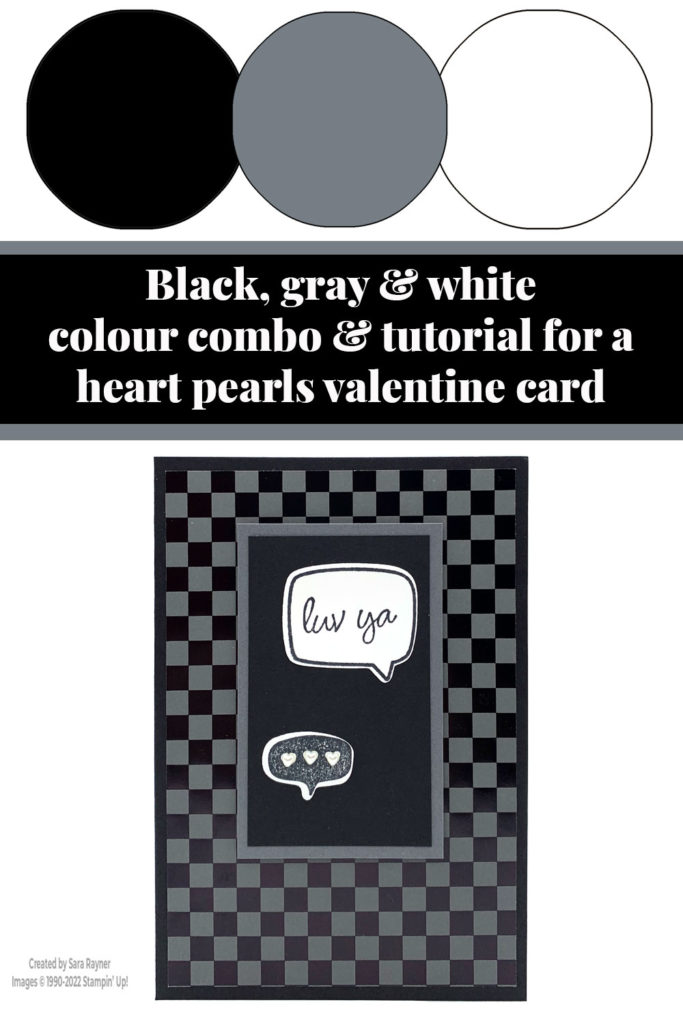
Although I’ve used the heart pearls for a valentine card here, it really is a very minimalist card – ideal for those whose loved ones don’t like “mushy valentine’s cards”.
Colour Combo
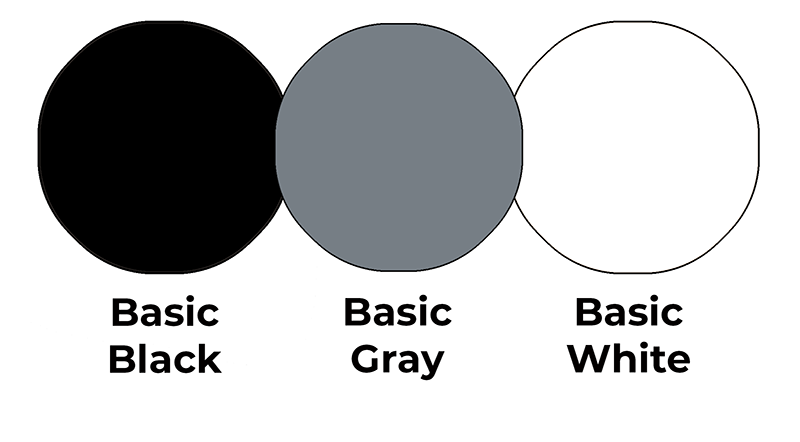
This colour combo mixes Basic Black, Basic Gray and Basic White.
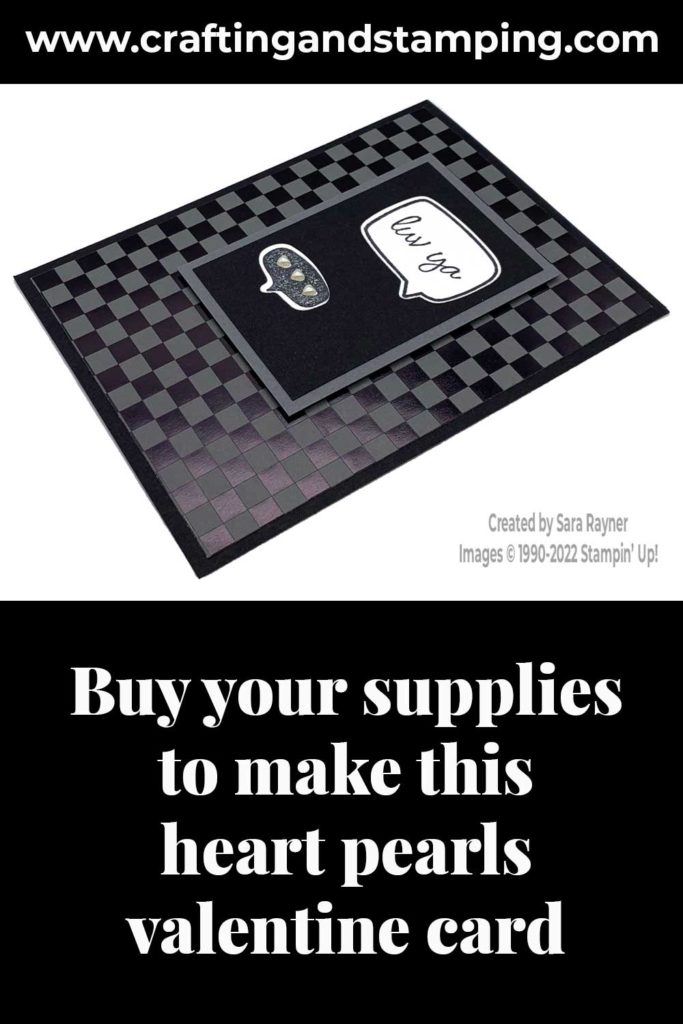
Heart pearls valentine card
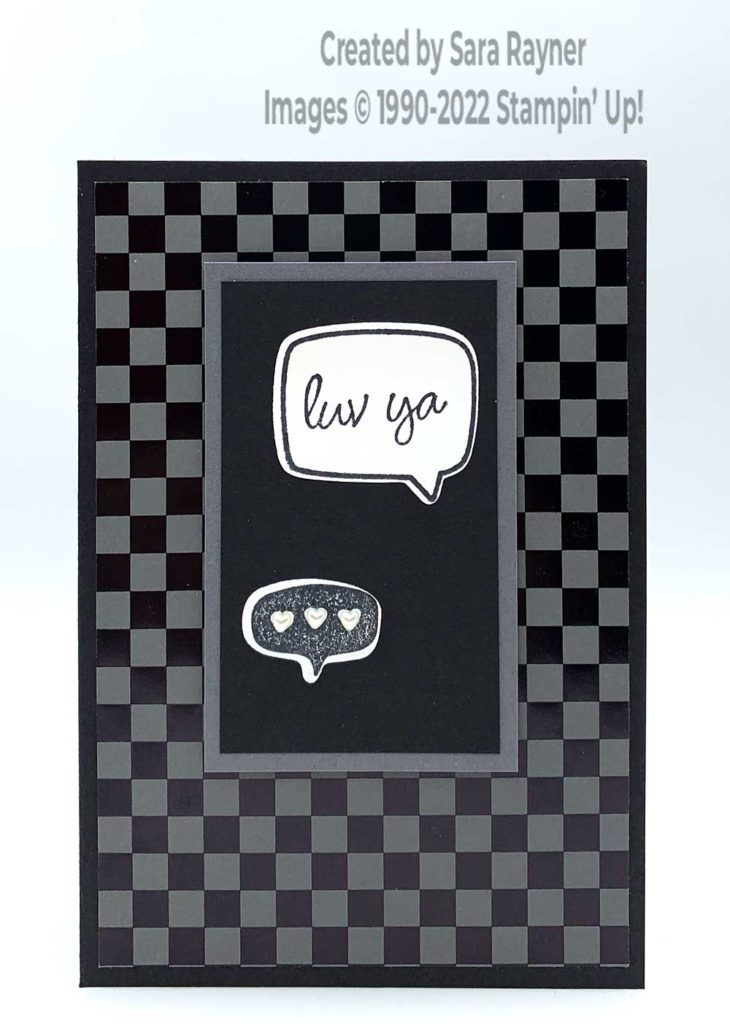
Start with an A6 portrait card of Basic Black. Cut a card front layer (3-7/8″ x 5-1/2″) of Ready to Ride Specialty DSP (see video below) and adhere centrally, direct to the card front. Mat a Basic Black card panel onto a Basic Gray card panel and pop up on the card front with dimensionals. Using Memento Black ink, stamp a word bubble from the Conversation Bubbles stamp set onto a scrap of Basic White card. Add a sentiment inside it with the same ink. Stamp the hearts bubble from the set onto another scrap of Basic White card with the same black ink. Die cut but bubbles with the matching Conversation Bubbles dies. Adhere direct to the front of the popped up panels. Cover the (negative space) hearts in the bubble with Heart Pearls to finish.
Heart pearls valentine card insert
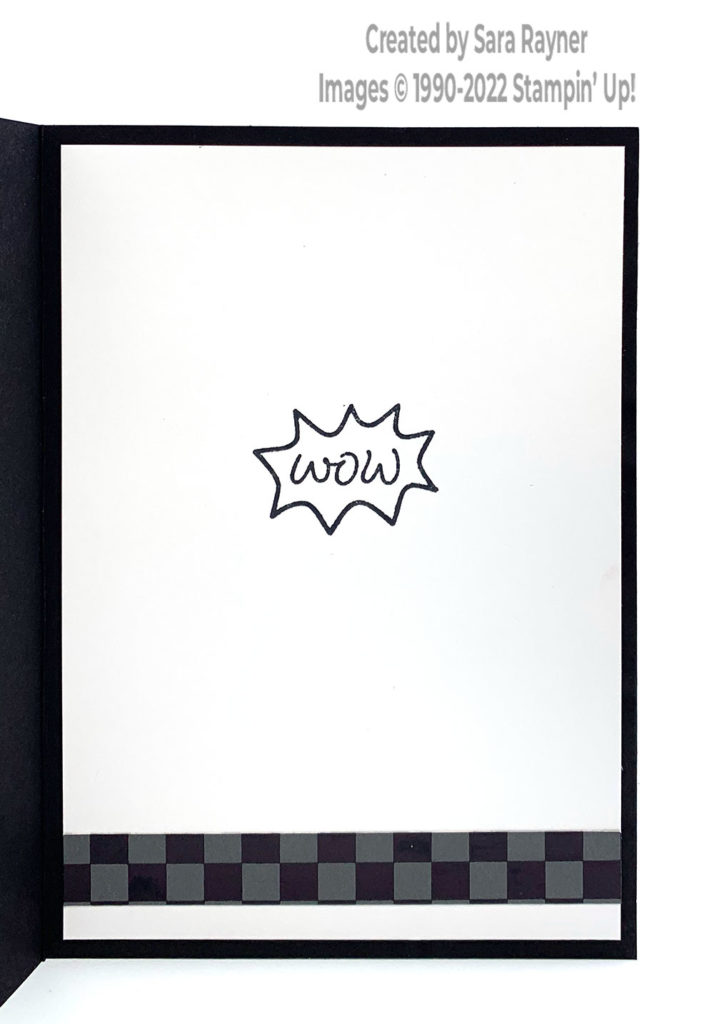
On the Basic White insert, using Memento Black ink, stamp another sentiment from the Conversation Bubbles set. Add a decorative border of the Ready to Ride Specialty DSP across the base (see video below).
Here’s a short video with a few tips on decorating your insert. I avoid waste by using the leftover DSP strip from the card front, as a decorative border. Please subscribe to my Youtube channel to see my quick cards and quick tips each week.
Thanks for stopping by.
Sara xx
Buy the supplies for this heart pearls valentine card in my online shop (with the exception of the Conversation Bubbles bundle and Ready to Ride Specialty DSP, which will be available from 5 January).


0 Comments