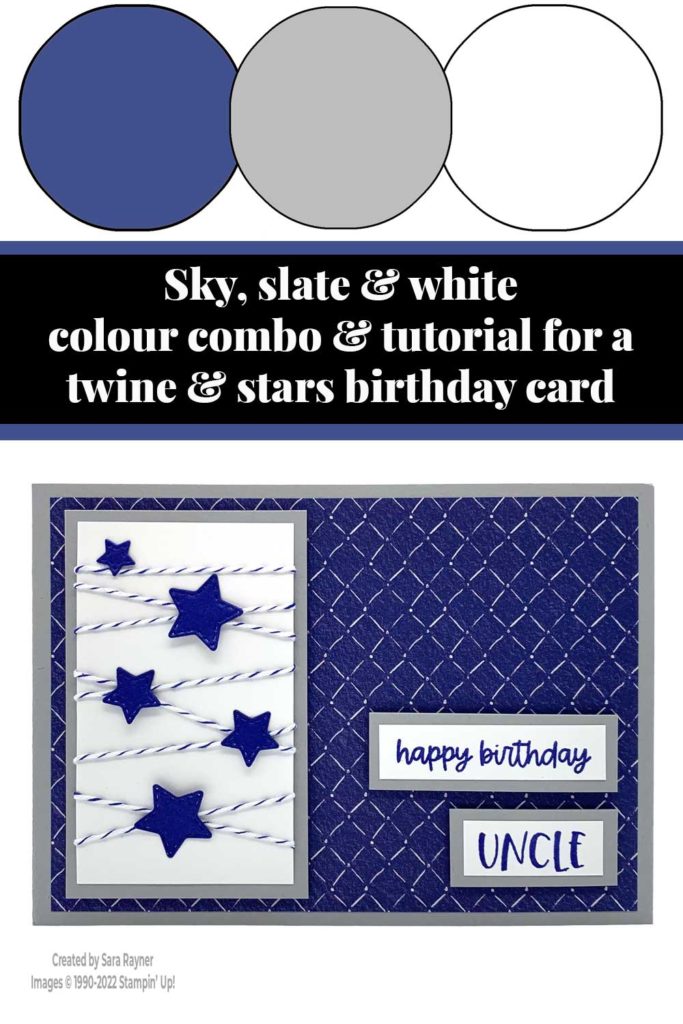
Colour Combo
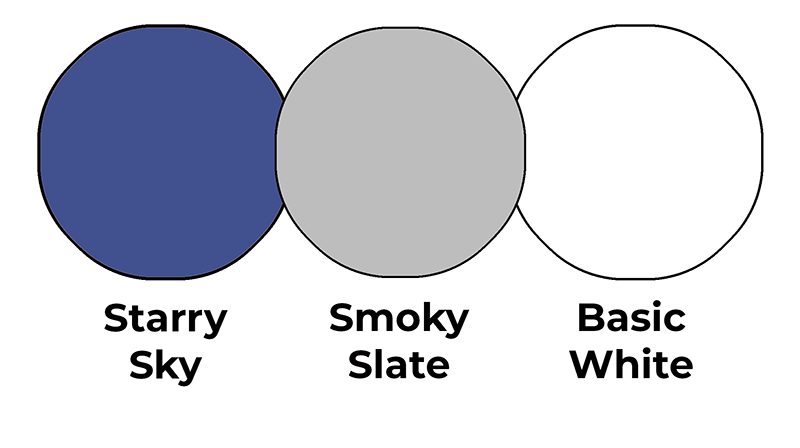
This colour combo mixes Starry Sky, Smoky Slate and Basic White.
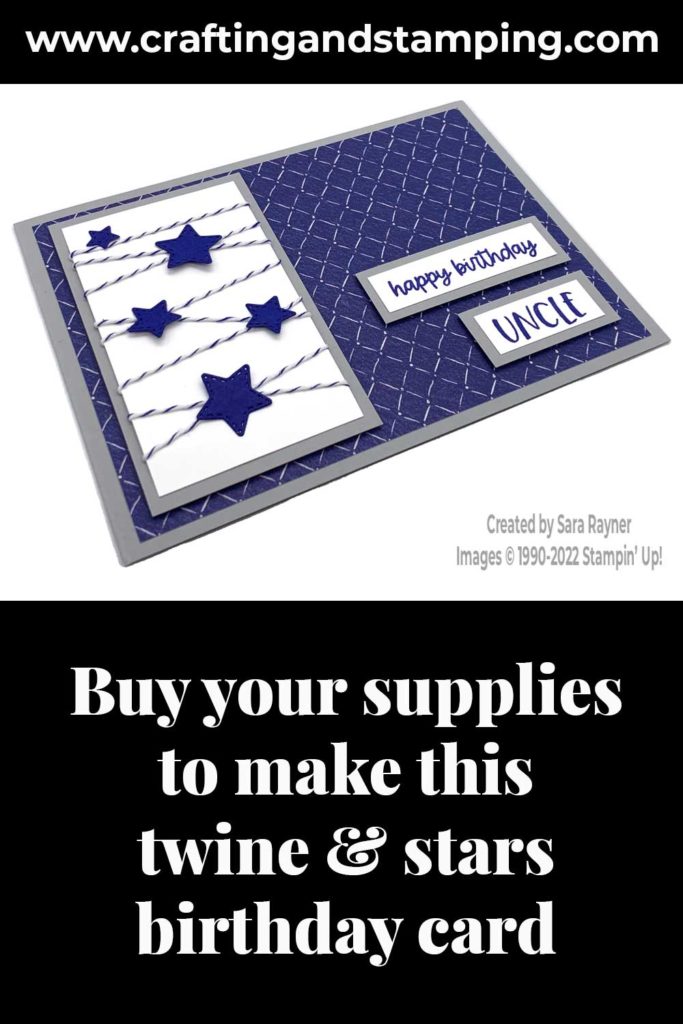
Twine & stars birthday card
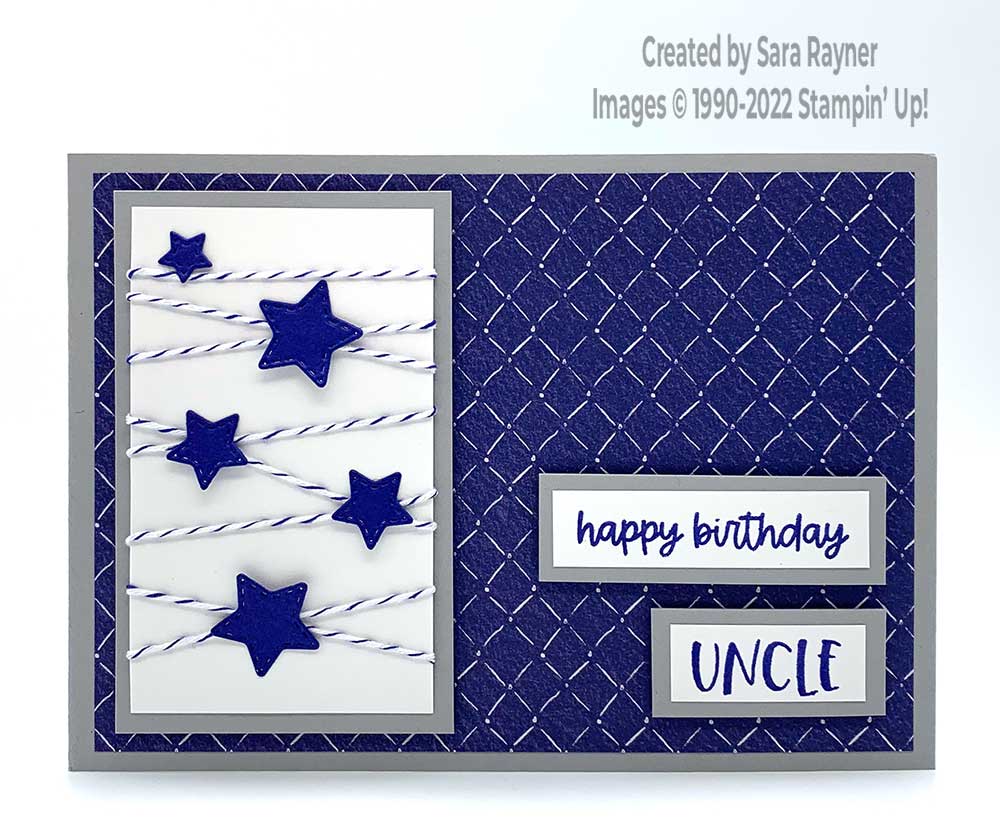
Start with an A6 landscape card of Smoky Slate. Cut a 5-1/2″ x 3-7/8″ card front layer of Dainty Flowers DSP. Cut a panel of Basic White card. Secure Starry Sky Baker’s Twine to the back of the panel and wrap around the panel multiple times and secure on the reverse (see video below). Arrange the twine in a criss-cross pattern to suit. Mat the twine wrapped panel onto Smoky Slate card and pop up on the card front on the left side. Using the Give it a Whirl dies, die cut tiny stitched stars from Starry Sky card. Adhere an odd number of stars to the crossed twine points.
Using Starry Sky ink, stamp sentiments from the Best Family Ever set onto skinny strips of Basic White card. Mat onto Smoky Slate card. Pop up on the card front with dimensionals in the lower right corner.
Here’s a short video with a few tips on decorating your insert. I avoid waste by using the leftover DSP strip from the card front, as a decorative border. Please subscribe to my Youtube channel to see my quick cards and quick tips each week.
Twine & stars birthday card insert
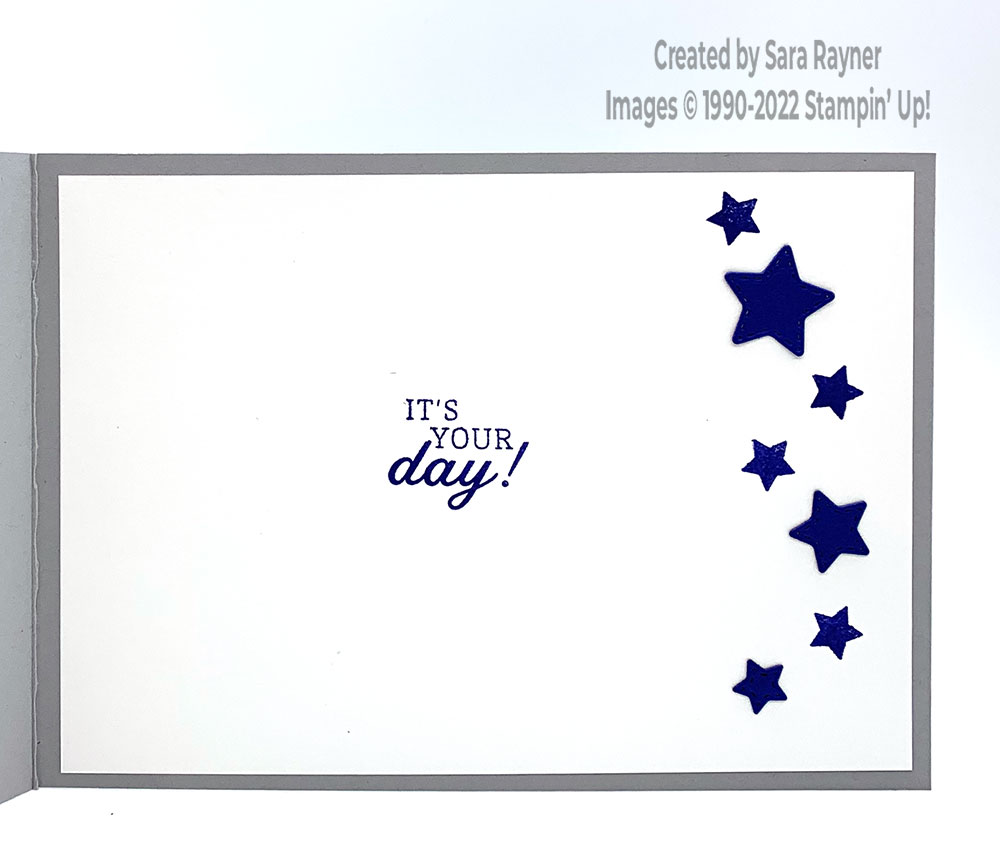
On the Basic White insert, using Starry Sky ink, stamp a sentiment from the Days to Remember set. Adhere a few Starry Sky die cut stars (as from the front of the card) down the right side of the insert. Stamp stars from the Days to Remember set in between the die cut stars using Starry Sky ink.
Thanks for stopping by.
Sara xx
Buy the supplies for this twine & stars birthday card in my online shop (with the exception of the Best Family Ever stamp set and Dainty Flowers DSP which will be available from 5 January).


0 Comments