Each week over on my Facebook page (please pop over and Like or Follow) I choose a product pick of the week to feature. This week, it’s the Beautifully Happy stamp set. This set is free with a £90 purchase during Sale-a-bration. I’ll have tutorials for you this week, that share different ideas for using these stamps.
Colour Combo
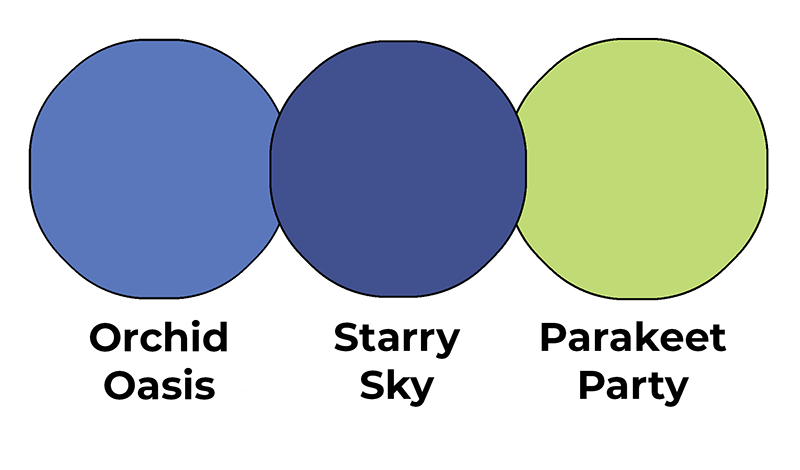
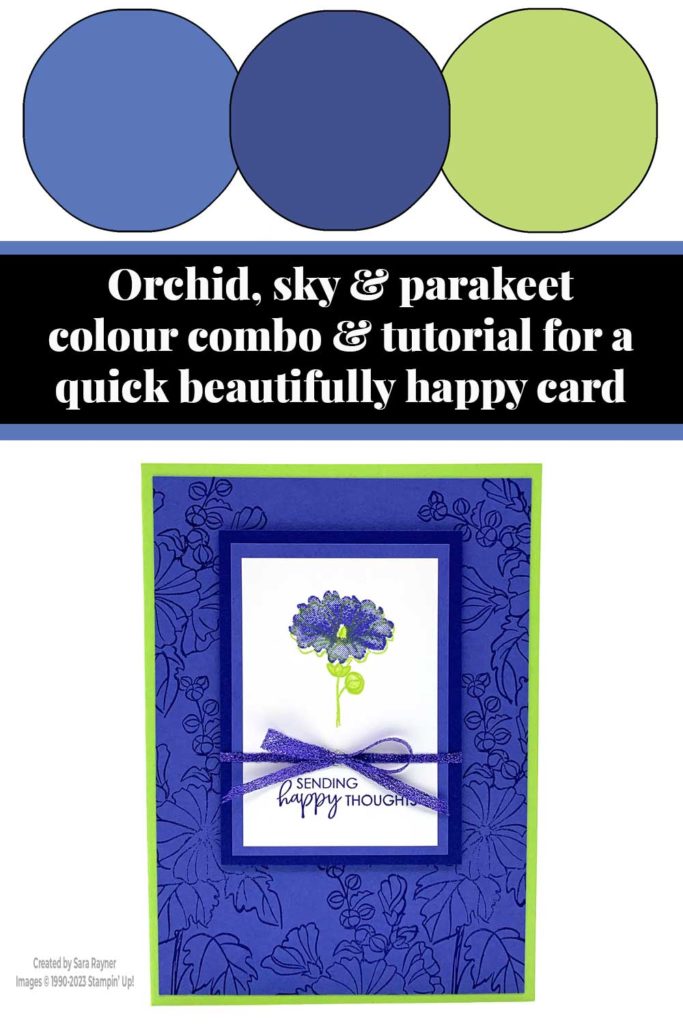
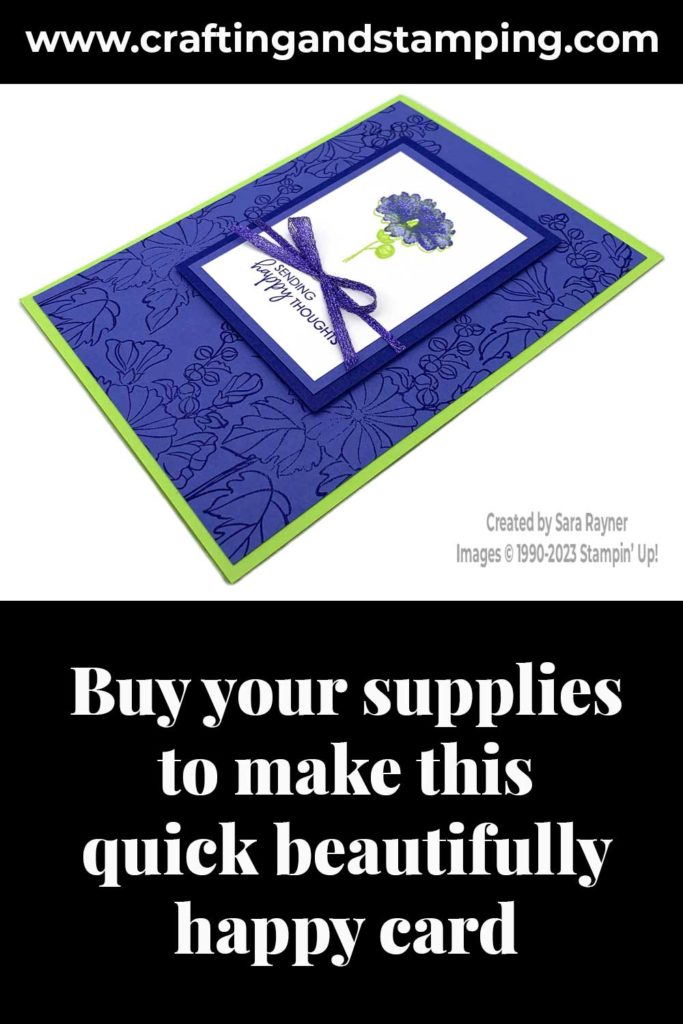
This colour combo mixes Orchid Oasis, Starry Sky and Parakeet Party.
Quick beautifully happy card
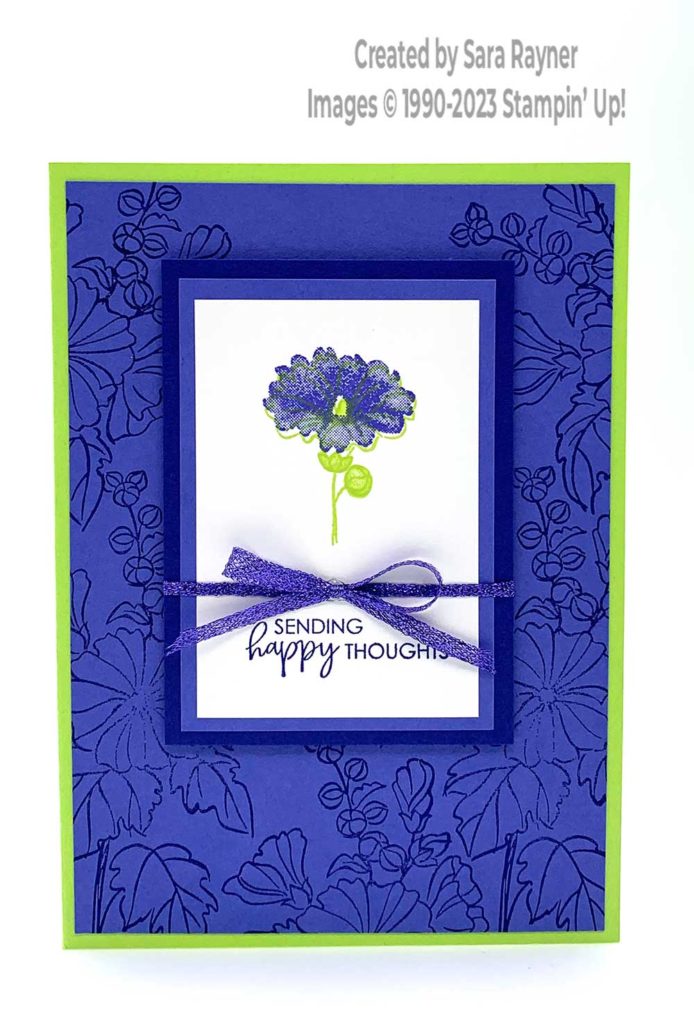
Start with an A6 portrait card of Parakeet Party. Cut a card front panel (2″ x 3″) of Basic White card. Using Starry Sky ink, stamp the large flower spray repeatedly over a 3-7/8″ x 5-1/2″ card front layer of Orchid Oasis (see video). Adhere direct to the card front. Using Parakeet Party ink, stamp the small single flower from the Beautifully Happy set onto the upper section of the panel. Using the same ink, add the solid bud and flower centre. Switch to Orchid Oasis ink to stamp the petals over the top of the flower. Stamp the happy thoughts sentiment from the set below the flower with Starry Sky ink.
Adhere the stamped panel to a 2-1/4″ x 3-1/4″ mat of Orchid Oasis and then to a 2-1/2″ x 3-1/2″ mat of Starry Sky card. Wrap Orchid Oasis Metallic Woven Ribbon around the layered panels between the flower and the sentiment and secure on the reverse. Add a teeny bow of Orchid Oasis to the wrapped ribbon with a Mini Glue Dot. Pop the layered panels up on the card front with dimensionals.
Here’s a short video showing how this quick card comes together. Please subscribe to my Youtube channel to see my quick cards and quick tips each week.
Quick beautifully happy card insert
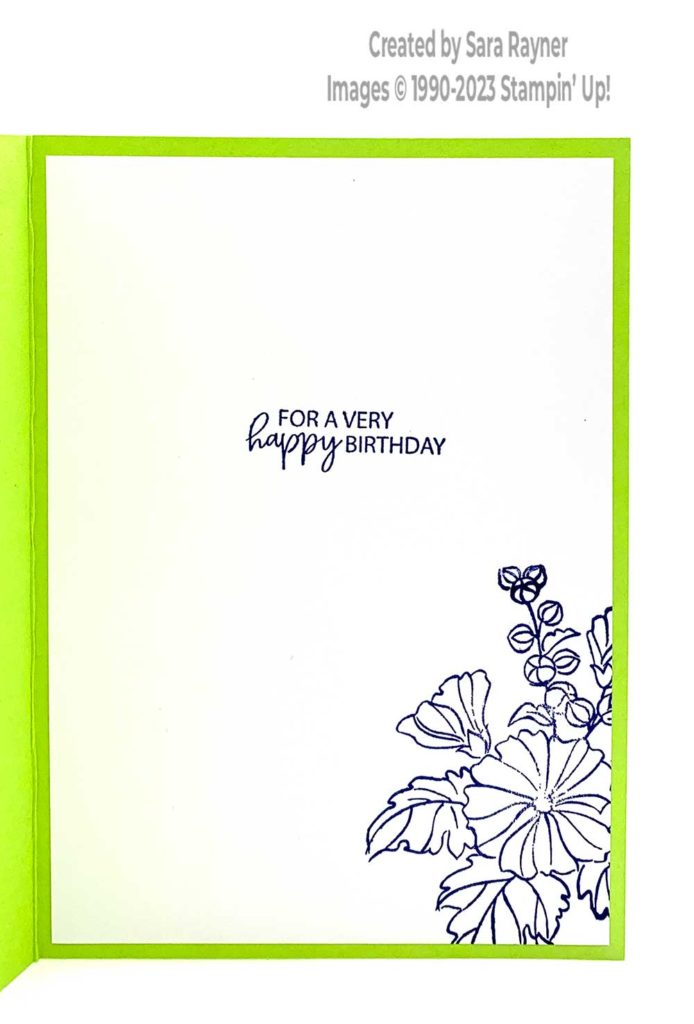
On the Basic White insert, using Starry Sky ink, stamp another sentiment from the Beautifully Happy set. Add the large flower spray in the lower right corner with the same ink.
Thanks for stopping by.
Sara xx
Buy the supplies for this quick beautifully happy card in my online shop (the order code for the Beautifully Happy stamp set is 160804).


0 Comments