Colour Combo
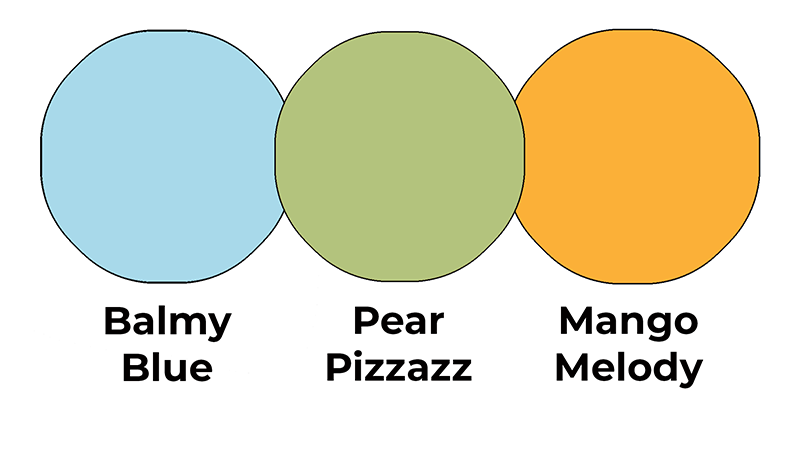
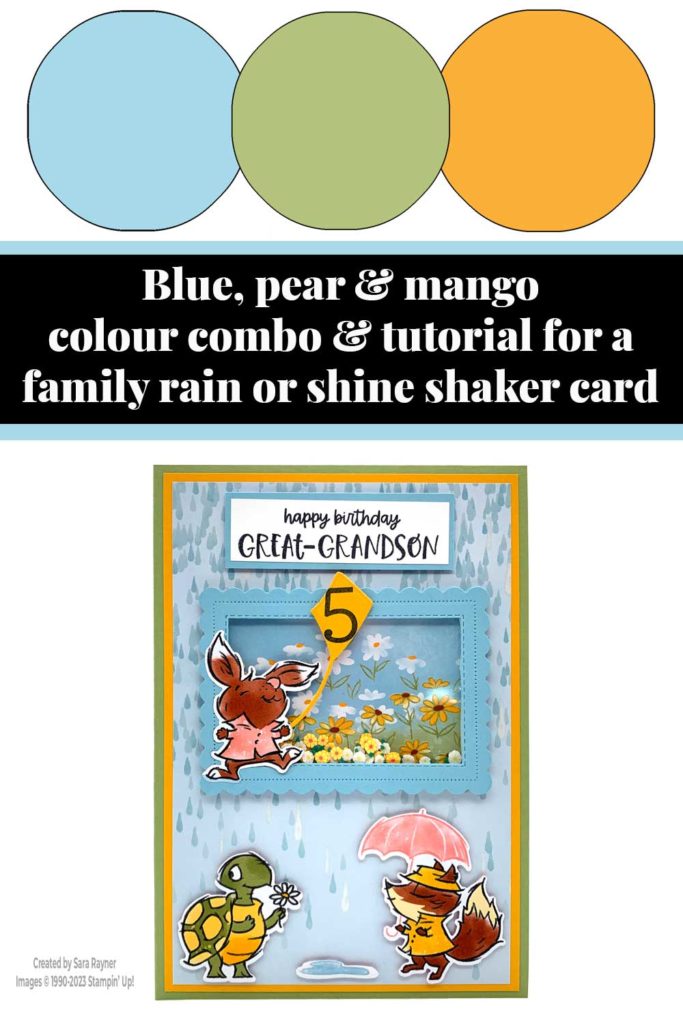
This colour combo mixes Balmy Blue, Pear Pizzazz and Mango Melody.
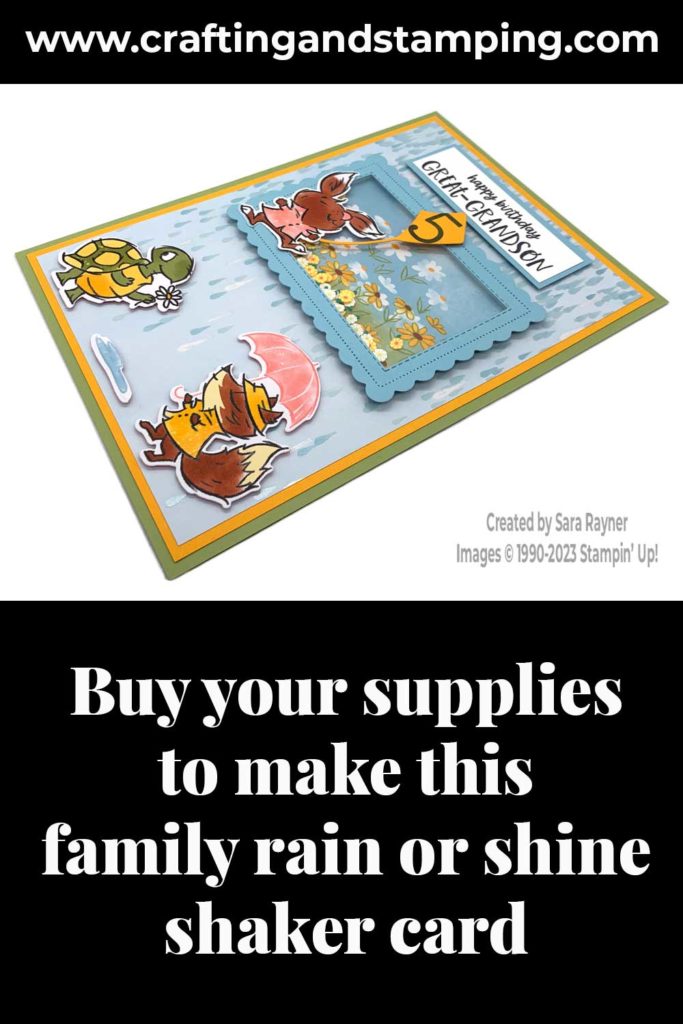
Family rain or shine shaker card
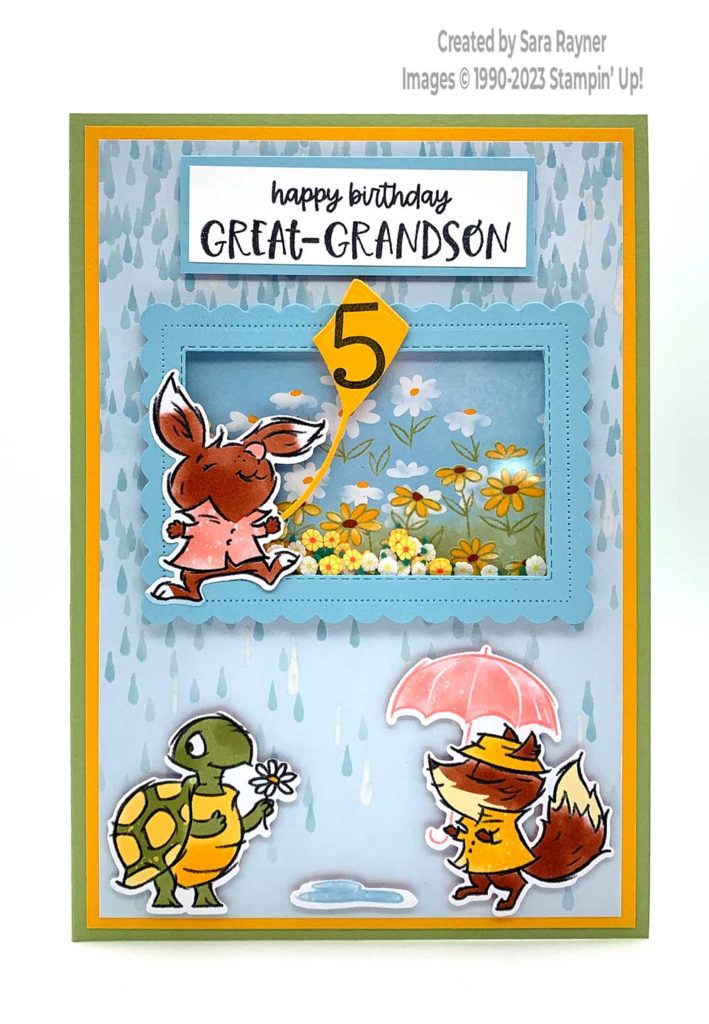
Start with an A5 portrait card of Pear Pizzazz. Mat first with Mango Melody card and then with a rainy pattern of Rain or Shine Specialty DSP. Using Memento Black ink, stamp the birthday sentiment and the family relative, from the Best Family Ever stamp set, onto a card panel of Basic White. Mat onto Balmy Blue card and pop up on dimensionals at the top of the card front. Using the Playing in the Rain dies, die cut a fox, rabbit, tortoise and a puddle from the Rain or Shine Specialty DSP. Die cut a kite from Mango Melody card. Pop the fox, tortoise and puddle up on the base of the card front with mini dimensionals.
Using the Scalloped Contours set die cut a main image panel from Balmy Blue card. Die cut a window from the centre using the Stitched Rectangle dies. Using the next size up of Stitched Rectangle dies, die cut a background from sky and field patterned Rain or Shine Specialty DSP. Adhere Window Sheet behind the aperture in the Balmy Blue frame (see video). Using Foam Adhesive Strips, completely surround the acetate covered aperture so that no shaker bits will fall through. Sprinkle Loose Daisy Embellishments onto the back of the shaker window. Remove the backing from the Foam Adhesive Strips and add the die cut background.
Adhere the shaker panel direct to the card front. Adhere the die cut rabbit and the kite to the front of the shaker window. (I stamped the recipient’s age onto the kite with a retired stamp set that I still have).
This short video shares tips and a demonstration for making the shaker panel portion of this card. Please subscribe to my Youtube channel to see my quick cards and quick tips each week.
Family rain or shine shaker card insert
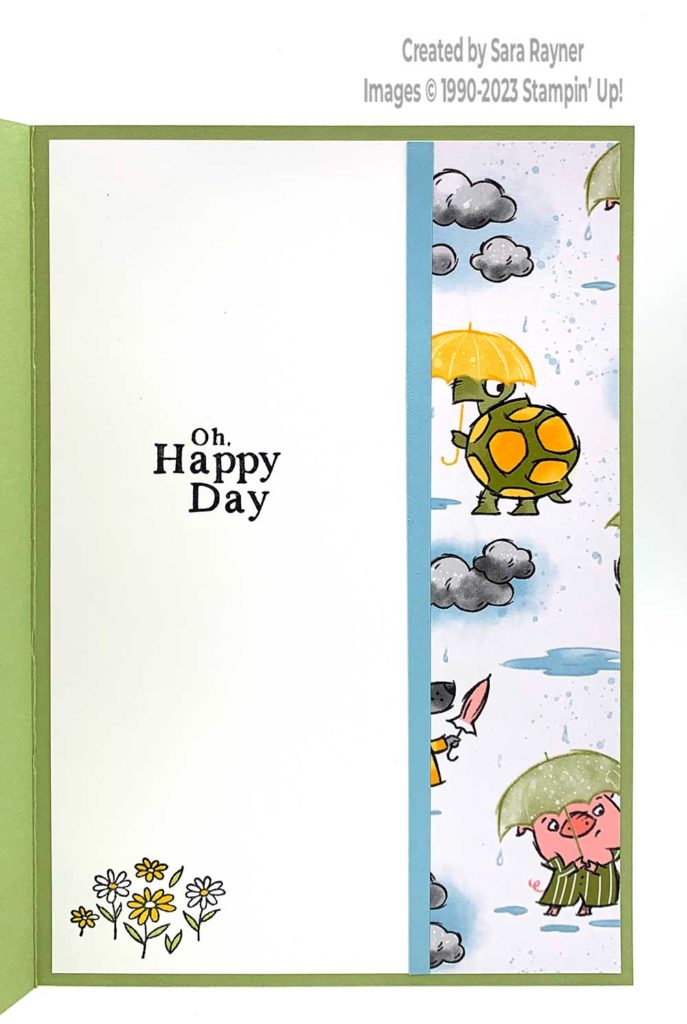
On the Basic White insert, using Memento Black ink, stamp a sentiment and the cluster of flowers from the Playing in the Rain stamp set. Colour the flowers with Old Olive and Daffodil Delight Blends. Add borders of Rain or Shine Specialty DSP and Balmy Blue card, down the right side.
Thanks for stopping by.
Sara xx
Buy the supplies for this family rain or shine shaker card in my online shop.


Gorgeous little card. Even the rainy parts of the suite make you smile.
They do don’t they. I love the happy little bunny splashing in the puddles!