Colour Combo

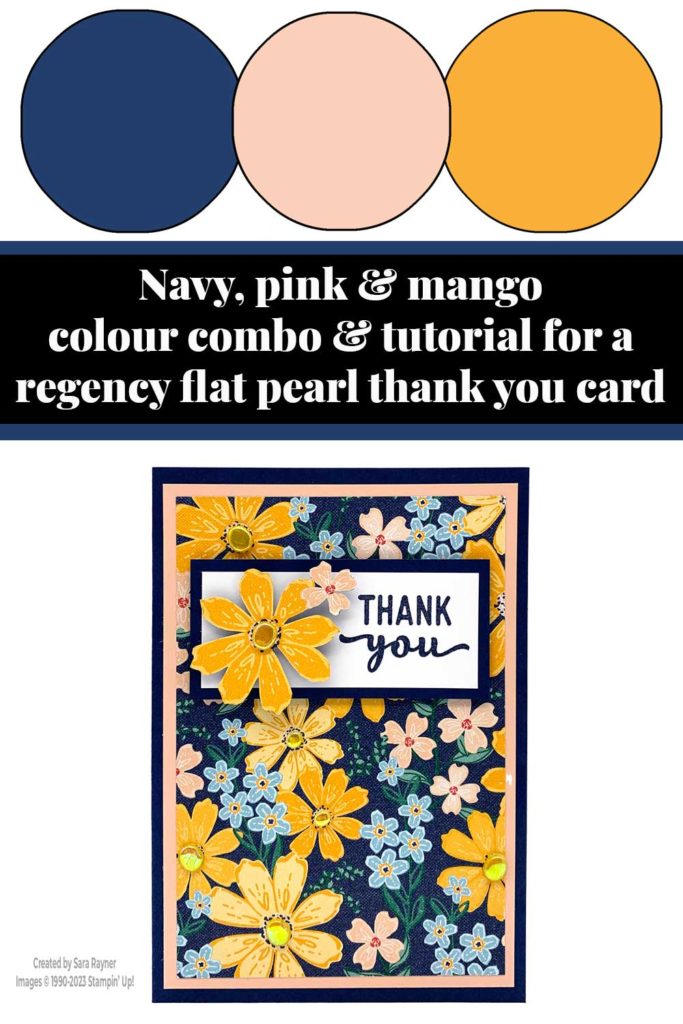
This colour combo mixes Night of Navy, Petal Pink and Mango Melody.
Regency flat pearl thank you card

Start with an A6 portrait card of Night of Navy. Adhere a (3-7/8″ x 5-1/2″) card front layer of Petal Pink card. Cut a (3-5/8″ x 5-1/4″) card front layer of Regency Park DSP and adhere this layer direct to the card front. Using Night of Navy ink, stamp a sentiment from the Charming Sentiments set onto the right side of a panel of Basic White card. Mat onto Night of Navy card. Pop this up on the card front with dimensionals. Fussy cut a pair of flowers from the same pattern of Regency Park DSP and pop up on a dimensional to the left of the sentiment. Colour Flat Adhesive-backed Pearls with a dark Daffodil Delight Blend. Adhere to the centres of the larger flowers in the pattern.
Here’s a short video showing how to colour the Flat Adhesive-backed Pearls. Please subscribe to my Youtube channel to see my quick cards and quick tips each week.
Regency flat pearl thank you card insert

On the Basic White insert, using Night of Navy ink, stamp another sentiment from the Charming Sentiments stamp set. Add a border of the Regency Park DSP along the base.
Thanks for stopping by.
Sara xx
Buy the supplies for this Regency flat pearl thank you card in my online shop.


0 Comments