I’ll also be using this DSP pack extensively in this month’s Online Workshop which goes live tomorrow. Please join my Facebook Group to be among the first to see it, or watch out for the replay here later in the week.
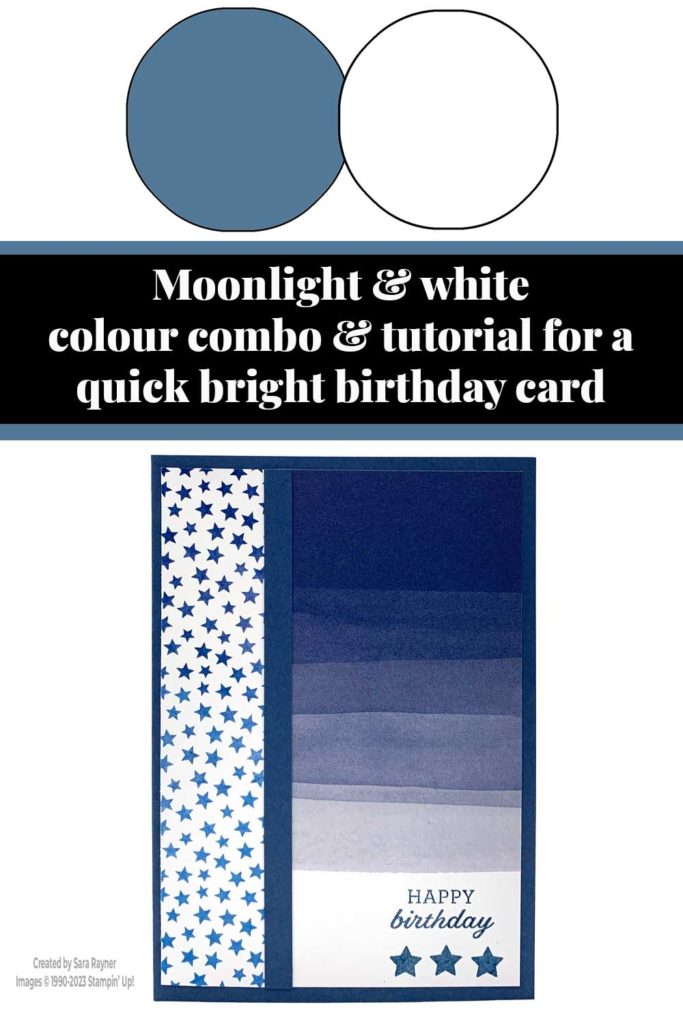
Colour Combo
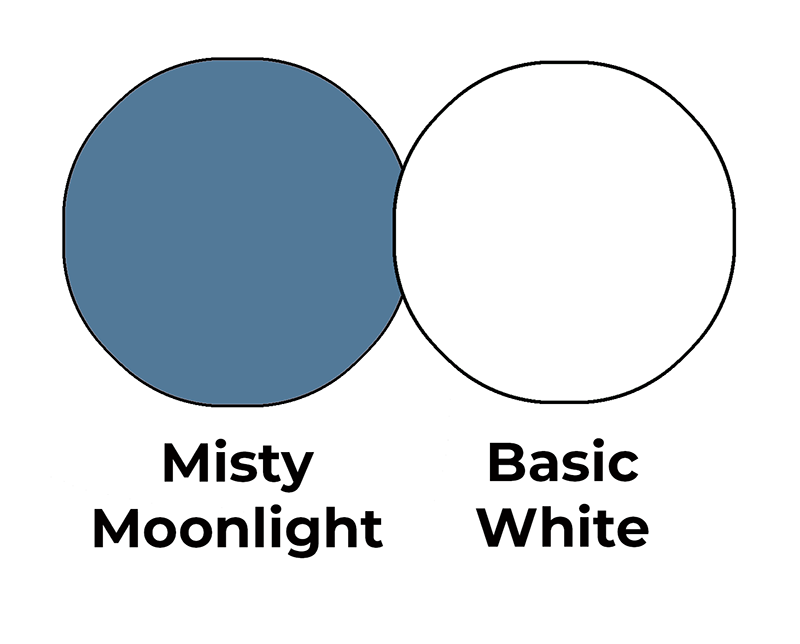
This colour combo is a simple monochromatic mix of Misty Moonlight (returning colour) and Basic White.
Quick bright birthday card
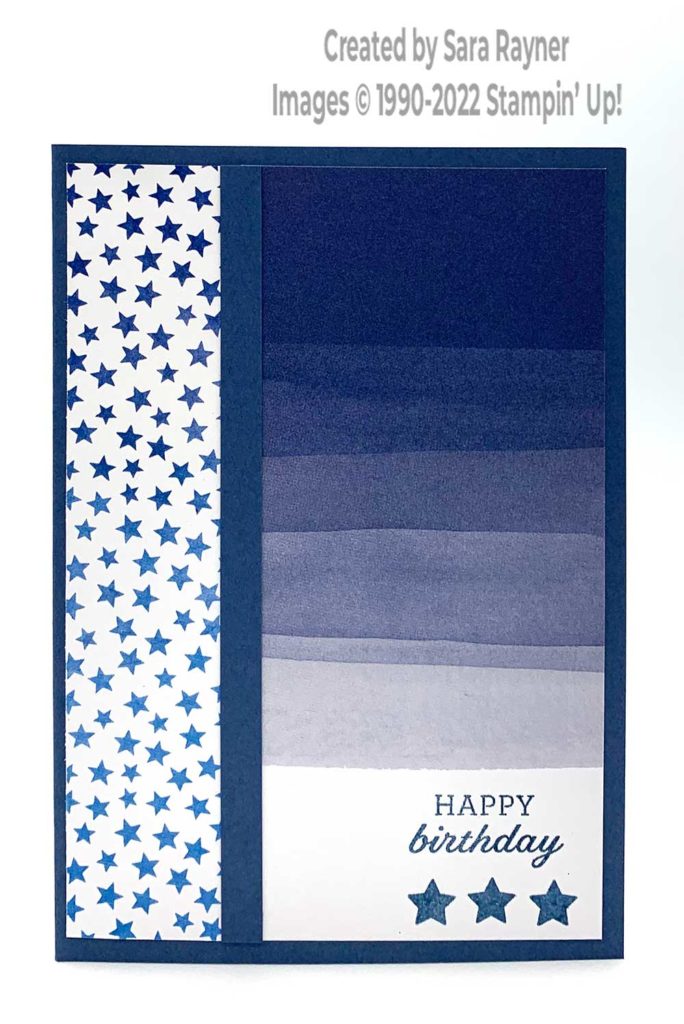
Start with an A6 portrait card of Misty Moonlight. Cut a (3-5/8″ x 5-1/2″) card front layer of Bright & Beautiful DSP to include horizontal ombre lines and negative space at the bottom for stamping into (see video). With the short edge at the top, cut at 1-1/4″. Flip over the DSP and adhere the narrow panel with the stars facing up on the left side of the card front. Using Misty Moonlight ink, stamp a sentiment from the Days to Remember set at the top of the negative white space at the base of the ombre pattern. Stamp three teeny stars from the same set beneath the sentiment with the same ink. Adhere this panel direct to the right side of the card front. Cover the join in the DSP with a skinny strip of Misty Moonlight card.
Here’s a short video showing how this quick card comes together. Please subscribe to my Youtube channel to see my quick cards and quick tips each week.
Quick bright birthday card insert
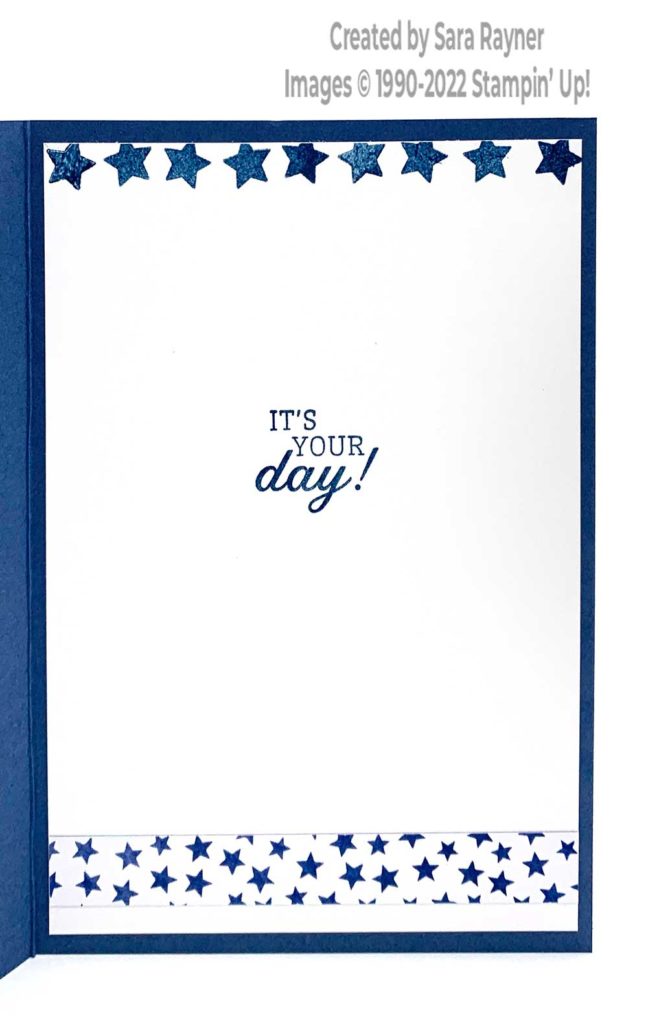
On the Basic White insert, using Misty Moonlight ink, stamp another sentiment from the Days to Remember stamp set. Repeat stamp the teeny star across the top of the insert with more Misty Moonlight ink. Add a border of the Bright & Beautiful DSP along the base.
Thanks for stopping by.
Sara xx
Buy the supplies for this quick bright birthday card in my online shop.


0 Comments