Colour Combo
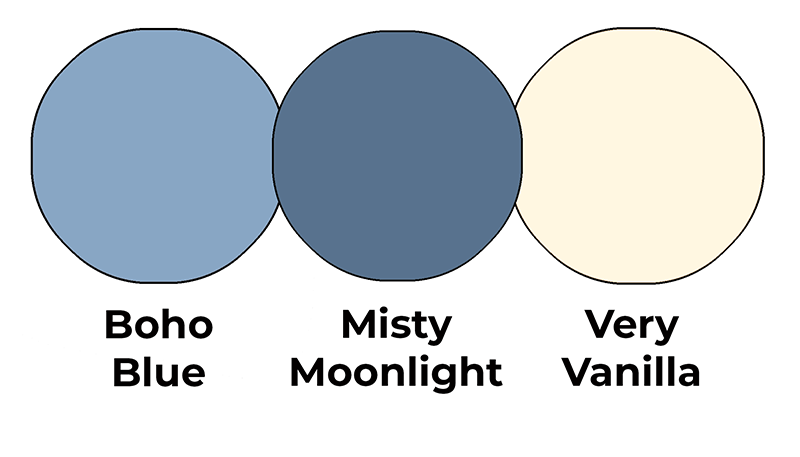
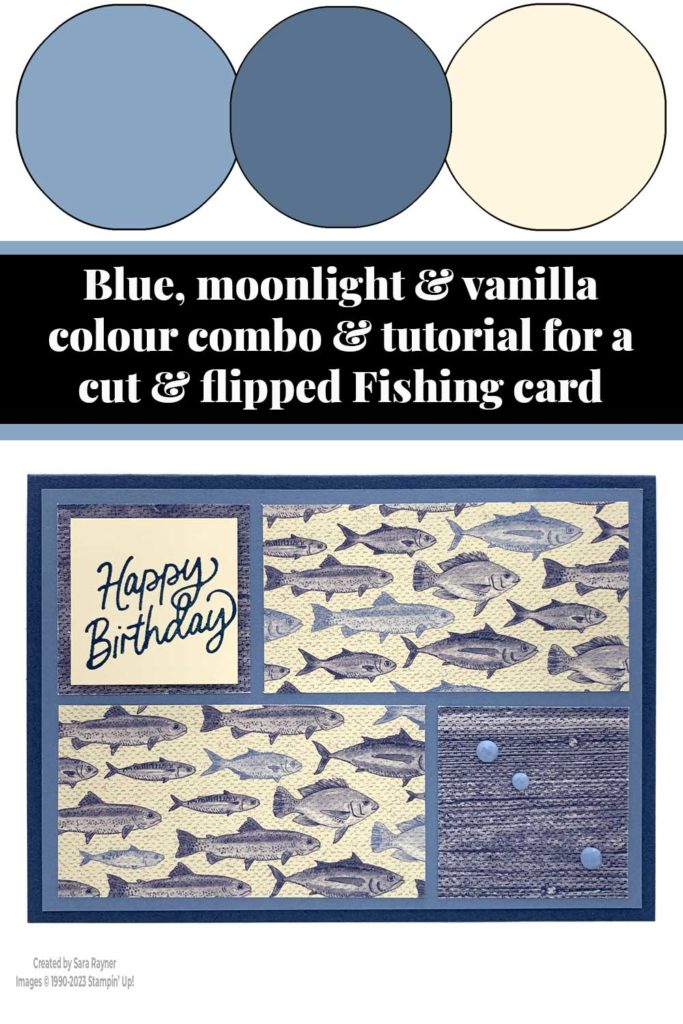
This colour combo mixes Boho Blue, Misty Moonlight and Very Vanilla.
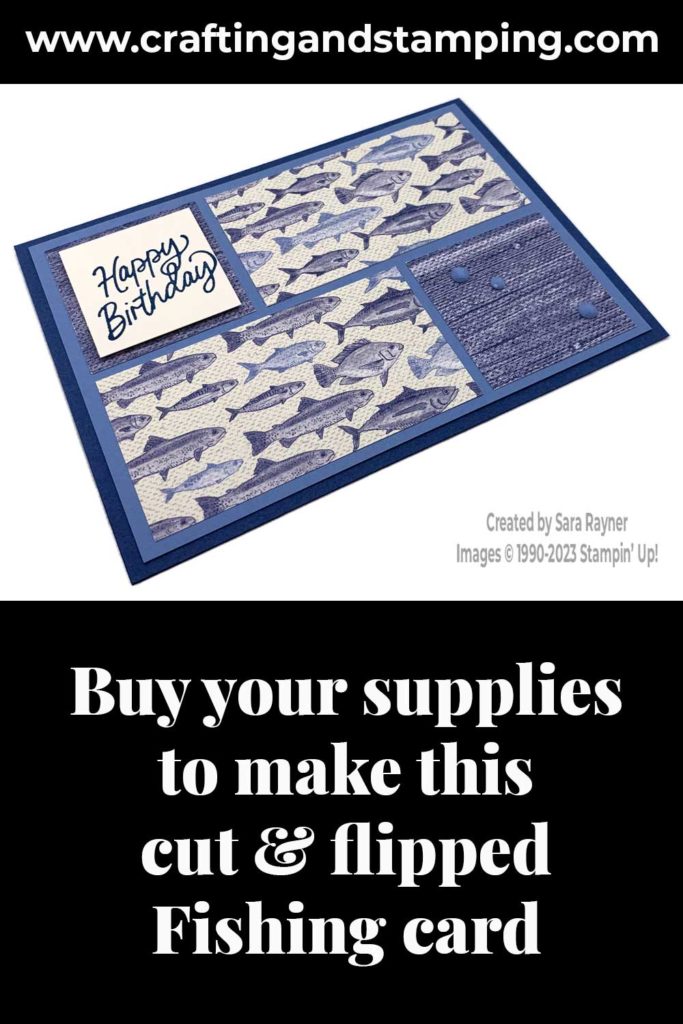
Cut & flipped Fishing card
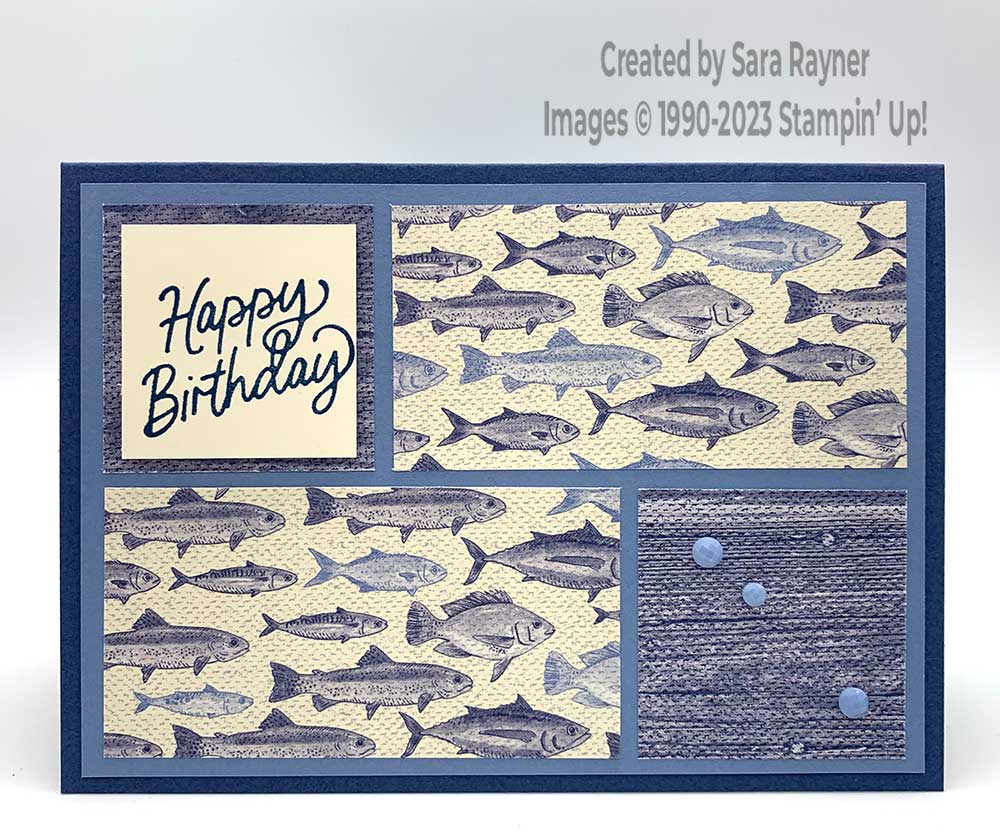
Start with an A6 landscape tent fold card of Misty Moonlight. Adhere a (5-1/2″ x 3-7/8″) card front layer of Boho Blue card. Cut a (5-1/8″ x 3-1/2″) panel of Let’s Go Fishing DSP. With the short edge at top, cut at 1-3/4″. Rotate both cut strips back to right way up. Cut top strip 1-3/4″ from left edge. Cut bottom strip 1-3/4″ from right edge. Flip over the two squares. Adhere the cut and flipped DSP evenly to the card front.
Cut a (1-1/2″ x 1-1/2″) panel of Very Vanilla card. Using Misty Moonlight ink stamp a sentiment from the Beautiful Balloons set onto the Very Vanilla square. Pop this up on dimensionals in the upper left square. Finish with a trio of Adhesive-Backed Solid Gems in the lower right square.
Here’s a video demonstrating how to cut and flip the panels. Please subscribe to my Youtube channel to see my quick cards and quick tips each week.
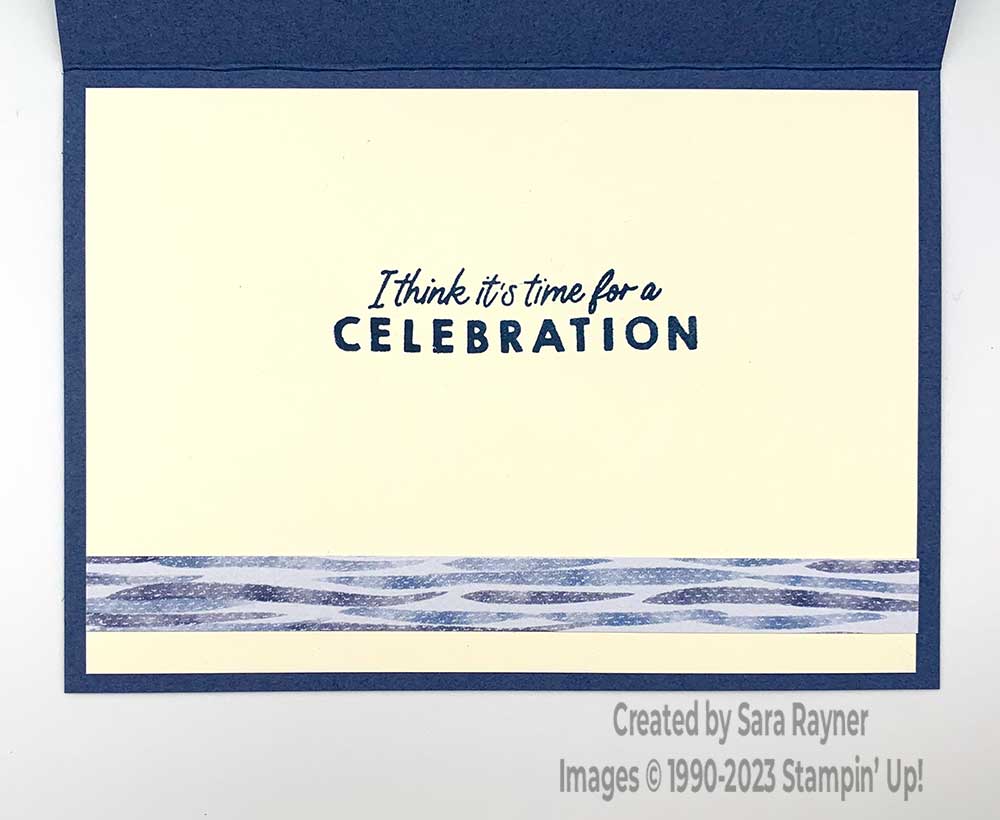
Cut & flipped Fishing card insert
Thanks for stopping by.
Sara xx
Buy the supplies for this cut & flipped Fishing card in my online shop.


0 Comments