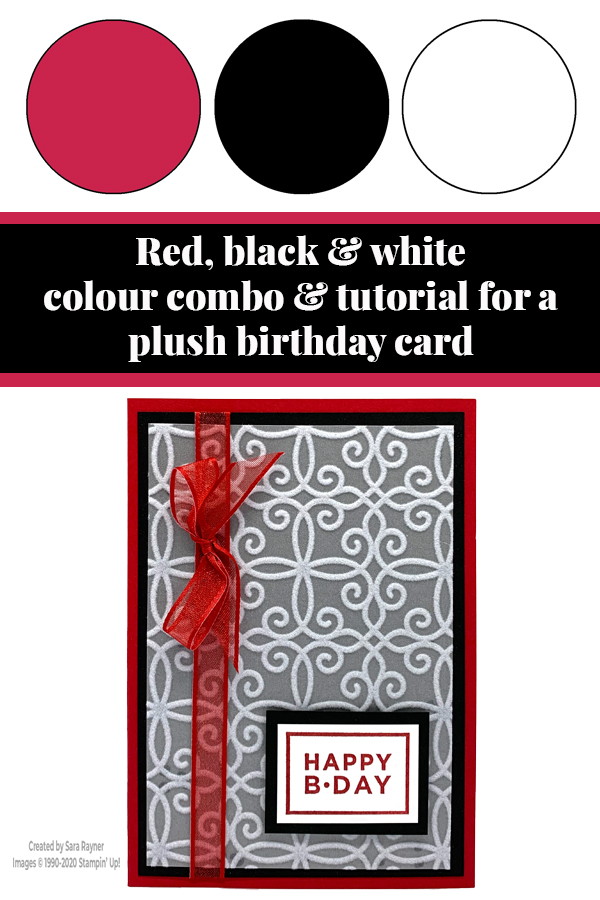
Today’s tutorial is for a plush birthday card. Each week over on my Facebook page (please pop over and Like or Follow) I choose a product pick of the week to feature. This week I’ve chosen the Plush Poinsettia Specialty Paper and I’ll have a selection of tutorials for you that use it.
In the tutorial below, I take you step by step through creating the plush birthday card. I also have a supply list for purchasing anything you don’t already own.
The Plush Poinsettia Specialty Paper has three different designs. Two of them are quite christmassy, one with poinsettias and one with holly. The third design is the one I’ve used today and it’s great year round.
Today’s card is ideal for either beginners or for experienced crafters that need a quick card with an easy wow.
Swap the sentiment and use as a Christmas card.
Colour Combo
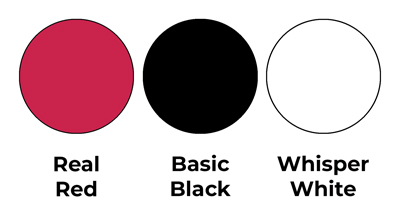
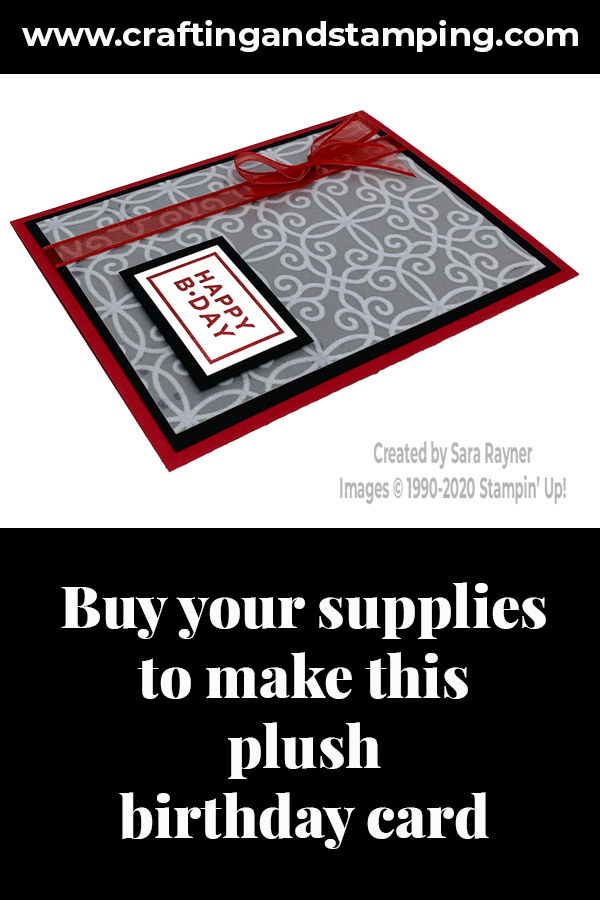
The colour combo mixes Real Red, Basic Black and Whisper White.
Plush birthday card tutorial
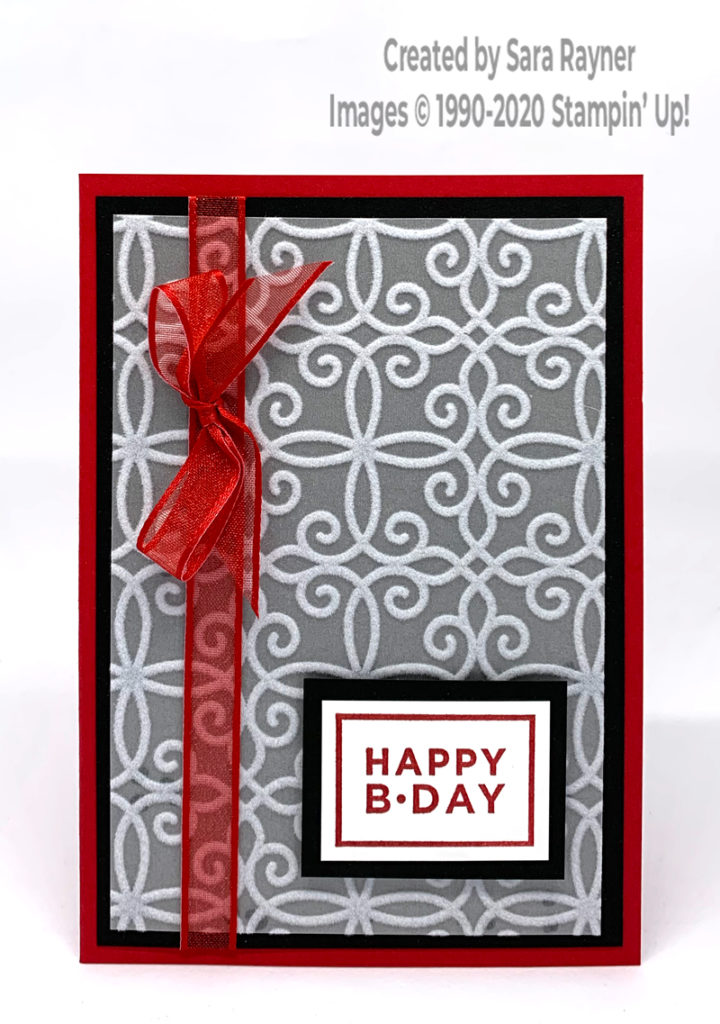
Start with an A6 portrait card of Real Red. Cut a card front layer of the scroll design of Plush Poinsettia Specialty Paper and adhere direct to a card front layer of Basic Black. Wrap Real Red Sheer Ribbon around the layers and secure on the reverse before adhering the layers direct to the card front. Add a bow of the same ribbon with a Mini Glue Dot. (If you struggle with bows or want a more masculine card then simply tie a small piece of the ribbon onto the wrapped ribbon in a knot. Using Real Red ink, stamp the small sentiment from the Happiest of Birthdays set onto a scrap of Whisper White. Trim around the frame allowing a small margin. Mat onto Basic Black card and pop up on the card front with dimensionals.
Plush birthday card insert
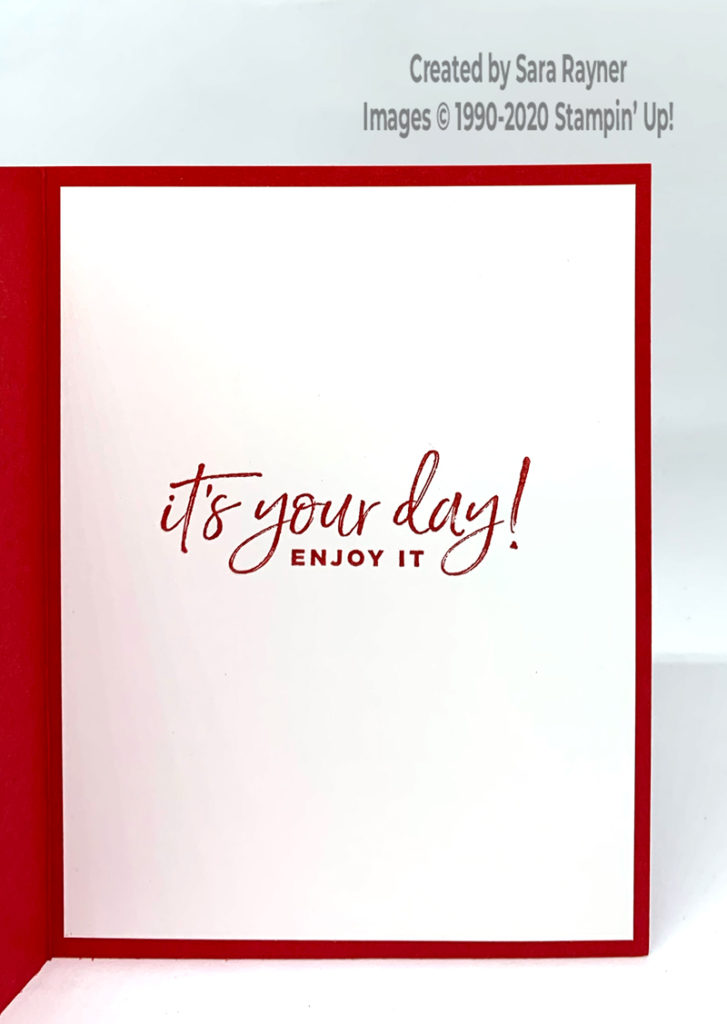
On the Whisper White insert, using Real Red ink, stamp another sentiment from the Happiest of Birthdays set.
Thanks for stopping by.
Sara xx
You can find supplies for this plush birthday card in my online shop.


0 Comments
Trackbacks/Pingbacks