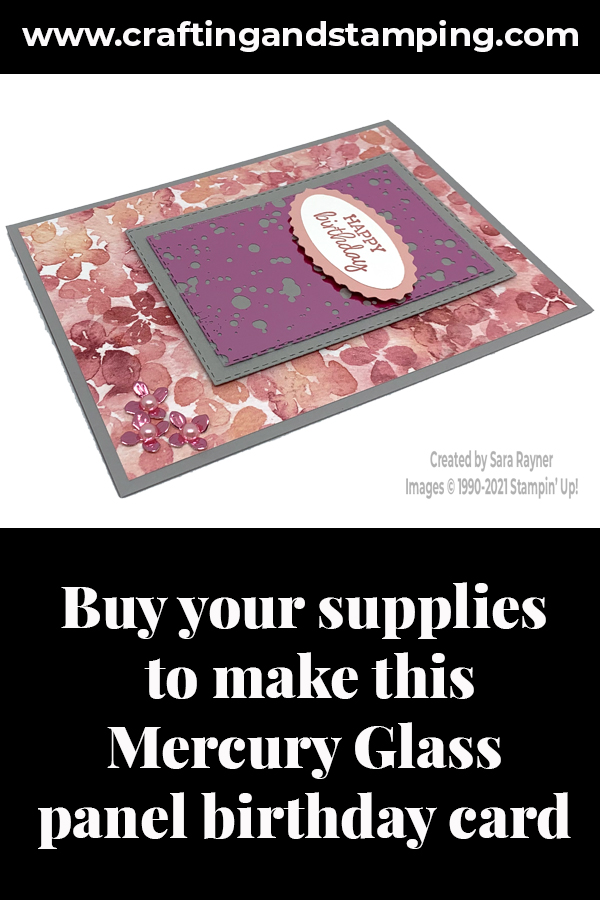
My tutorial today is for a Hydrangea Hill mercury glass panel birthday card. This card uses the panel of mercury glass that we cut from the centre of our frame for this mercury glass background card – 2 cards from 1 piece of mercury glass!
In the tutorial below, I take you step by step through creating the Hydrangea Hill mercury glass panel birthday card. I also have a supply list for purchasing anything you don’t already own.
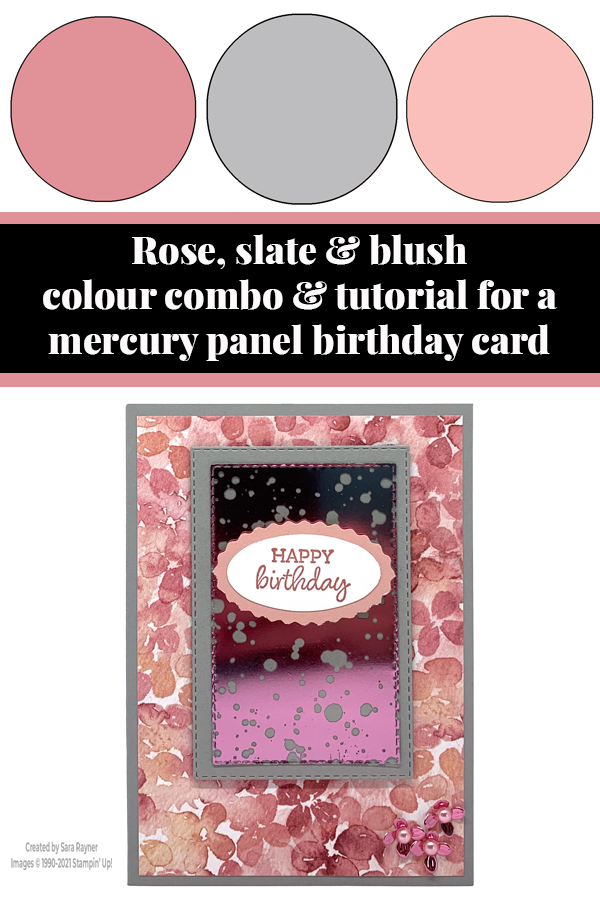
Colour Combo
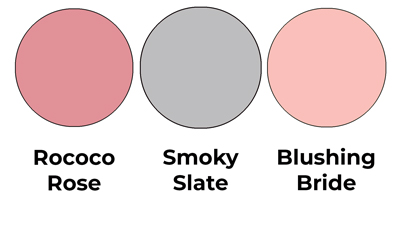
The colour combo mixes Rococo Rose, Smoky Slate and Blushing Bride.
Mercury glass panel birthday card tutorial
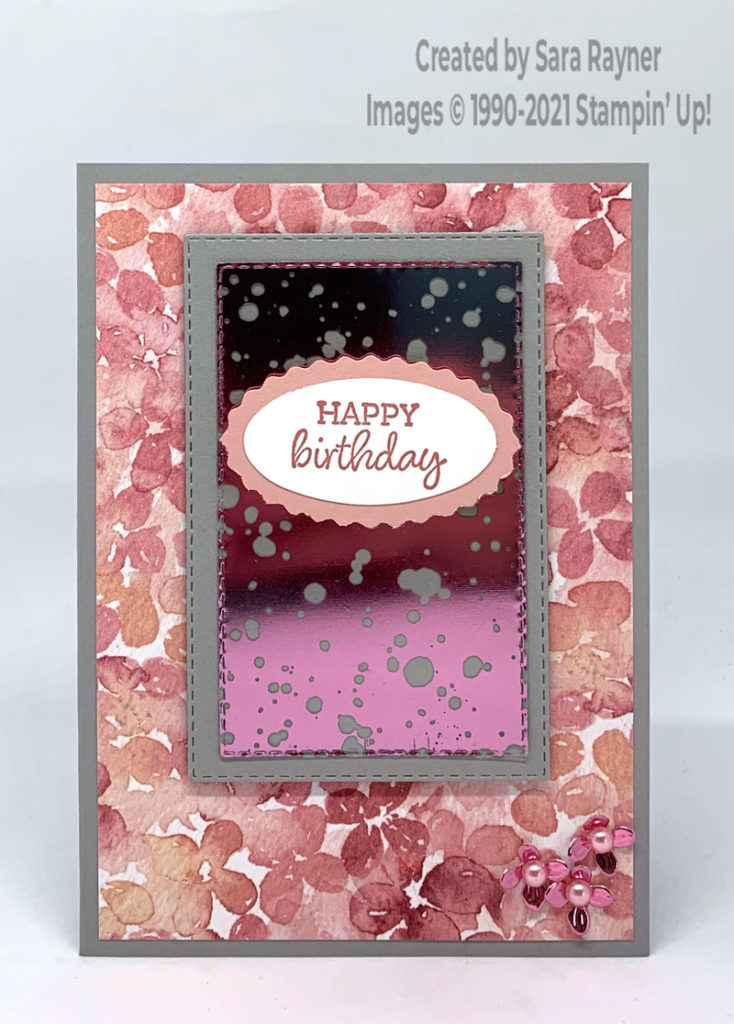
Start with an A6 portrait card of Smoky Slate. Cut a card front layer of Hydrangea Hill DSP and adhere direct. Using Rococo Rose ink, stamp a sentiment from the Oval Occasions set onto a scrap of Basic White card. Punch out with the plain oval part of the Double Oval punch. Adhere the stamped oval direct to the centre of a scalloped Blushing Bride oval, punched with the same punch. Adhere the sentiment to the front of the mercury glass panel retained from the mercury glass background card (see here for the background card and a video showing how to die cut the panels).
Using the Stitched Rectangle dies, die cut a panel of Smoky Slate card. Adhere the mercury glass panel to the centre of the Smoky Slate panel, hiding the adhesive behind the ovals. Pop the panels up on the card front with dimensionals.
Die cut out a portion of the row of small flower heads from Love You Always Foil using the Hydrangea Dies. Adhere a trio of the flowers direct to the bottom right corner of the card front. Finish the centres of the flowers with Pastel Pearls.
Mercury glass panel birthday card insert
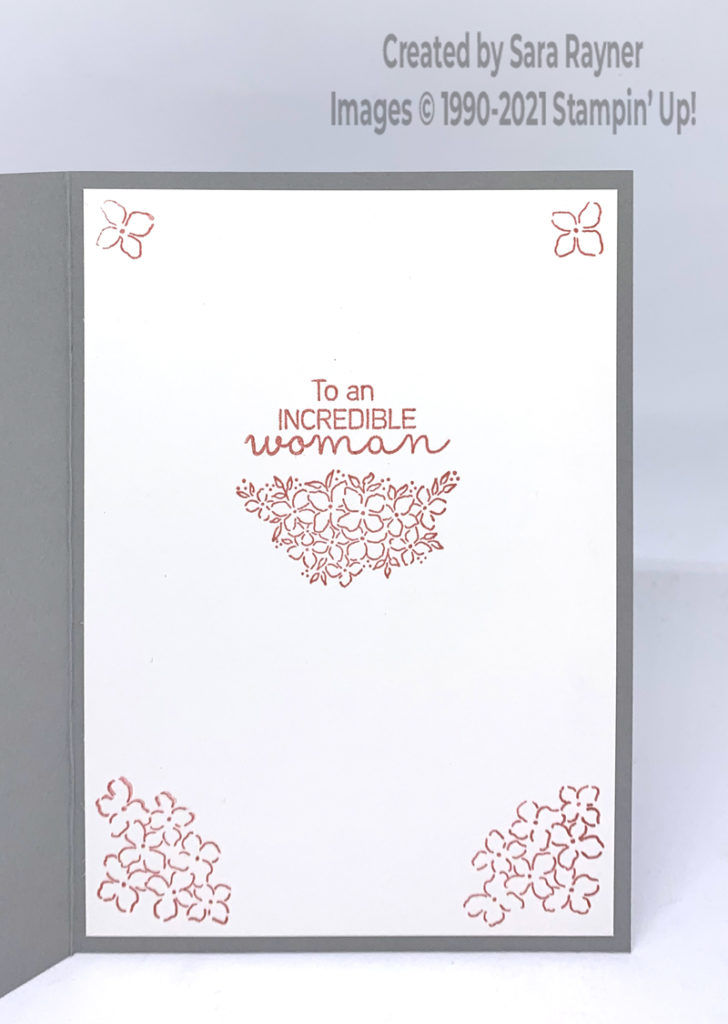
On the Basic White insert, using Rococo Rose ink, stamp a sentiment from the Hydrangea Haven set. Using the same Rococo Rose ink, stamp flowers from the same set below the sentiment and in the corners of the insert.
Thanks for stopping by.
Sara xx
Buy the supplies for this Hydrangea Hill mercury glass panel birthday card in my online shop.


0 Comments