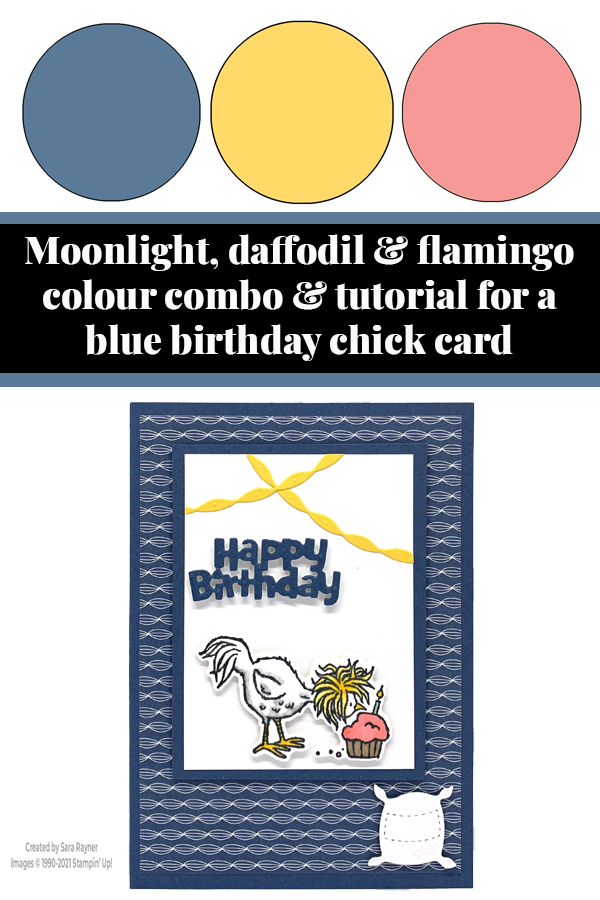
Today’s tutorial is for a blue birthday chick card. The Hey Birthday Chick stamp set is from the January-June catalogue but there is also a matching die set available that isn’t shown in any of the catalogues.
Each week over on my Facebook page (please pop over and Like or Follow) I choose a product pick of the week to feature. This week, it’s the Hey Birthday Chick bundle. I’ll have a selection of tutorials for you throughout the week that use this fun bundle.
In the tutorial below, I take you step by step through creating the blue birthday chick card. I also have a supply list for purchasing anything you don’t already own.
In addition to this bundle, Stampin’ Up! also brought back the Hey Chick set from a previous Sale-a-bration and created a separate die set to match it too.
I love this Hey Birthday Chick set for the fun sentiments and cute chickens. My first project with it this week is a mainly masculine card that has just a hint of pink. If that’s too much then you could easily swap it and keep the icing white!
Colour Combo
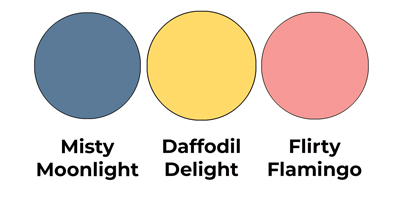
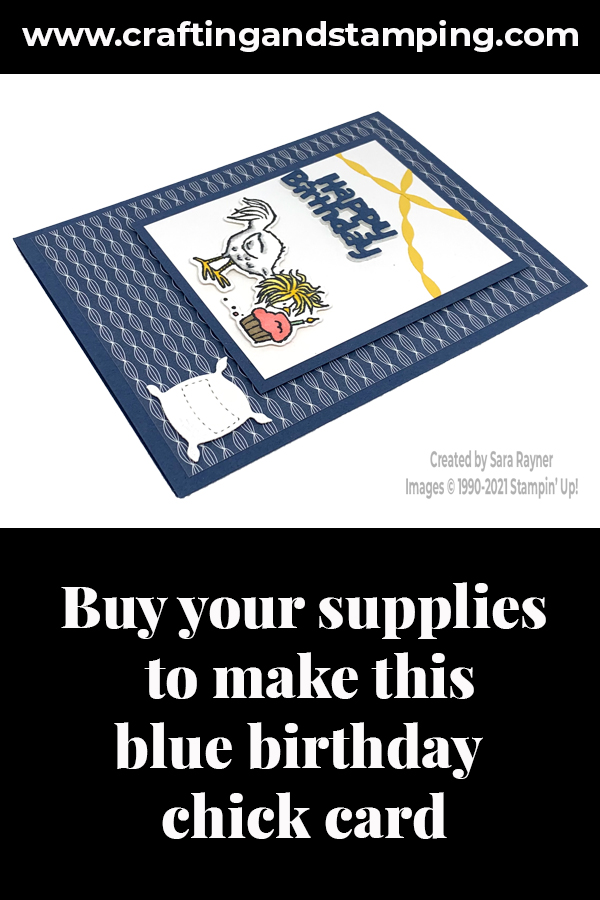
The colour combo mixes Misty Moonlight, Daffodil Delight and a splash of Flirty Flamingo.
Blue birthday chick card
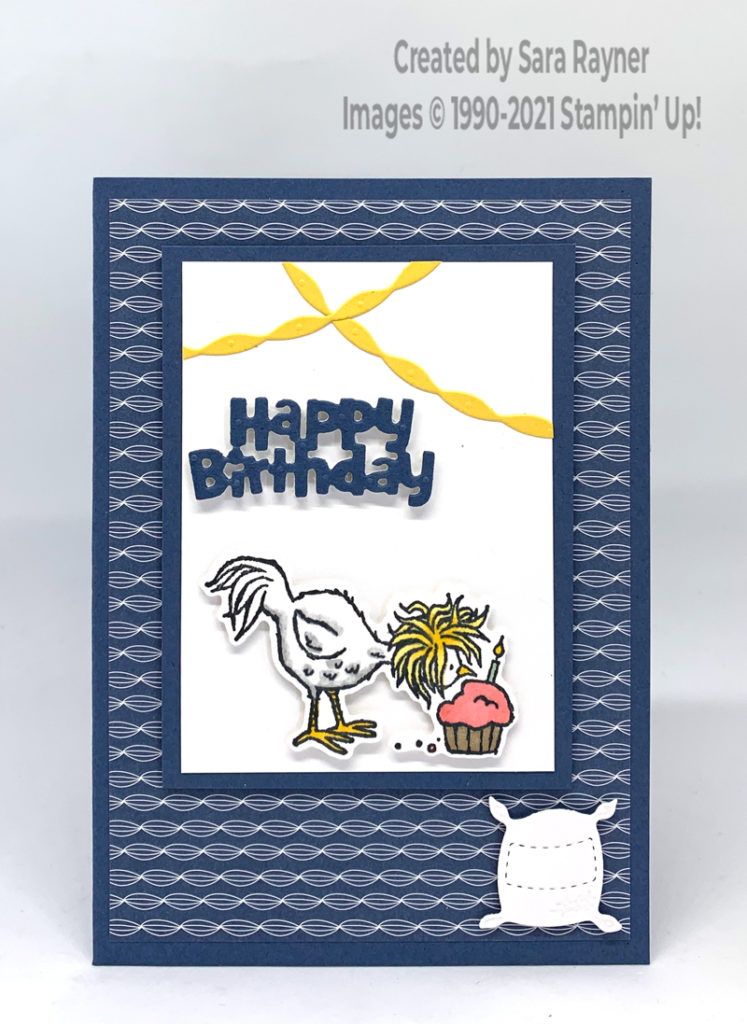
Start with an A6 portrait card of Misty Moonlight. Mat with Dandy Garden DSP. Add Adhesive Sheet to the back of a couple of strips of Daffodil Delight card and die cut bunting from it with the Birthday Chick dies. Peel off the backing and arrange these at the top of a panel of Basic White card, overlapping them and trimming away any excess. Add Foam Adhesive Sheet to the back of a small panel of Misty Moonlight and die cut with the Happy Birthday sentiment from the same set of dies. Adhere this to the panel, below the bunting.
Using Memento Black ink, stamp the chicken and cupcake from the Hey Birthday Chick set onto Basic White card. Colour with Blends, die cut out and pop up on the panel with dimensionals. Mat the panel onto Misty Moonlight card and pop up on the card front. Die cut the small feed sack from Basic White card and pop up on the card front in the lower right corner.
Blue birthday chick card insert
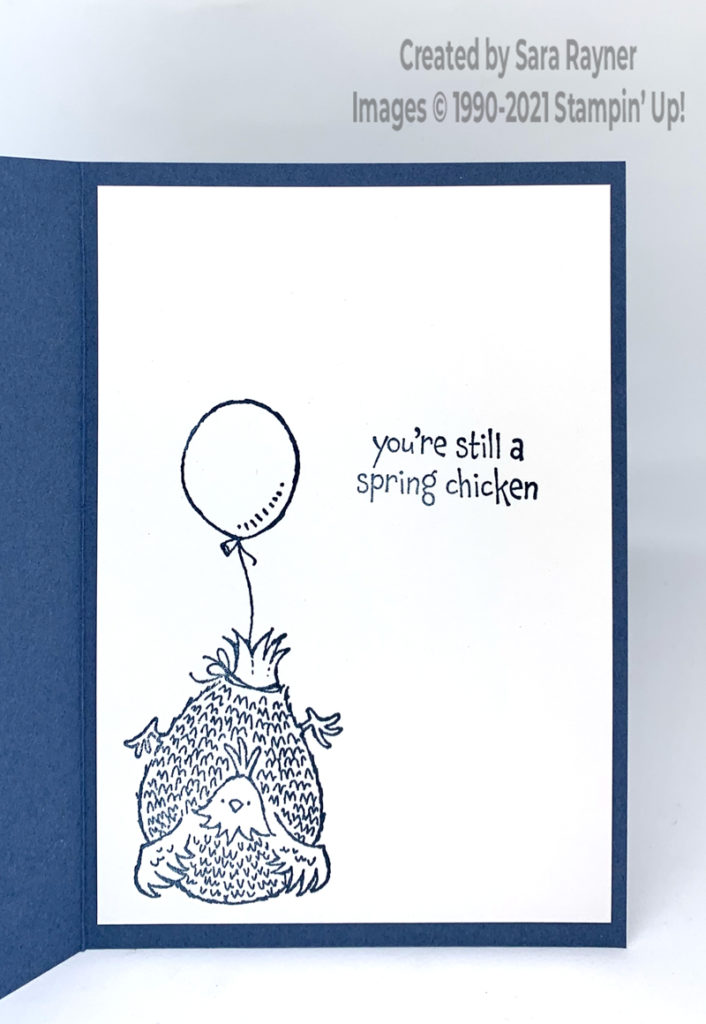
On the Basic White insert, using Misty Moonlight ink, stamp another chicken and a sentiment from Hey Birthday Chick set.
Thanks for stopping by.
Sara xx
Buy the supplies for this blue birthday chick card in my online shop.


0 Comments
Trackbacks/Pingbacks