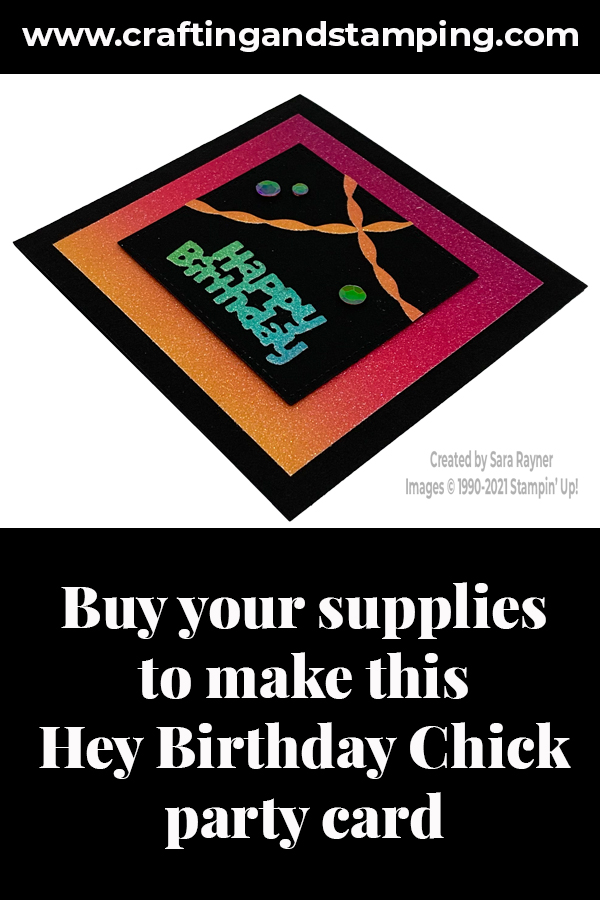
Today’s tutorial is for a hey birthday chick party card. This time I’m not using any of the chicken dies or images. Instead I’m using a variety of the little accessory stamps and dies from the Hey Birthday Chick bundle that I’m featuring this week..
I’ve used them with the Rainbow Glimmer Paper. The card would look equally fun though, using bright coloured card or metallics. I’d love to see these if you have a go.
In the tutorial below, I take you step by step through creating the hey birthday chick party card. I also have a supply list for purchasing anything you don’t already own.
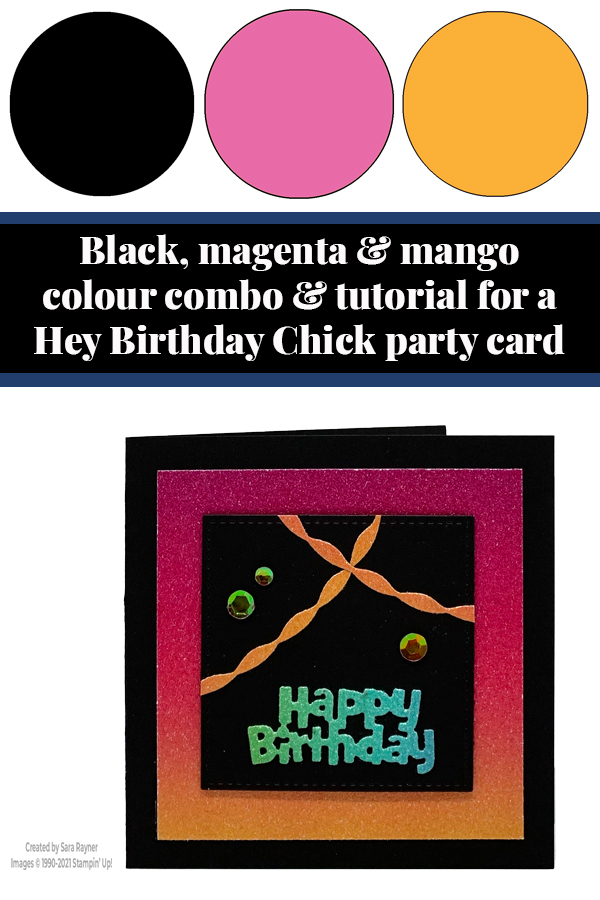
I have a video for you here showing how to create your own die cut stickers to make assembly of the card mega quick and easy. Please subscribe to my channel to see all future quick tips.
Colour Combo
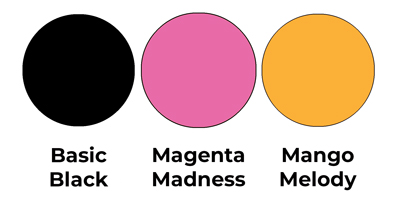
The Rainbow Glimmer Paper has a continuum of colours in it but the colour combo on this card is mainly mixing Basic Black, Magenta Madness and Mango Melody.
Hey birthday chick party card
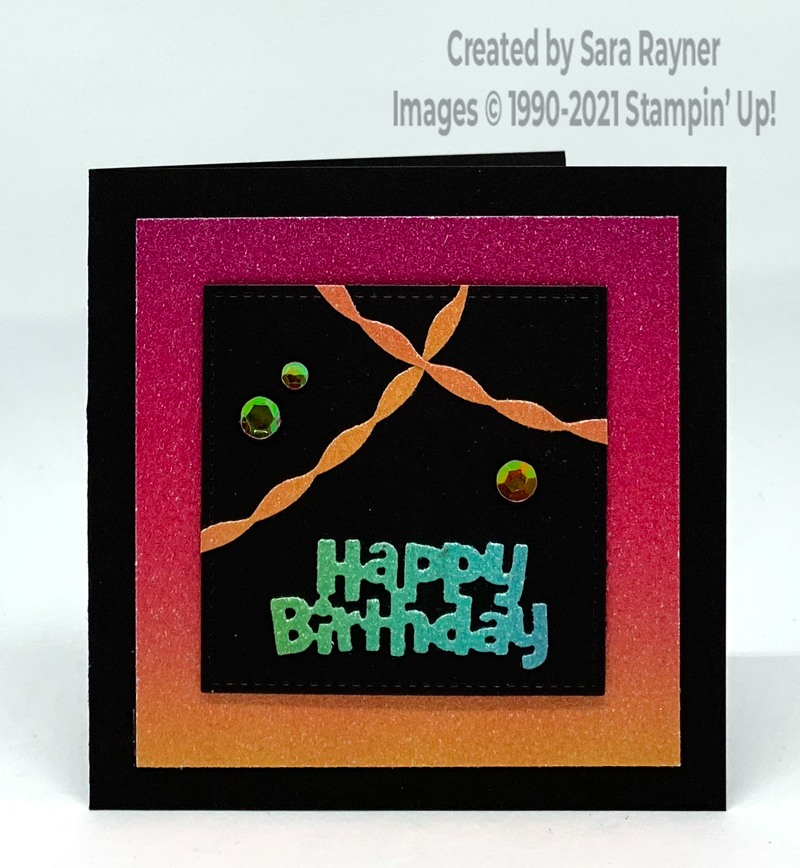
Start with a small square card of Basic Black. Mat with Rainbow Glimmer Paper. Add Adhesive Sheet to the back of a couple of strips of Rainbow Glimmer Paper card and die cut bunting and the Happy Birthday sentiment from it with the Birthday Chick dies. Peel off the backing and arrange these on a Stitched Shape square die cut from Basic Black card, trimming away any excess bunting. Pop the black square up on the card front with dimensionals. Finish with Artistry Blooms Sequins.
Hey birthday chick party card insert
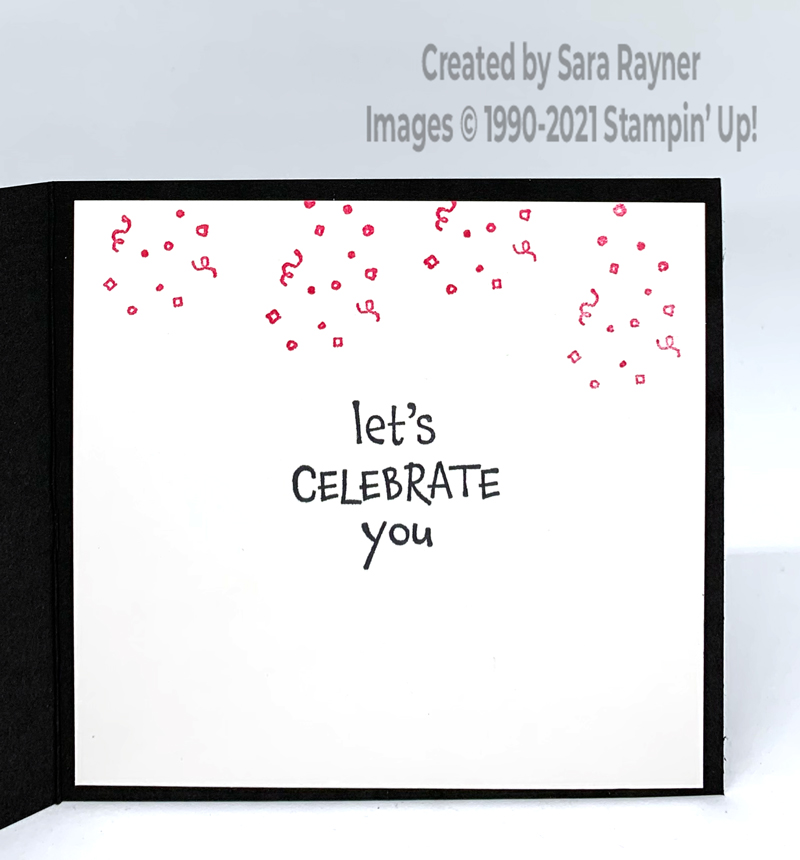
On the Basic White insert, stamp a sentiment from the Hey Birthday Chick set with Memento Black ink. Add streamers of confetti along the top with Magenta Madness ink.
Thanks for stopping by.
Sara xx
Buy the supplies for this hey birthday chick party card in my online shop.


0 Comments