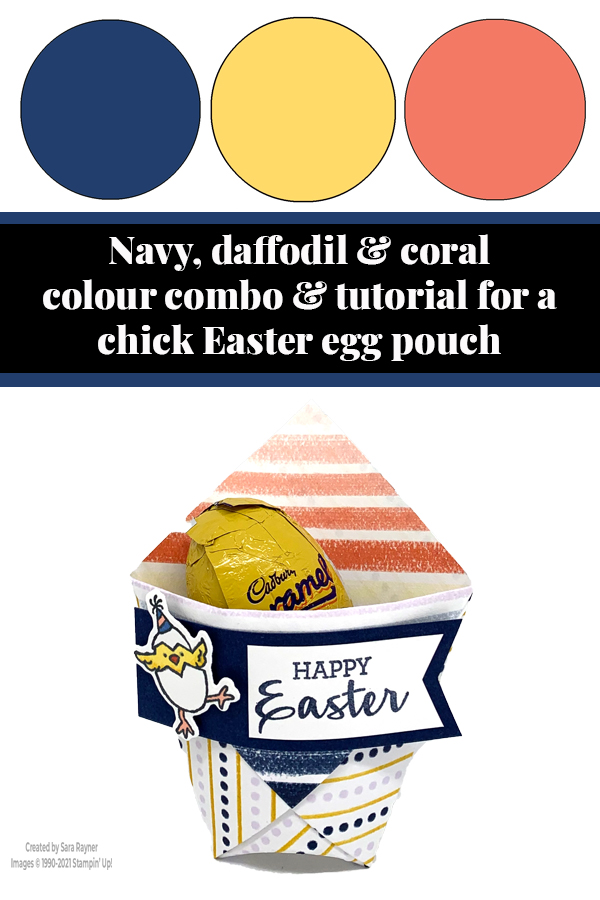
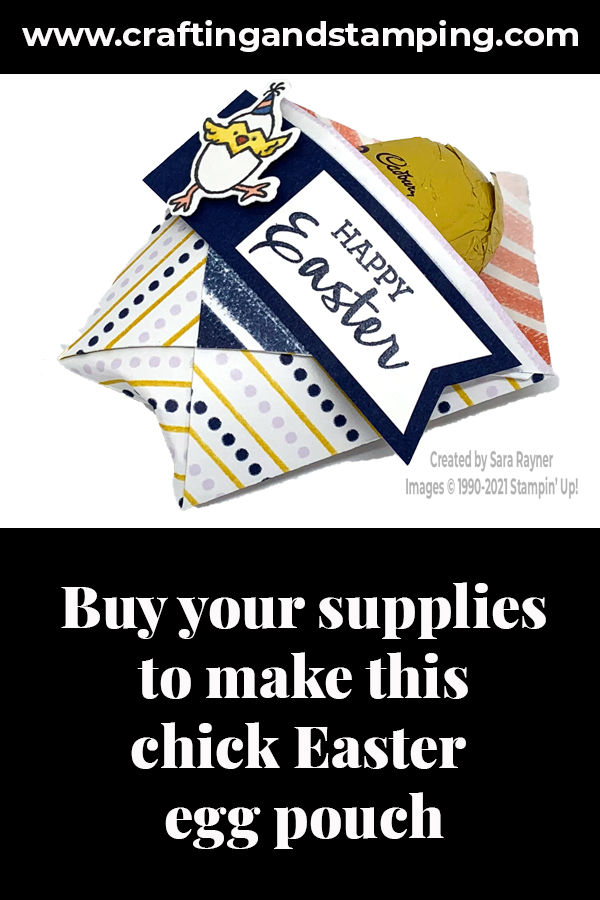
My tutorial today is for a Hey Birthday Chick easter egg pouch. The Hey Birthday Chick set is, of course, great for birthdays, but with so many chickens and eggs (which came first?), it’s also perfect for Easter projects.
The pouch will easily take a standard Cadbury’s Creme Egg or similar. This one’s a Caramel egg. It will even fit a little larger than that.
In the tutorial below, I take you step by step through creating the Hey Birthday Chick easter egg pouch. I also have a supply list for purchasing anything you don’t already own.
A quick aside from the project first, in case you missed it over on my Facebook page, (please head over and Like or Follow to make sure you don’t miss future flash offers), Stampin’ Up! are offering free shipping, but only until 22:59 tonight, Wednesday 17 March.

Colour Combo
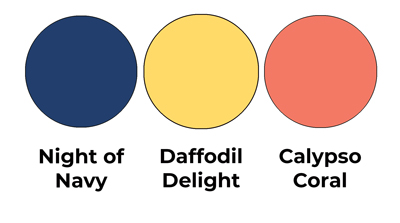
The colour combo mixes Night of Navy, Daffodil Delight and just a splash of Calypso Coral. This is only slightly changed from the one used for the blue birthday chick card. This time going for a darker blue and using Calypso Coral instead of a pink. Calypso Coral was used instead of say, Pumpkin Pie, because the Playing with Patterns DSP incorporates the Coral.
Hey Birthday Chick easter egg pouch
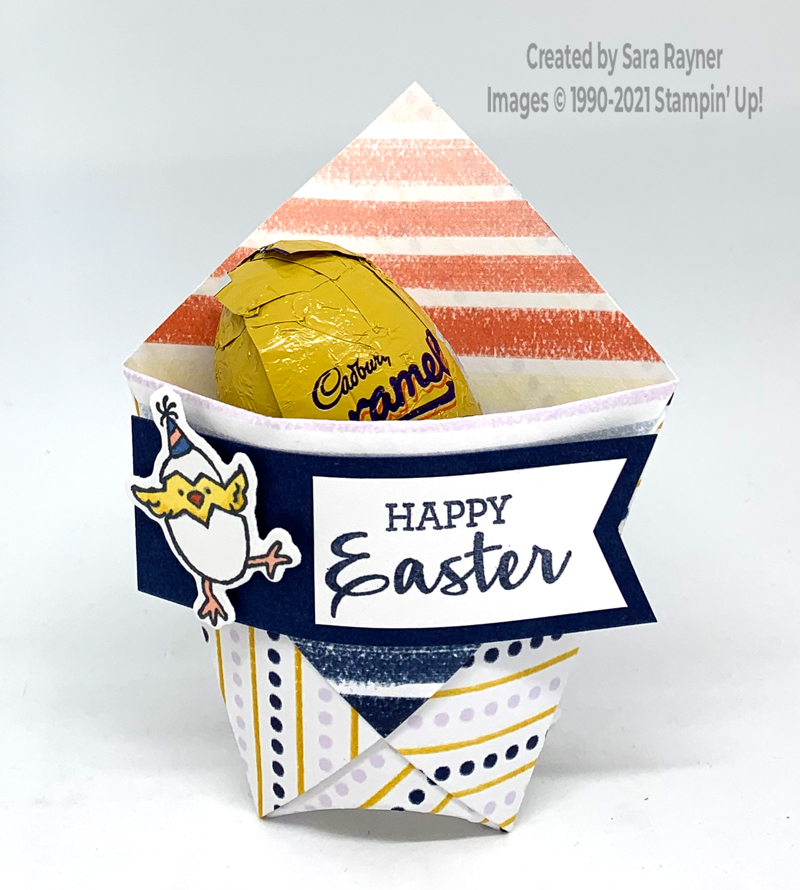
Start with a 6″ x 6″ piece of Playing with Patterns DSP and diaper fold it to create a little pouch.
I demonstrated the pouch at a recent Online Workshop that I held over on Facebook. You can catch a replay of the workshop here (just skip to the 37min mark for the pouch). Better still, join my Facebook Group to watch future workshops for free.
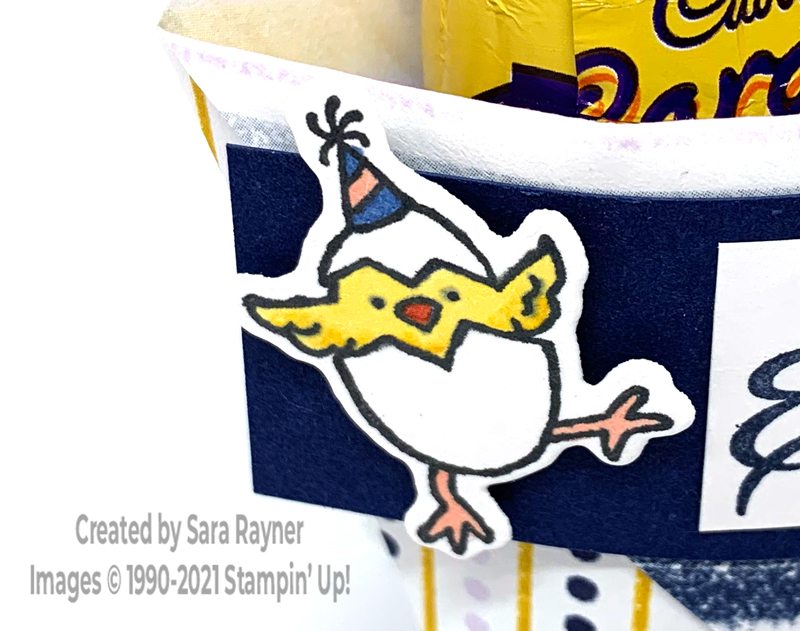
Using Memento Black ink, stamp the little hatching egg from the Hey Birthday Chick set onto Basic White card and colour with Blends. Die cut out with the matching Birthday Chick die. Using Night of Navy ink, stamp the Easter sentiment from Arrange a Wreath set onto a strip of Basic White card. Snip the end of the strip to a banner. Mat the sentiment onto Night of Navy card, banner cut one end and leave room at the other for the chick. Adhere the banner direct to the front of the pouch and pop the chick up on the straight end of the banner with a dimensional.
Add your egg.
Here’s a close up of the little chick.
Thanks for stopping by.
Sara xx
Buy the supplies for this Hey Birthday Chick easter egg pouch in my online shop.
0 Comments