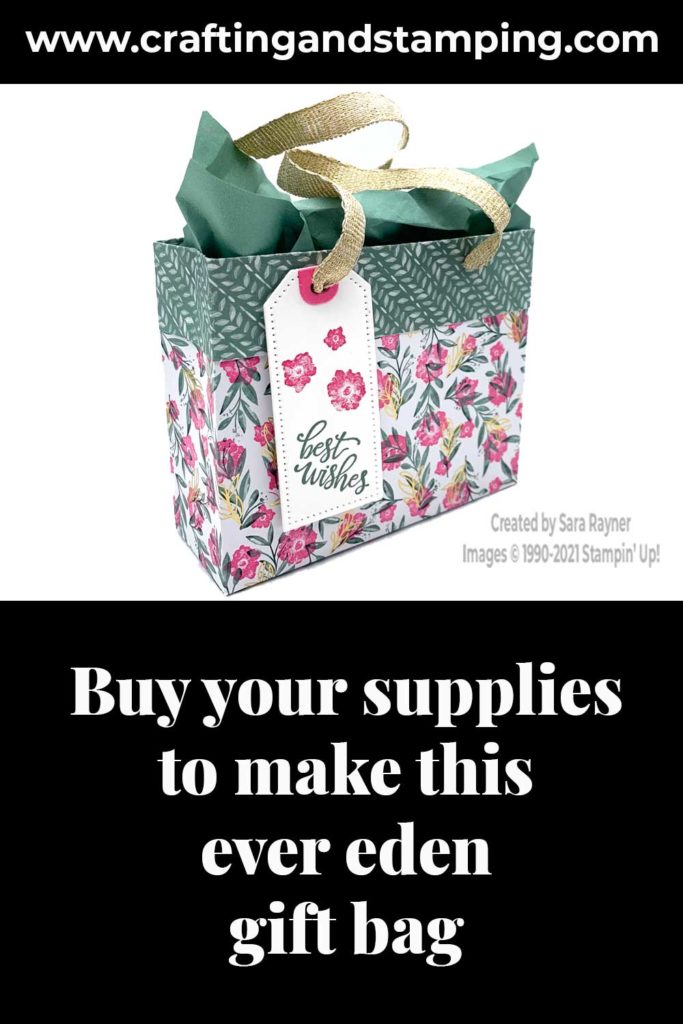
Today’s tutorial is for an ever eden gift bag. This time I’m altering the Ever Eden Specialty DSP to add a splash of colour.
This is the same design that I used to create a Peaceful Prints Christmas gift bag.
In the tutorial below, I take you step by step through creating the ever eden gift bag. I also have a supply list for purchasing anything you don’t already own.
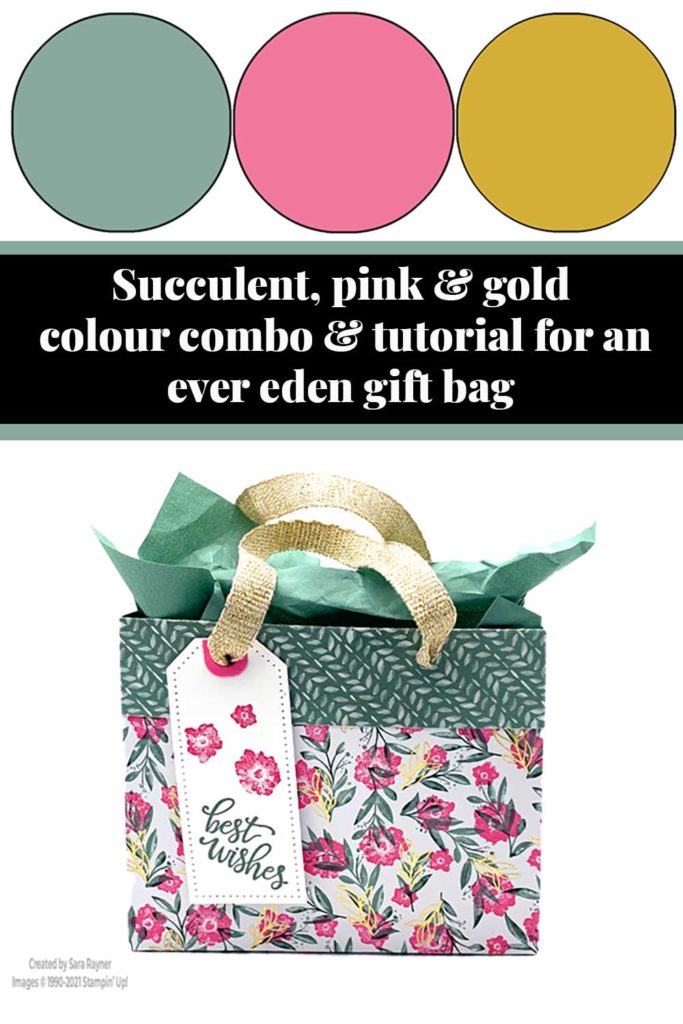
Colour Combo
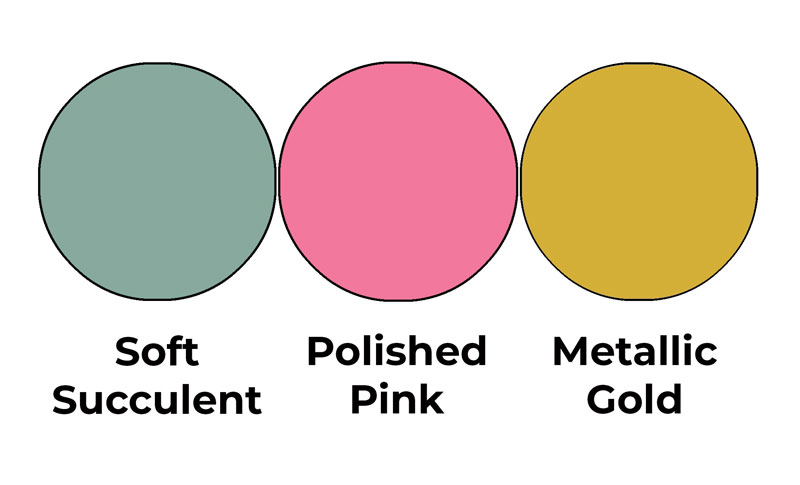
The colour combo mixes Soft Succulent, Polished Pink and Metallic Gold.
Ever eden gift bag
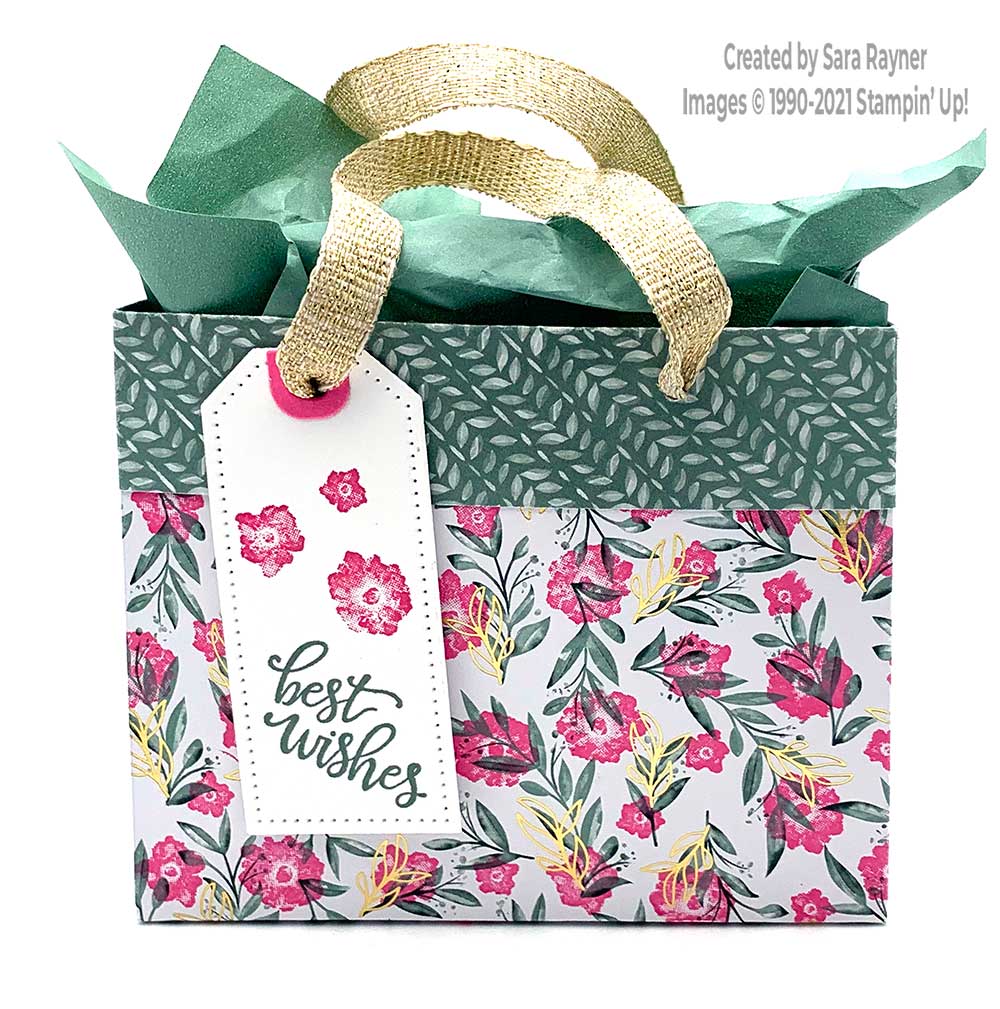
Start with a 6″ x 12″ piece of Ever Eden Specialty DSP. With the short edge at the top of the Trimmer and score at 1-1/2″ and 5″. Using Polished Pink ink, stamp the small trio of flowers from the Artistically Inked set between the two scorelines (see the tips video below). With the long edge and the shorter gap at the top of the Trimmer, score at 4-1/4″, 5-3/4″, 10″, and 11-1/2″. Cut up each vertical score line from the base as far as the first horizontal scoreline. Cut in each right hand horizontal scoreline as far the the first vertical scoreline (this should fully cut away the lower right segment). Assemble the gift bag (check out this tips video here).
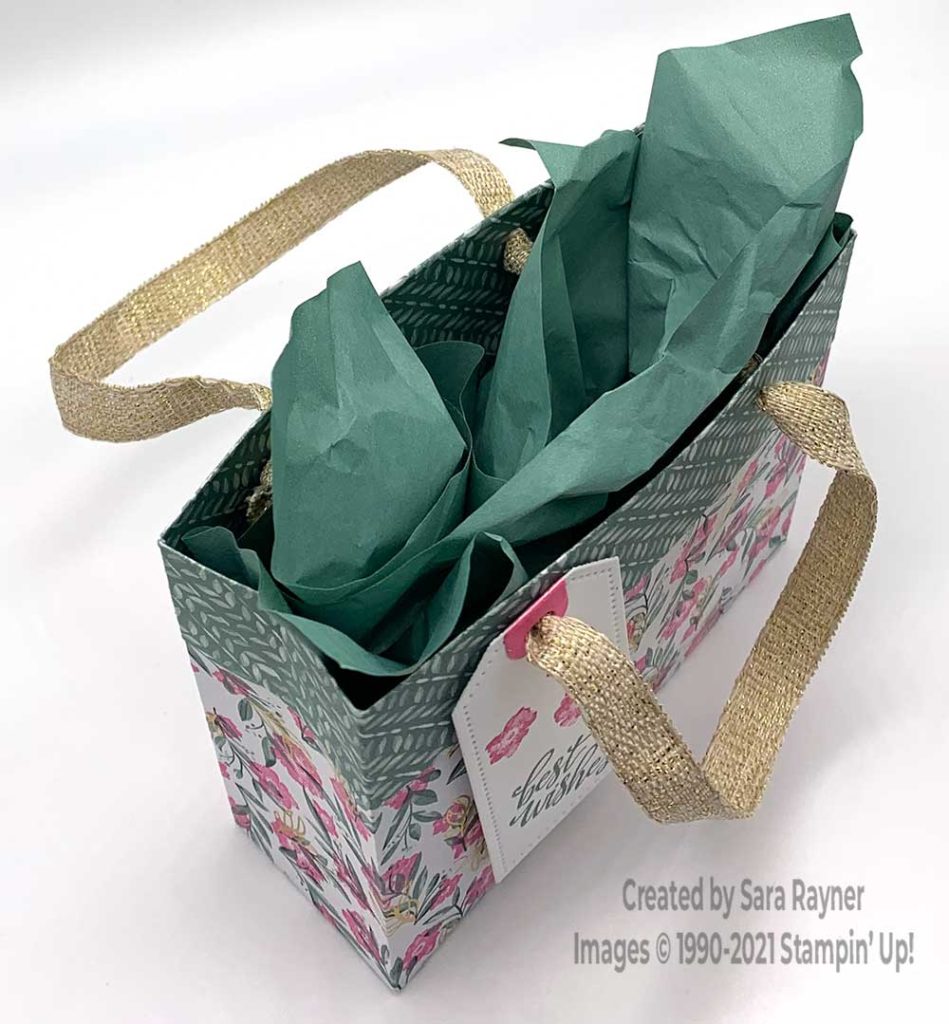
Using the Tailor Made Tags dies, die cut a squared off tag from Basic White card and hole reinforcements from a scrap of Polished Pink card. Adhere the reinforcements to the front and back of the tag. Using Soft Succulent ink, stamp the sentiment from the Artistically Inked set at the base of the tag. Add the trio of flowers above it with Polished Pink ink. Punch two holes in the folded bag collar. Thread Gold Fine Art Ribbon through the holes, threading the tag to the front and knot to form the gift bag handles.
Here’s a quick video giving some tips for altering your DSP. Please subscribe to my Youtube channel for future quick tips and quick cards.
The gift bag can be lined with some of the Ever Eden Cotton Paper for a luxury finish.
Thanks for stopping by.
Sara xx
Buy the supplies for this ever eden gift bag in my online shop .
0 Comments