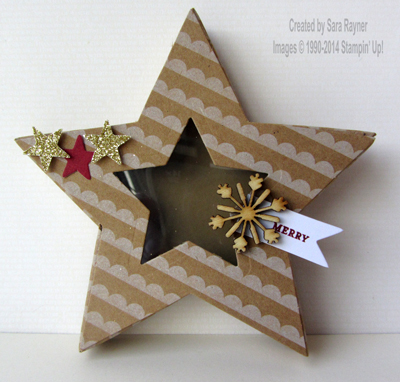
Yesterday I shared this box with a window in the lid.
As promised, here is a quick tutorial for how to do this.

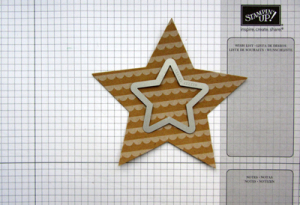
Step 1 – Select a star from the Many Merry Stars kit to form the box lid. Select a Star framelit that fits easily inside it, centre it and die cut out.

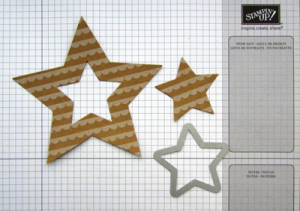
Step 2 – Remove the centre star (this can retained to use on another project). Add Window Sheet behind the aperture. Finish assembling the box lid, removing all the liner tape covering the adhesive.

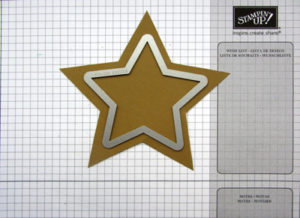
Step 3 – Cut a lining for the lid (see tip here (at step 4)). Die cut an aperture from the lining using the next size die larger than your original.
 Step 4 – Adhere the lining in place inside the box lid to cover the exposed adhesive. Assemble and line the box base.
Don’t forget – this kit is only available while stocks last!
Sara xx


0 Comments