This Easter Basket is easily resized to hold more chocolate – just divide the length of the sides by 3, to work out the placement of the score lines.
For this dinky version I’ve started with a 4.5″ square of Daffodil Delight card.
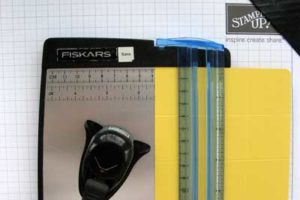
Step 1 – Score at 1.5″ on all four sides. Optional – round the corners with the corner rounder punch.
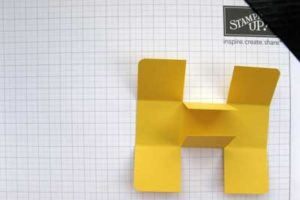 Step 2 – Cut along the score lines, top and bottom, as far as the intersecting score line (if you fold the centre sections in then you can see the “H” shape that this creates). Burnish all folds with a bone folder.
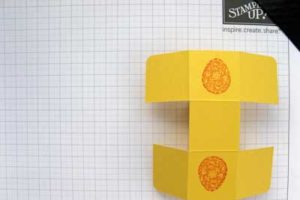 Step 3 (optional) – if you wish to stamp the ends of the basket then flip the card square over (to the right side) and around so that all folds are mountain folds and you now get an “I” shape. Stamp your image in the uncut centre squares with the top of your image to the outside of the square and the bottom positioned to the centre. This is the point at which to sponge the edges of your basket if desired.
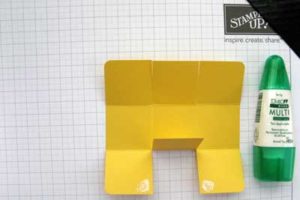 Step 4 – Working on the reverse side (back to a valley fold, “H” shape), apply your preferred adhesive to the centre bottom corners of the two outside squares. (I prefer to use a liquid glue as it allows you to slide the basket sides into place).
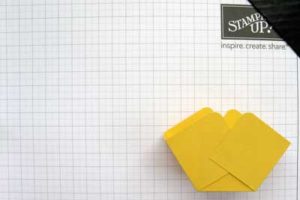
Step 5 – Adhere the sides over the centre square so that they just cover the top of that square and create a small “v” where they meet. Repeat on the opposite side.
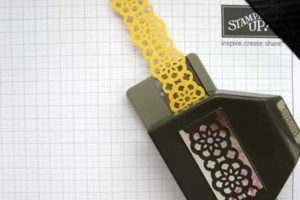
Step 6 – Punch a strip of card (1-1/4″ wide) with the Lace Ribbon Border. Use a strip 11-/14″ long for a long handle or 9-1/2″ long for a standard handle.
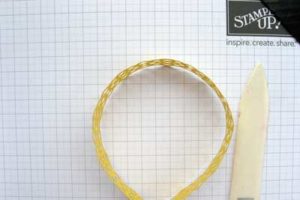
Step 7 – Curl the punched strip over a bone folder. This gives it a natural curve and helps prevent the handle from creasing when the basket is assembled.
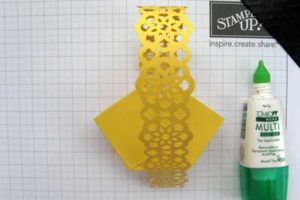
Step 8 – apply adhesive to the bottom flower on the outside of the strip and adhered to the inside of the basket base.
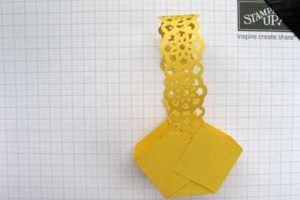
Step 9 – repeat with the other end of the handle, adhering to the opposite side of the basket base. Finish by decorating your basket as wished.
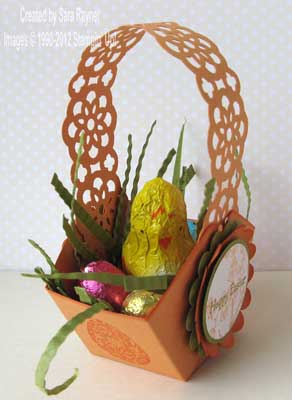
Here’s the decorated basket I shared yesterday, along with the full recipe.

0 Comments
Trackbacks/Pingbacks