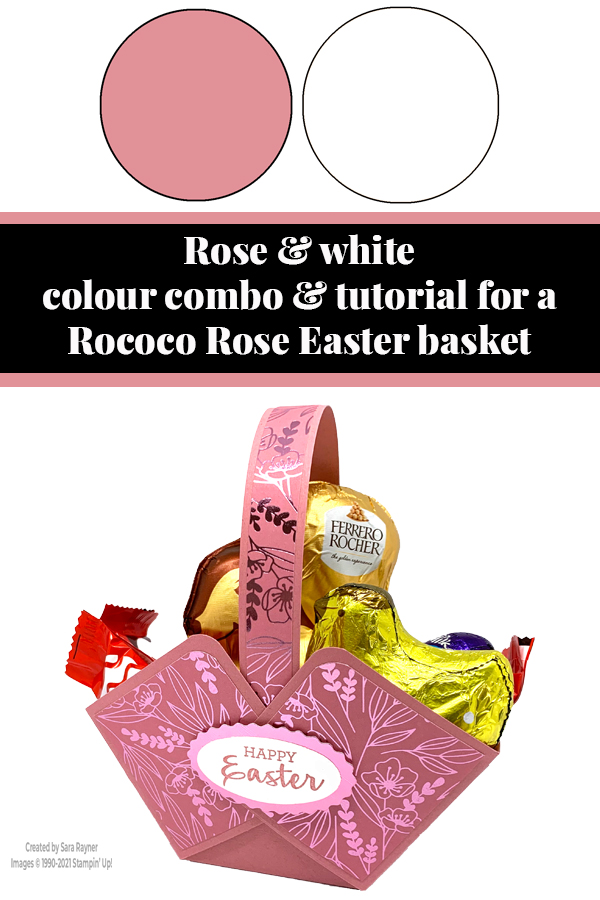
Today’s tutorial is for a Rococo Rose Easter basket. This one is reasonably large, sized to hold a bunch of mini eggs and Easter animals.
Each week over on my Facebook page (please pop over and Like or Follow) I choose a product pick of the week to feature. This week, my pick is the 2019-21 In Color products. I’ll have a selection of tutorials for you throughout the week that use the retiring In Colors.
In the tutorial below, I take you step by step through creating the Rococo Rose Easter basket. I also have a supply list for purchasing anything you don’t already own.
This Rococo Rose Easter basket is for my Mum. Scroll down to see the more masculine version I made for my Dad. I don’t want any arguments – they have one each, lol.
Several of the suites in the January-June catalogue incorporate 2019-21 In Colors. The catalogue runs until 30 June but the 2019-21 In Colors are retiring at the end of April and so ink pads, cardstock and embellishments are now only available while supplies last. Please don’t miss the chance to get any items you might need to co-ordinate with these great products – they’re selling out already. Today I’m focusing on the Love You Always suite which includes Rococo Rose.
Colour Combo
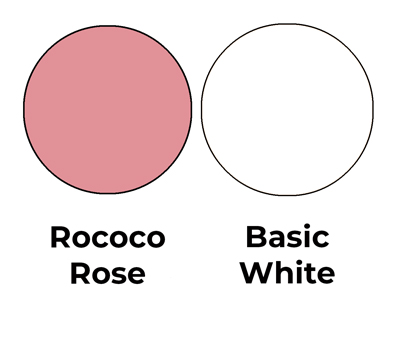
The colour combo is simply Rococo Rose and Basic White.
Rococo Rose Easter basket

Start with a 7-1/2″ square of Rococo Rose card, score at 2-1/2″ on all four sides. (Tip – to create the square, cut the long edge from the A4 sheet first and retain this for the basket handle). Cut along the score lines, top and bottom, as far as the intersecting score line (if you fold the centre sections in then you can see the “H” shape that this creates). Round all four corners. Burnish all folds with a bone folder. Cut six 2-1/4″ x 2-1/4″ squares of Rococo Rose Love You Always Specialty DSP. Round one corner on each of four squares. Adhere the squares to the adjoining panels of three squares on the basket base.
Adhere the sides over the centre square so that they just cover the top of that square and create a small “v” where they meet. Repeat on the opposite side. Adhere a strip of Rococo Rose card inside the basket as a handle. Using Rococo Rose ink, stamp a sentiment from the Arrange a Wreath set onto a scrap of Basic White card. Punch out with the plain oval part of the Double Oval punch. Adhere the stamped oval direct to the centre of a scalloped Rococo Rose Love You Always Foil Sheet oval, punched with the same punch. Pop the sentiment up on the front of the basket with dimensionals.
I have a very old (2012) tutorial here that shows more clearly how to put the basket together. This basket is larger than the one on the tutorial, but that’s the only key difference.
Pretty Peacock Easter basket
This is the basket that I made for my Dad.
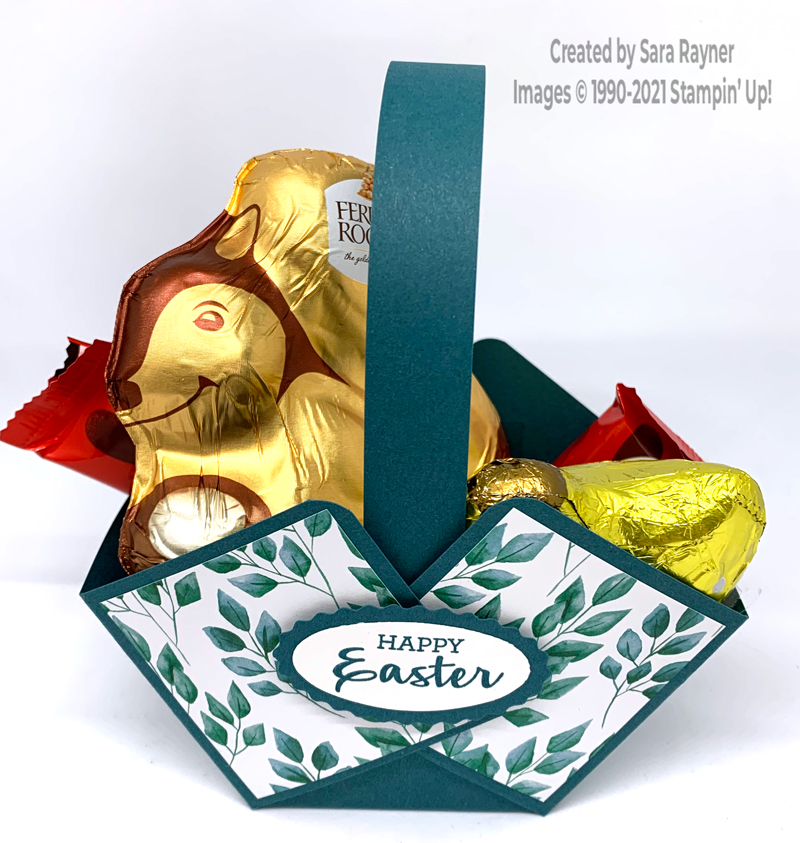

This basket is made with Pretty Peacock ink and card, with Forever Greenery DSP.
Thanks for stopping by.
Sara xx
Buy the supplies for the Rococo Rose Easter basket in my online shop.


0 Comments