The Itty Bitties in the new Spring/Summer catalogue really are very very dinky. They probably aren’t going to be the focus of any card but they do add very cute little accents and with 56 (yes, that’s fifty-six!) images in the set you should be able to find something for every occasion.
Putting them together is a little bit fiddly … but worth it 
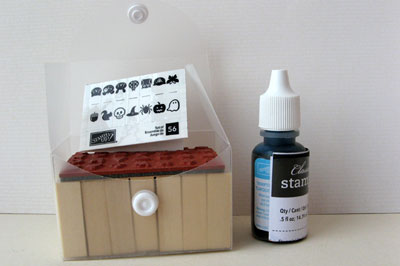
They come packaged in their own little case to keep them together and avoid them getting lost. The reinker bottle next to them is just to give a better idea of the size.
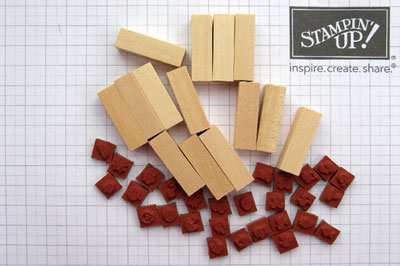
1. The first step is to cut the sheet of rubber images into little squares, ready to adhere to the ends of the wooden blocks.
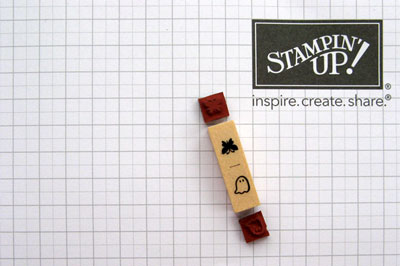
2. The sticker sheet that comes with the set has the images grouped into pairs. Add a sticker to the wooden block and then identify the rubber stamps that match the images.
3. Arrange the rubber stamps so that they are a mirror image of the sticker and then adhere them to the ends.
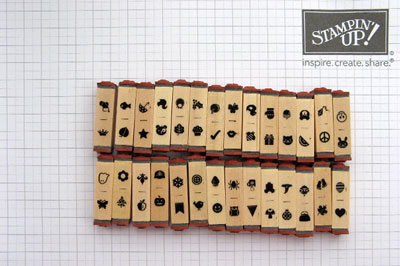
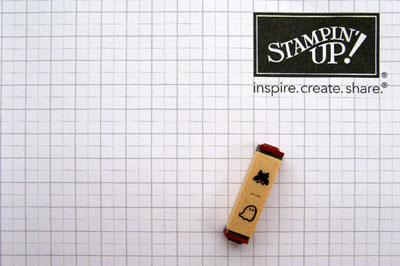
4. Continue through to complete the whole set and then store in the plastic case that they came in.
Aren’t they sweet!


0 Comments