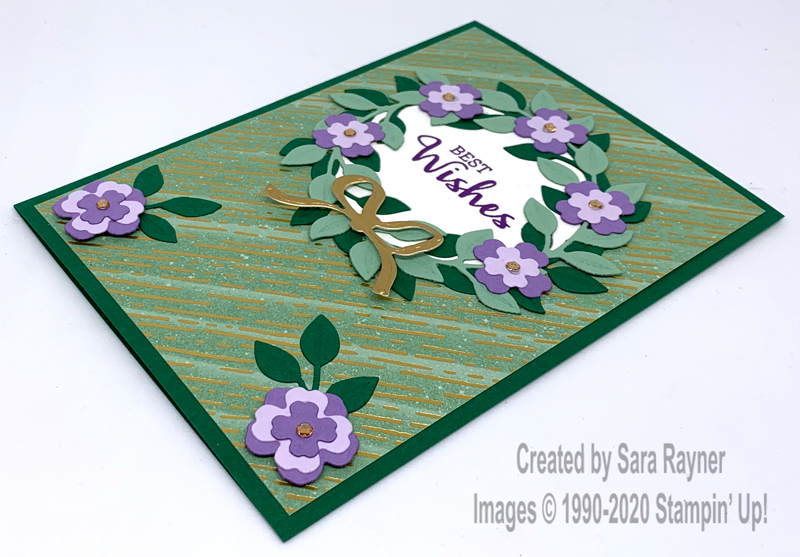
This Wreath Builder birthday card was designed with flat layers to make it suitable for posting. Then all of a sudden I’d run out of days and had to hand deliver through the letterbox. If I’d known that I’d be doing that, then I could have added a lot more dimension! 🤦♀️
This Arrange a Wreath bundle is one of my more canny purchases. That’s not just because I saved 10% getting the stamp set and dies as a bundle. I was very tempted to get another set from the August-December catty (okay I may have done that as well … possibly 😆) but I decided that this set will work much harder for me. It has sentiments and wreath variations for Christmas, Easter, Valentine’s and thank you’s, as well as this birthday version.
The foiled paper in the background is from the Gilded Autumn Specialty DSP. I’ve used the more autumnal patterns in the pack for this Gilded Autumn thank you card but the pattern used here is perfect year round.
COLOUR COMBO
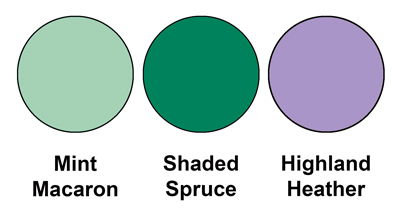
This colour combo mixes mainly Mint Macaron, Shaded Spruce and Highland Heather. There are also hints of Purple Posy and Metallic Gold.
INSTRUCTIONS

Start with an A6 portrait card of Shaded Spruce. Adhere a card front layer of Gilded Autumn DSP. Using the circular leafy frame from the Wreath Builder dies set, die cut two from Shaded Spruce and one each from Mint Macaron and Whisper White card. Take the centre of the Whisper White frame (the negative space) and using Gorgeous Grape ink, stamp a sentiment from the Arrange a Wreath stamp set. Adhere this stamped piece direct to the front of the card. Line up the Shaded Spruce frame around it and adhere it direct. Add the Mint Macaron frame over the top, offsetting the leaves slightly.
Snip two trios of leaves from the other Shaded Spruce frame and adhere these direct in the lower corners of the card front. Die cut flowers from Highland Heather and Purple Posy card and layer together and then over the top of the leaves. Die cut a bow from Gold Foil and adhere to the base of the wreath. Finish the centres of the flowers with Champagne Rhinestones.
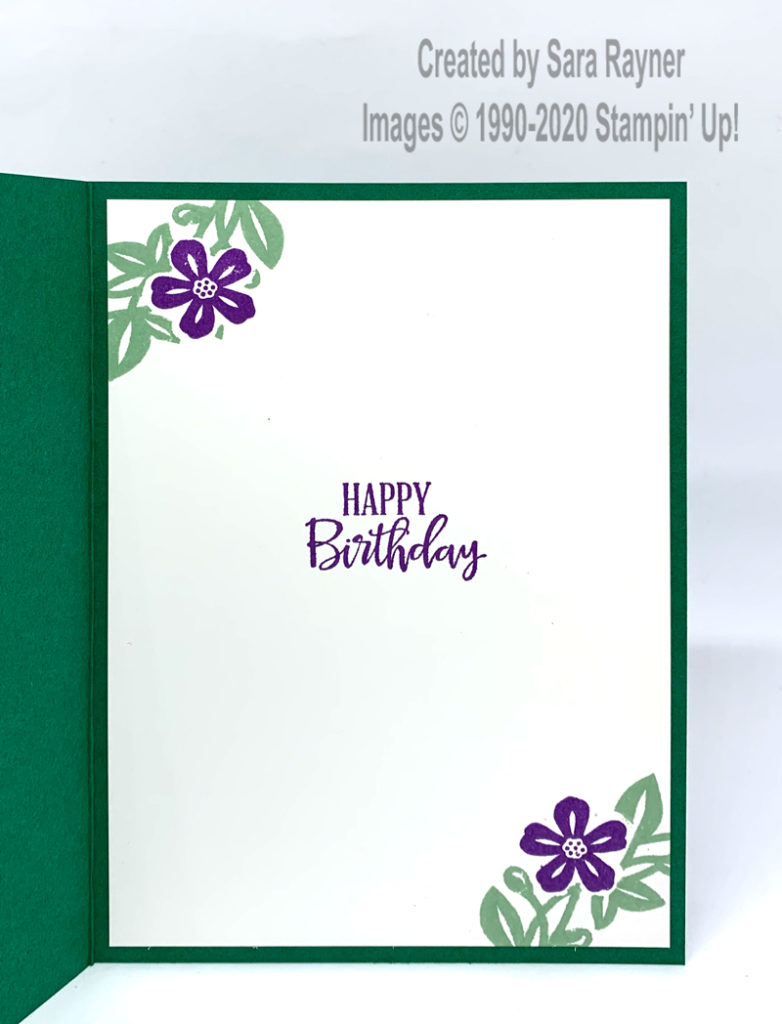
On the Whisper White insert, use Gorgeous Grape ink to add a sentiment from the Peaceful Moments stamp set. Use the same ink to add flowers from the Arrange a Wreath set in the corners. Die cut masks from sticky notes using the co-ordinating Wreath Builder dies. After masking the flowers stamp the wreath from the Arrange a Wreath set, off the edge of each corner using Mint Macaron ink.
Thanks for stopping by.
Sara xx
Supplies for this Wreath Builder Birthday card can be found in my online shop.


0 Comments