This Forever Gold framed birthday card was one of the make and takes at our September Paper Dolls Inspiration Meeting on Tuesday. It combines the gorgeous Forever Gold Laser-cut Specialty Paper with the Stitched Rectangle framelits. The theme of our meeting this time was stretching our supplies and the inner rectangle cut from the red frame in this project is saved to use on another card.
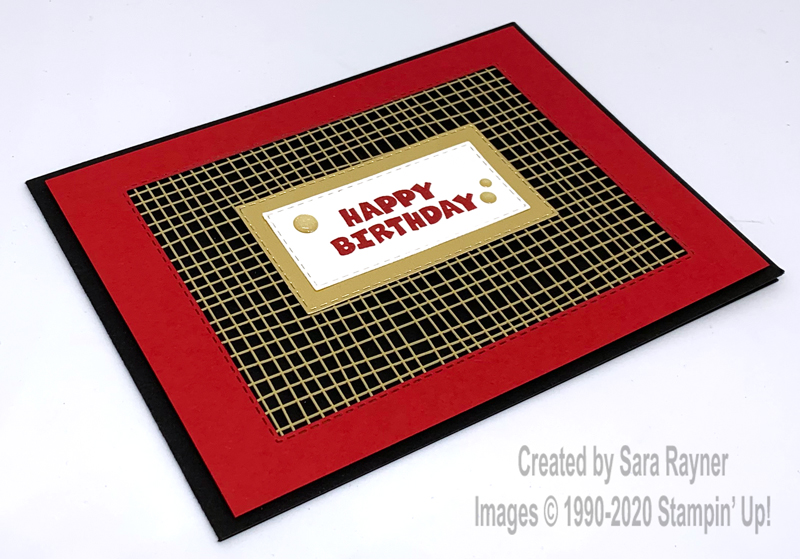
One of the more geometric panels from the Forever Gold Laser-cut Specialty Paper is used for the background here and it works well as a masculine card.
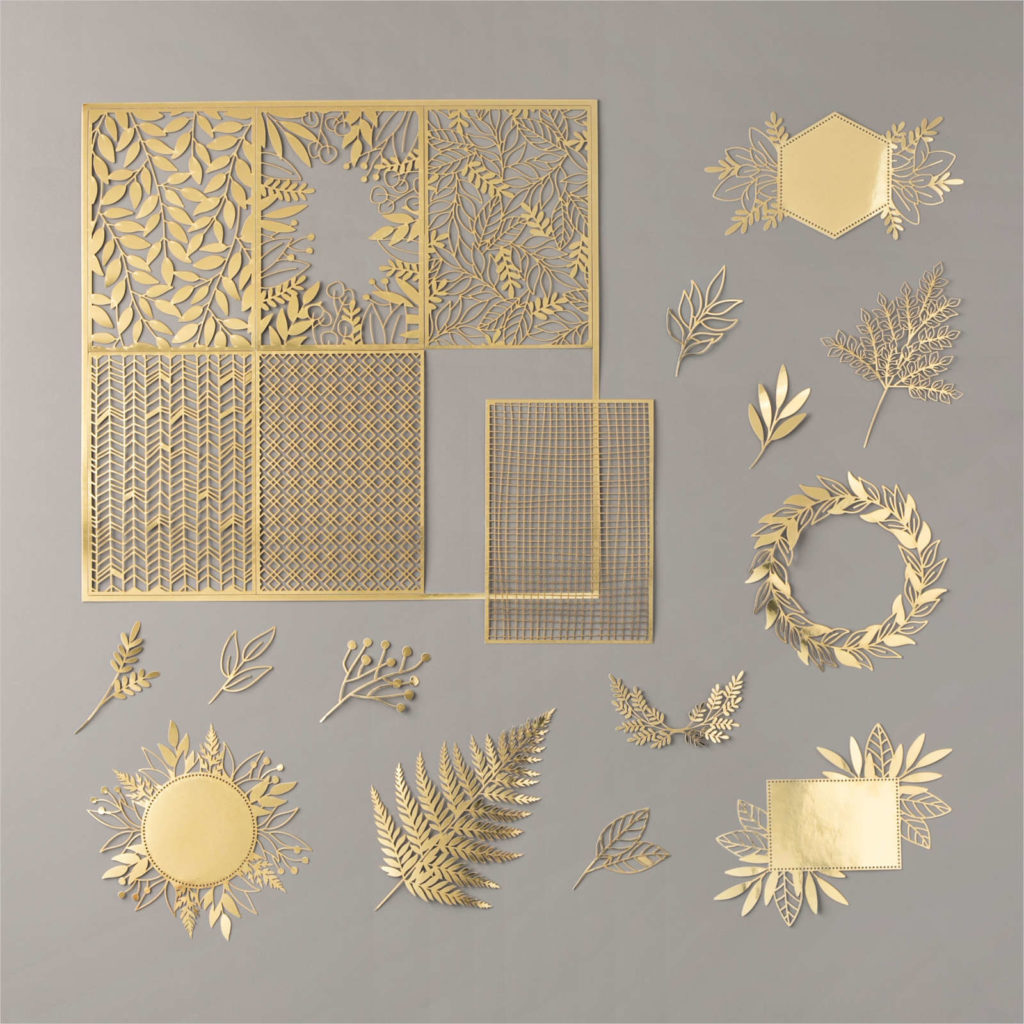
The pack also has leafy panels which can be used for either masculine or feminine cards, depending on the colour combo. Plus you gets lots of separate leaves and some frames too.
COLOUR COMBO
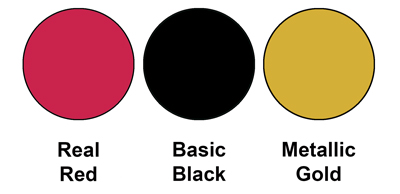
This colour combo mixes Real Red, Basic Black and Metallic Gold.
INSTRUCTIONS
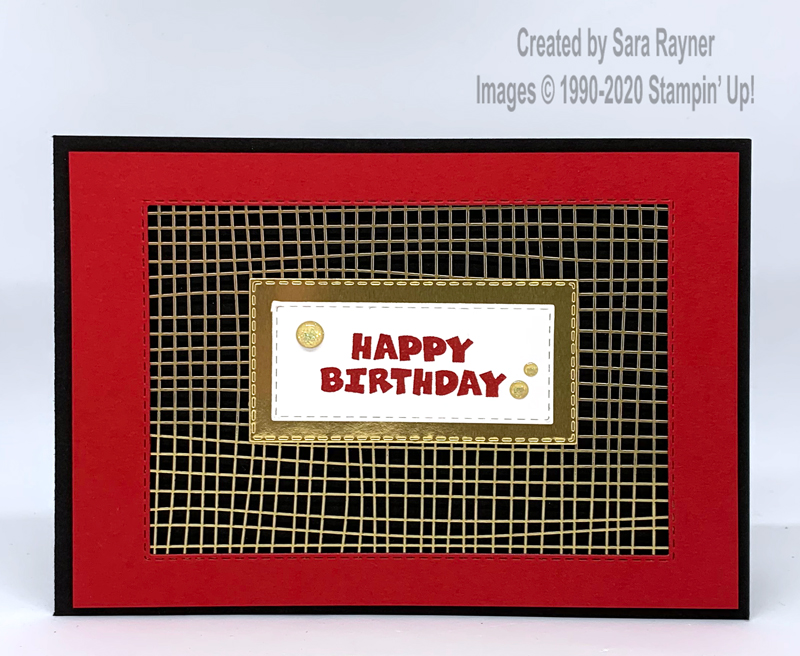
Start with an A6 landscape card of Basic Black. From a card front layer of Real Red, die cut a Stitched Rectangle from the centre (retain for another project). Adhere the grid background from the Forever Gold Laser-Cut Specialty Paper behind the frame. Add a few dimensionals to the card front in the area you plan to put the sentiment before popping the layers up on the card front with more dimensionals. This will support the sentiment and help you avoid squishing the delicate laser-cut. Using Real Red ink, stamp a sentiment from A Grand Kid set onto a scrap of Whisper White card. Die cut out with a smaller Stitched Rectangle. Die cut a slightly larger rectangle from Gold Foil and adhere the layers together direct. Adhere the layers over the exposed dimensionals with a little extra wet glue to hold in place. Finish with Gold Glitter Enamel Dots.
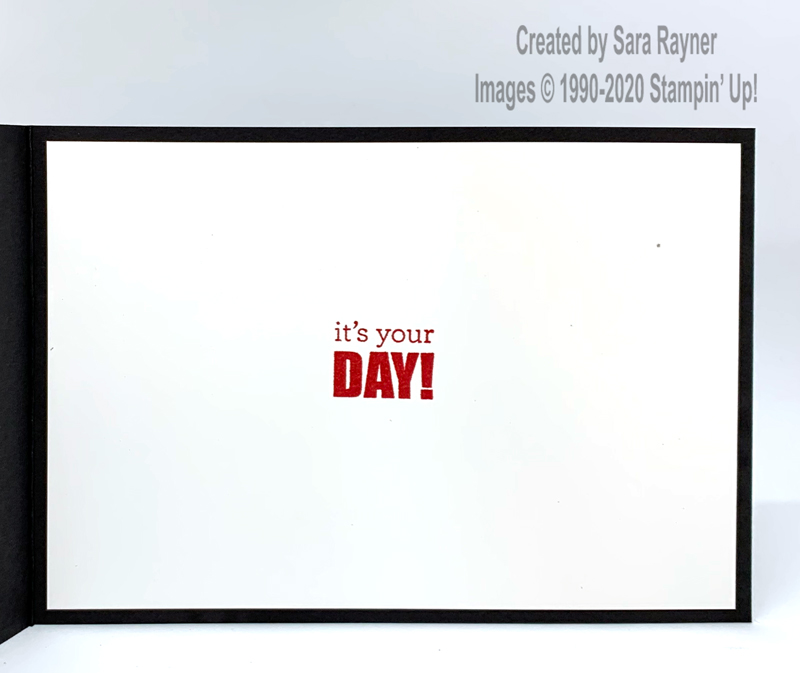
On the Whisper White insert, stamp the sentiment from Itty Bitty Birthdays using Real Red ink.
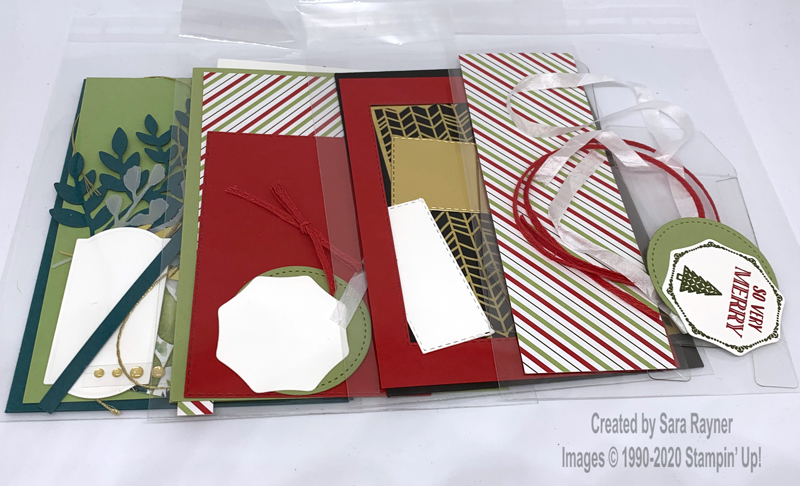
This was just one of four projects that we made on Tuesday evening. I posted this happy mail, make and take pack, to all team members with qualifying sales (purchases) last month – so that they could craft along. (I don’t post stamped images – that was just my Blue Peter “here’s one I made earlier” stamping in case of a mistake).
If you’d like to join our October meeting and get your own make and take pack, then check out the fabulous joining offer that we have this month.
Thanks for stopping by.
Sara xx
Supplies for this Forever Gold framed birthday card can be found in my online shop.


0 Comments
Trackbacks/Pingbacks