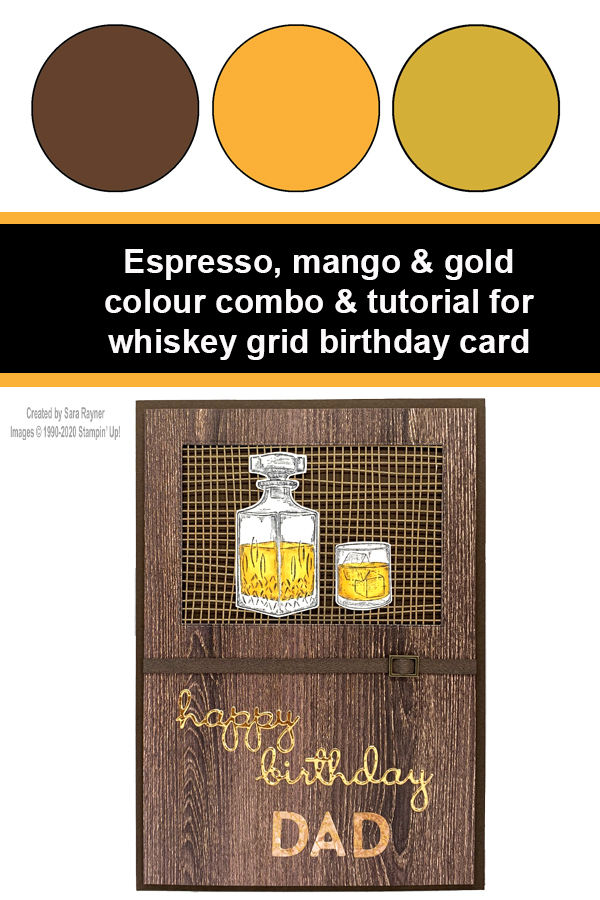
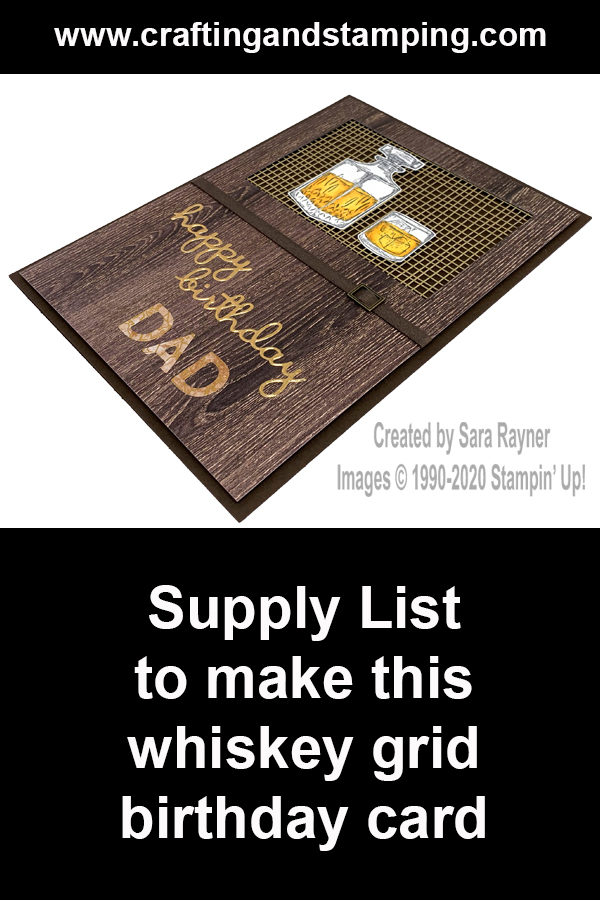
I have a great masculine project for you today with this whiskey grid birthday card tutorial. It reuses an idea that I used on my Forever Gold framed birthday card and it combines it with a little colouring in.
In the tutorial below, I take you step by step through creating the whiskey grid birthday card. I also have a supply list for purchasing anything you don’t already own.
As this was a birthday card for my own Dad it was another oversize, A5 card and it does use more stamps/dies than I usually use. You could easily cut back and use a sentiment panel on the lower half of the card similar to this card.
Colour Combo
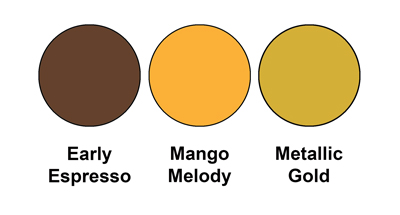
The colour combo mixes Early Espresso, Mango Melody and Metallic Gold.
Whiskey grid birthday card tutorial
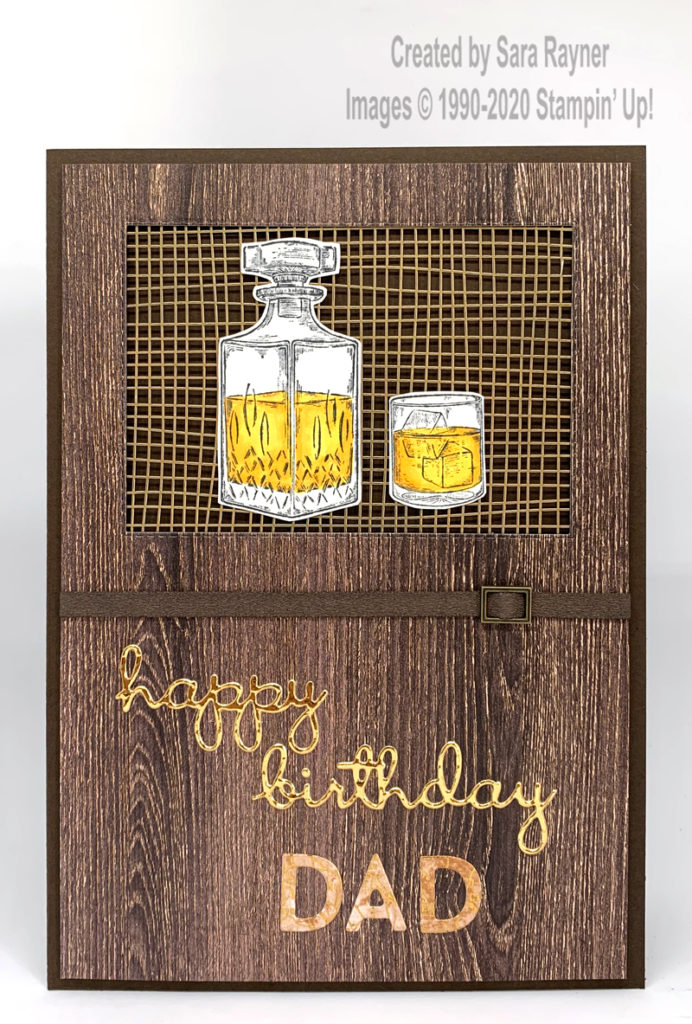
Start with an A5 portrait card of Early Espresso. Adhere a large card front layer of one of the wood patterns from the In Good Taste DSP onto more Early Espresso card for extra strength. From this, die cut a Stitched Rectangle, centrally, from the upper half (retain and use it for another project). Adhere the grid background from the Forever Gold Laser-Cut Specialty Paper behind the frame. Thread an Antiqued Slide to Faux Suede Trim, wrap it around the card front layer and secure on the reverse. Add a few dimensionals to the card front in the area you plan to put the decanter and glass before popping the layers up on the card front with dimensionals. This will support the coloured pieces and help you avoid squishing the delicate laser-cut.
Using Memento Black ink, stamp the decanter and glass from Whiskey Business onto large scraps of Whisper White card. Colour with the duo of Mango Melody Blends and the Light Pumpkin Pie Blend for a little extra depth. Fussy cut out and adhere over the top of the dimensionals with a little wet glue such as Tombow. Back panels of Gold Foil and World of Good Specialty DSP with Adhesive Sheet. Die cut the “happy birthday” sentiment from the Gold Foil with the Well Written dies and the “DAD” sentiment from the DSP with the Playful Alphabet dies. Adhere the sentiments direct to the card front.
Whiskey grid birthday card insert
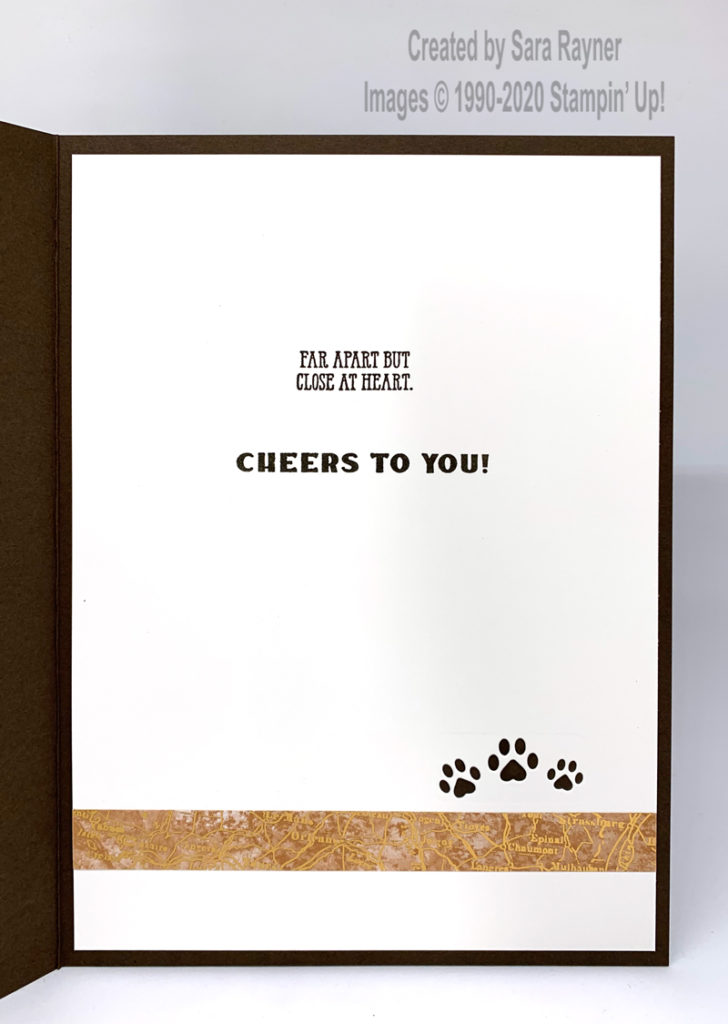
On the Whisper White insert, stamp sentiments from Well Said and Whiskey Business, using Early Espresso ink. Add a strip of the World of Good Specialty DSP along the base.
We have a dog and so I also die cut the little heart shape pawprints from the Pets die set just above the DSP strip but this is entirely optional.
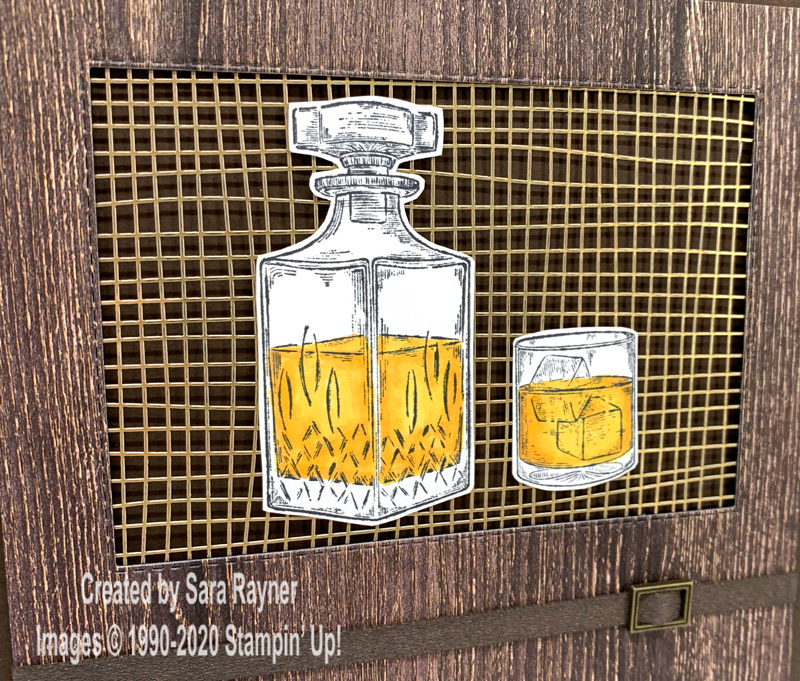
Here’s a close up of the colouring on the decanter and glass.
Thanks for stopping by.
Sara xx
You can find supplies for this whiskey grid birthday card in my online shop.


0 Comments