Today’s stamped Joy of Sharing kit card tutorial is a very simple one designed for beginner and junior crafters. This kit is also suitable for more experienced crafters needing quick cards and we’ll also be stepping up some of the cards later this week.
In the tutorial below, I take you step by step through creating the stamped Joy of Sharing card. It’s a very short supply list for this one as the kit is all inclusive.
This kit is perfect for the (grand)kids to put together during the October half term holiday. Order now to get it delivered in time.
A top tip is to take care to apportion the glue dots and dimensionals for each card. Kids can get a little enthusiastic with these so it may be best to add a package of each to your shopping cart.
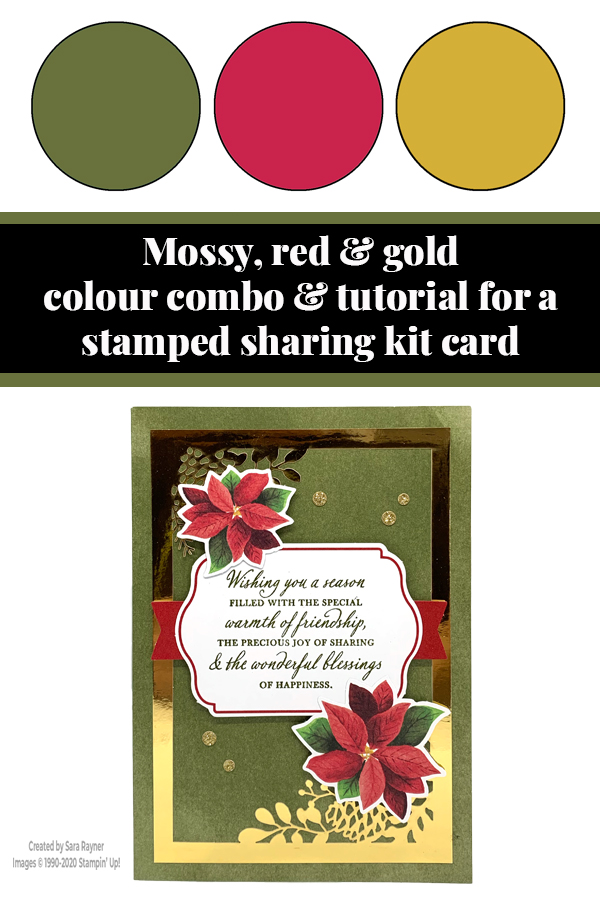
Colour Combo
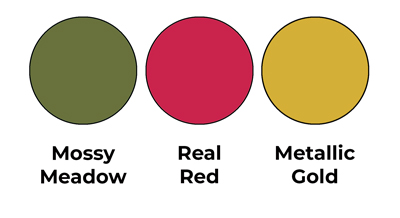
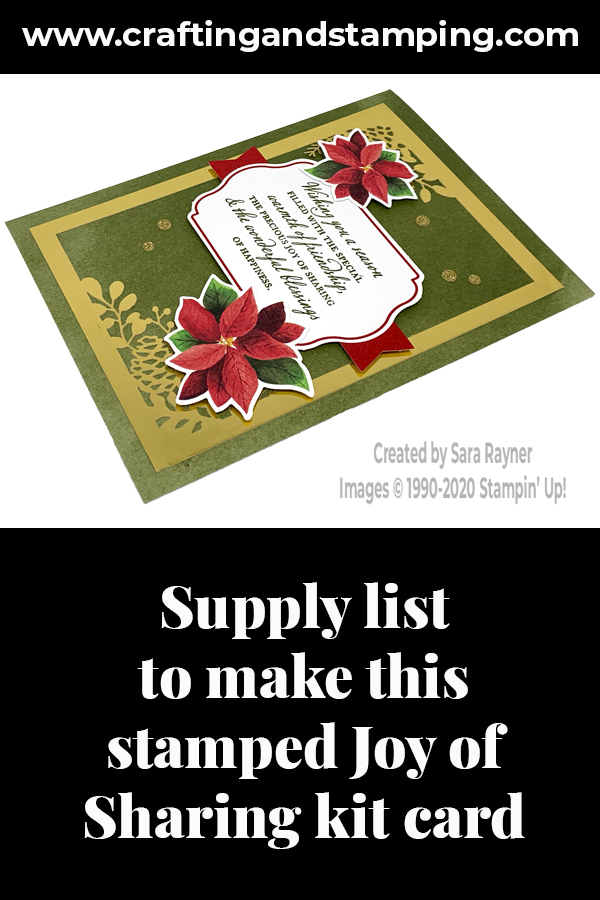
The colour combo mixes Mossy Meadow, Real Red and Metallic Gold.
Stamped Joy of Sharing kit card tutorial

Start with one of the Mossy Meadow coloured card blanks from the kit. Press the centre carefully away from the centre of one of the gold foil frames (keep it in your kit, we’ll use it later in the week). Push out any die cut pieces from the frame that haven’t come away yet. Add a glue dots behind the corners of the frame and adhere it direct to the card front. Using the Mossy Meadow inkspot, stamp the sentiment from kit onto one of the large labels. Adhere one of the red banners behind it with glue dots and the pop it up on the card front with dimensionals. Press out two different sizes of poinsettia and pop these up with dimensionals, overlapping the sentiment label just a little. Peel away and stick gold dots onto the card front (this usually looks best as an odd number of dots).
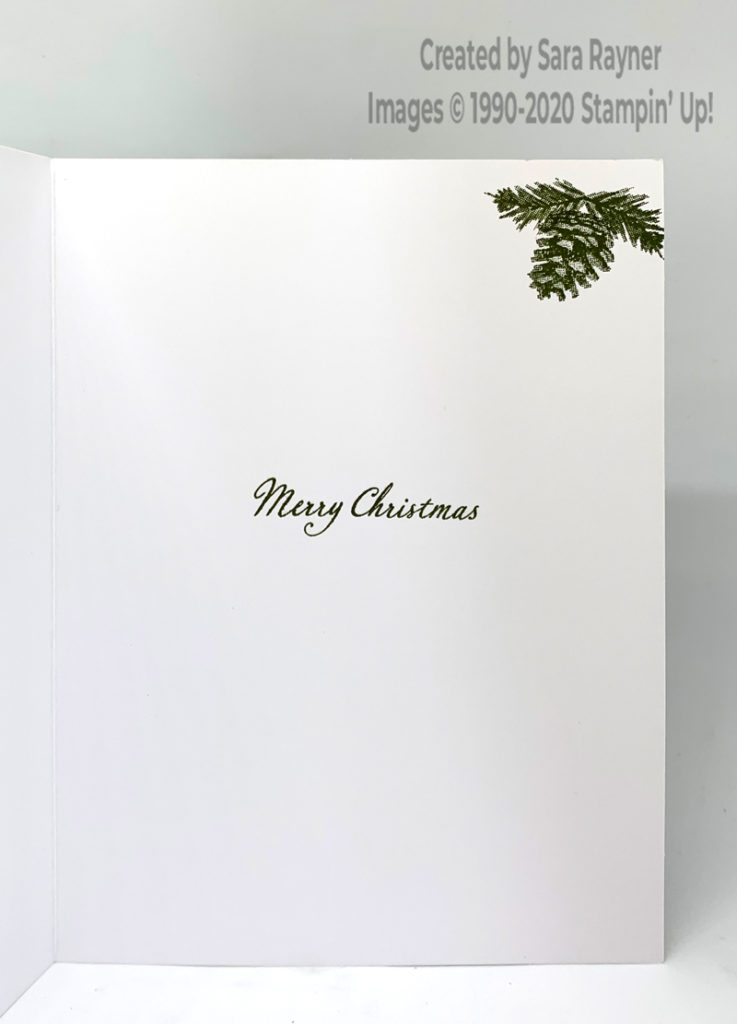
Using the Mossy Meadow inkspot, stamp another sentiment from the kit. In the corner, stamp the pinecone and then stamp the pine branch pointing in opposite directions over the top of it.
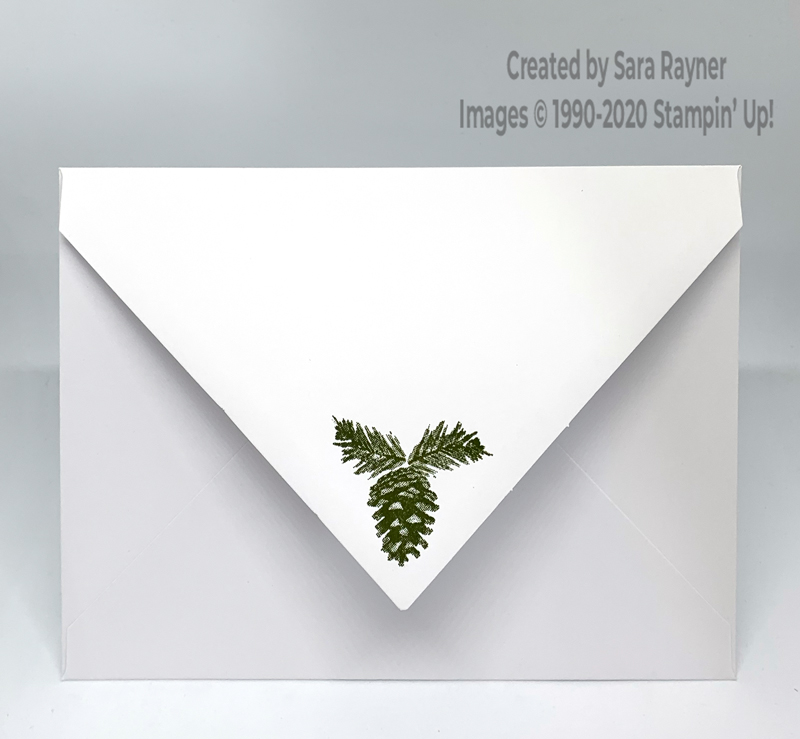
Stamp the same pinecone and branches on the flap of the envelope.
Thanks for stopping by.
Sara xx
You can find the Joy of Sharing Kit in my online shop.


0 Comments
Trackbacks/Pingbacks