Today’s tutorial shows how to put together a photo card with the Joy of Sharing kit. I’m also sharing a few fun ideas for finding/creating your photos during the October half term break.
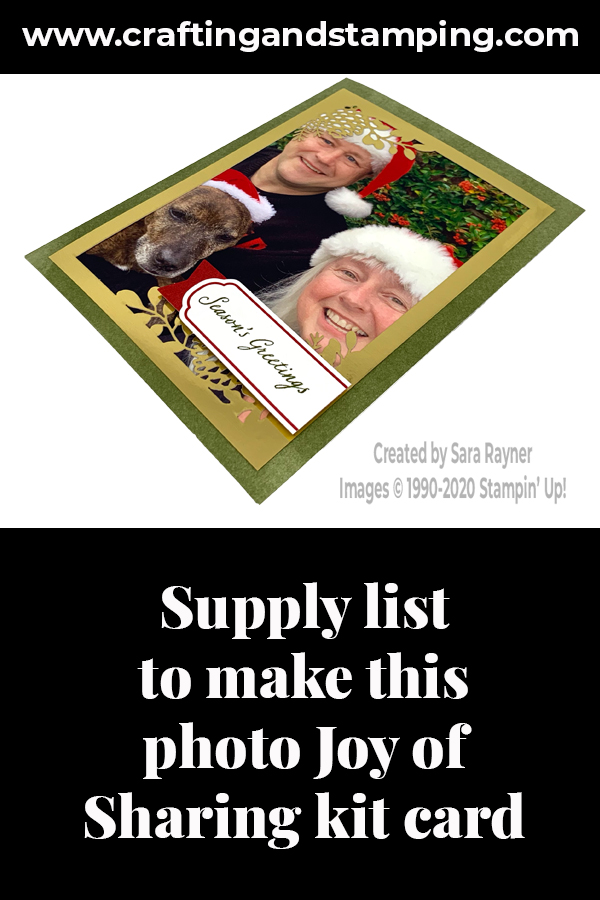
In the tutorial below, I take you step by step through creating the Joy of Sharing kit photo card. It’s a very short supply list for this one again. The kit is the very same one that I used to create this simple stamped card.
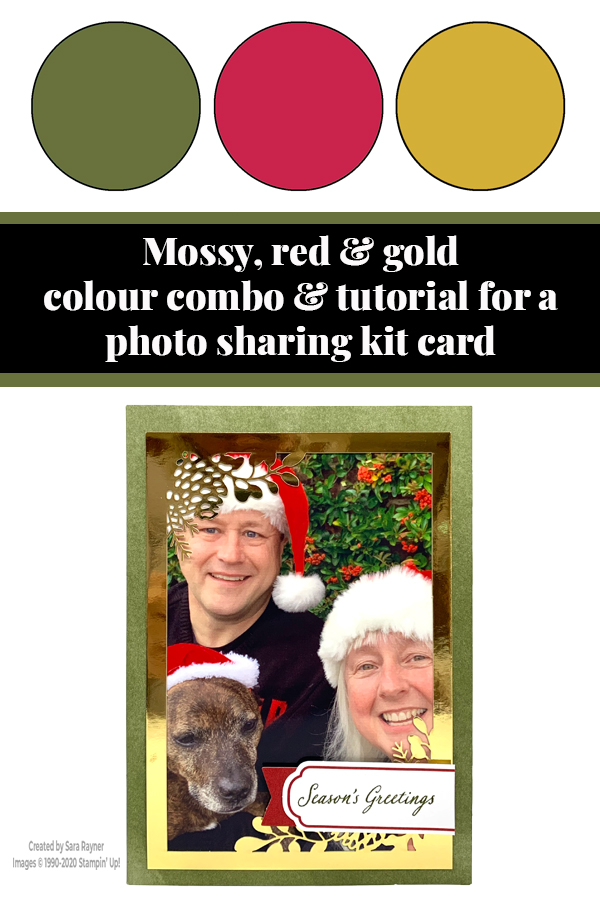
Photo cards are a great way to connect with distanced family and friends over the Christmas season.
Have a search through existing photos:
- of past Christmas’s or events that include people you’re sending cards to
- of events or activities that they’ve missed this year
Create new photos:
- dress up with Christmas props (eg. santa hats, xmas jumpers)
- add a few Christmas props in the background (eg. set up a Christmas tree)
- have a full rehearsal Christmas even
Make an event of it if you’re including the (grand)kids. If you don’t have children at home or in your bubble, then why not include the family pet. Word of warning – they can try the patience – our dog did not want to co-operate in the photo session 😂
If you don’t have a home printer you can always google “online photo printing services” to get your digital images printed and posted direct to your home. Cards in the kit are sized to work with a standard 4 x 6 photo size.
Colour Combo
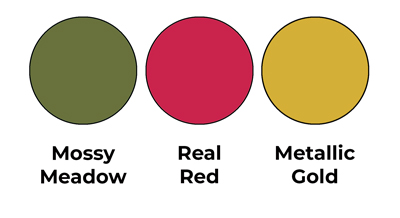
The is the same colour combo as the stamped kit version, mixing Mossy Meadow, Real Red and Metallic Gold.
Joy of Sharing kit photo card tutorial

Start with one of the Mossy Meadow coloured card blanks from the kit. Use glue dots to add your photo to the centre front of the card. Press the centre carefully away from the centre of one of the gold foil frames (keep it in your kit, we’ll use it later in the week). Add a glue dots behind the corners of the frame and adhere it direct to the card front, over the top of the photo. Using the Mossy Meadow inkspot, stamp the sentiment from kit onto one of the thin labels. Adhere one of the red banners behind it with glue dots. Trim the sentiment if needed and the pop it up on the card front with dimensionals.
Joy of Sharing kit photo card inside
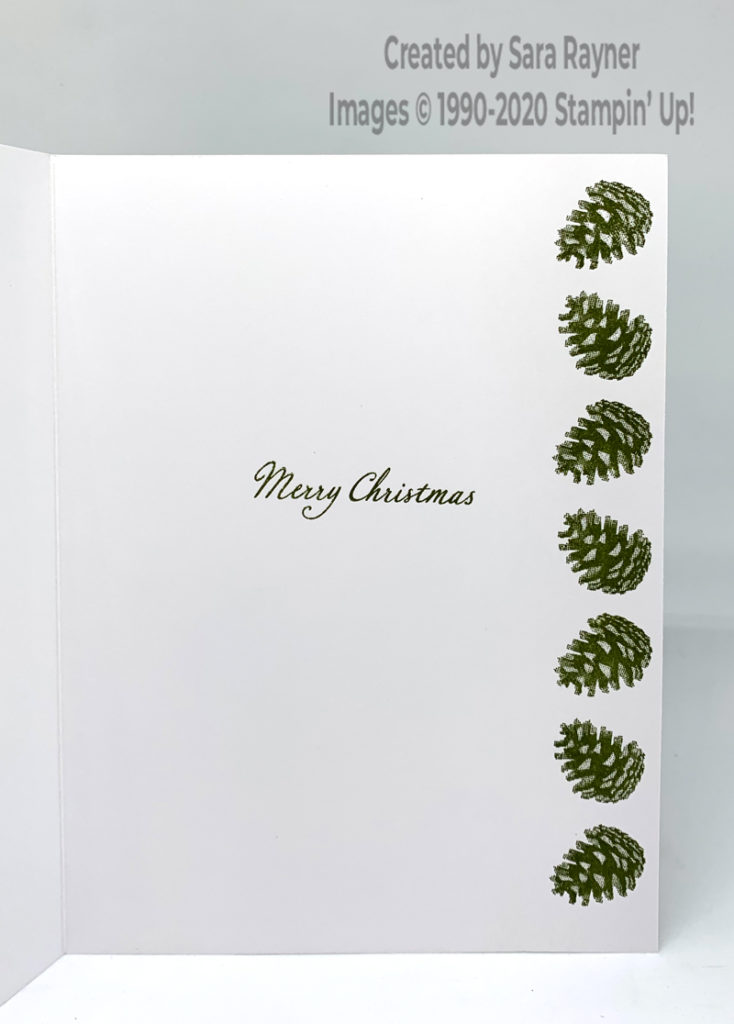
Using the Mossy Meadow inkspot, stamp another sentiment from the kit. Down the right side, stamp the pinecone, rotating the direction of the stamp each time.
Thanks for stopping by.
Sara xx
You can find the Joy of Sharing Kit in my online shop.


0 Comments
Trackbacks/Pingbacks