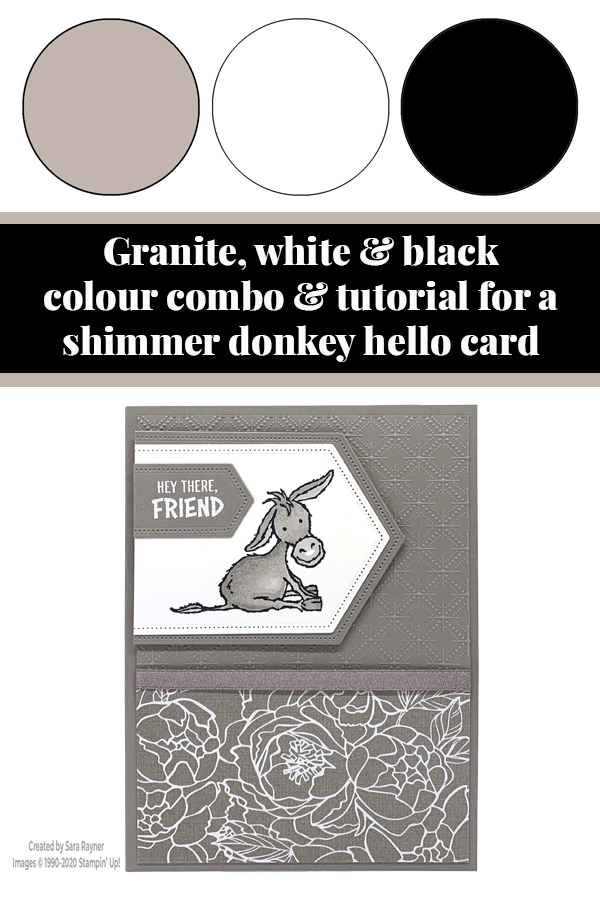
My tutorial today is for a cute shimmer donkey hello card. It combines the Gray Granite Shimmer Ribbon that I’m featuring this week, with a sneak peek of another of our upcoming Sale-a-bration freebies; the Darling Donkeys stamp set.
These donkeys are going to be next year’s meerkats (the cute stamp set that took Sale-a-bration by storm earlier this year). They’re so sweet!
In the tutorial below, I take you step by step through creating the shimmer donkey hello card. I also have a supply list for purchasing anything you don’t already own.
The Darling Donkeys stamp set is a collection of 4 sentiments, 3 donkeys (each with a different personality) and some teeny sparkles. Sentiments range from birthday to general occasion.
Yesterday’s card was very simple and put the ribbon front and centre (or off to one side) on the card. Today’s card is very much stepped up with patterns, texture and layers. So this time the ribbon is used very simply, just to cover the join between textured layer and patterned paper.
From 5 January 2021 you’ll have the chance to choose a free Sale-a-bration product with every £45 you spend.
Colour Combo
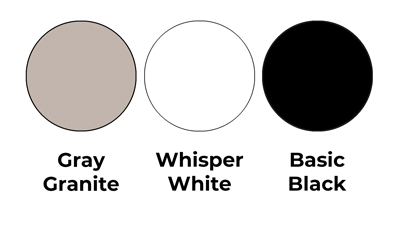
The colour combo mixes Gray Granite, Whisper White and a (teeny) spot of Basic Black.
Shimmer donkey hello card tutorial

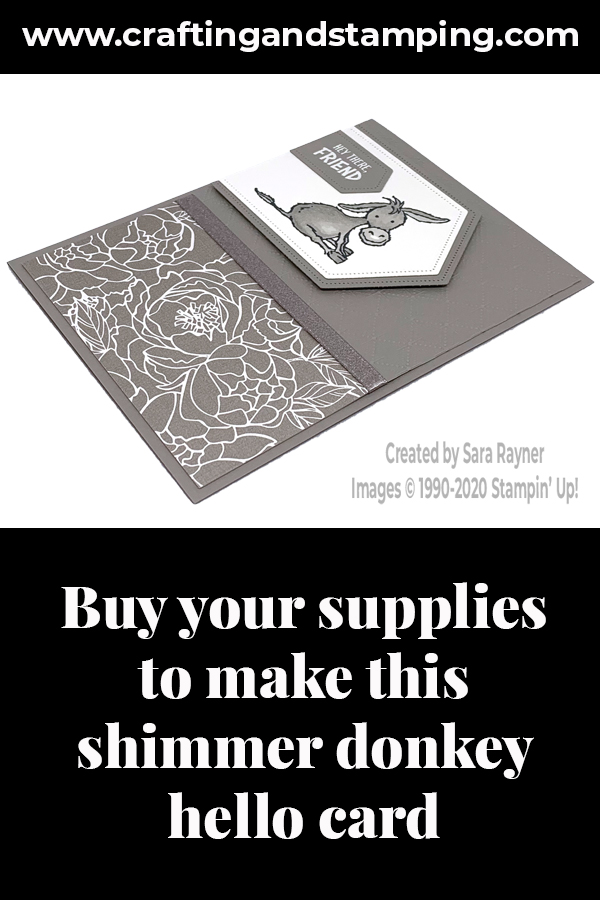
Start with an A6 portrait card of Gray Granite. Run the top section of a card front layer of Gray Granite card through the Dainty Diamonds embossing folder and the adhere a panel of Peony Garden DSP below it. Cover the join between the two with Gray Granite Shimmer Ribbon before adhering direct to the card front.
Using Versmark ink, stamp a sentiment from the Darling Donkeys set onto a scrap of Gray Granite card. Cover with White EP and heat emboss. Die cut out with a small Stitched Nested Label. Using Memento Black ink, stamp the sitting donkey from the Darling Donkeys set onto a small panel of Whisper White card. Colour with Blends and die cut out with a larger Stitched Nested Label. Mat onto a Gray Granite Stitched Nested Label and adhere the sentiment in place to the side of the donkey. Trim the left edge away from all the Labels evenly before popping up on the card front with dimensionals.
Shimmer donkey hello card insert
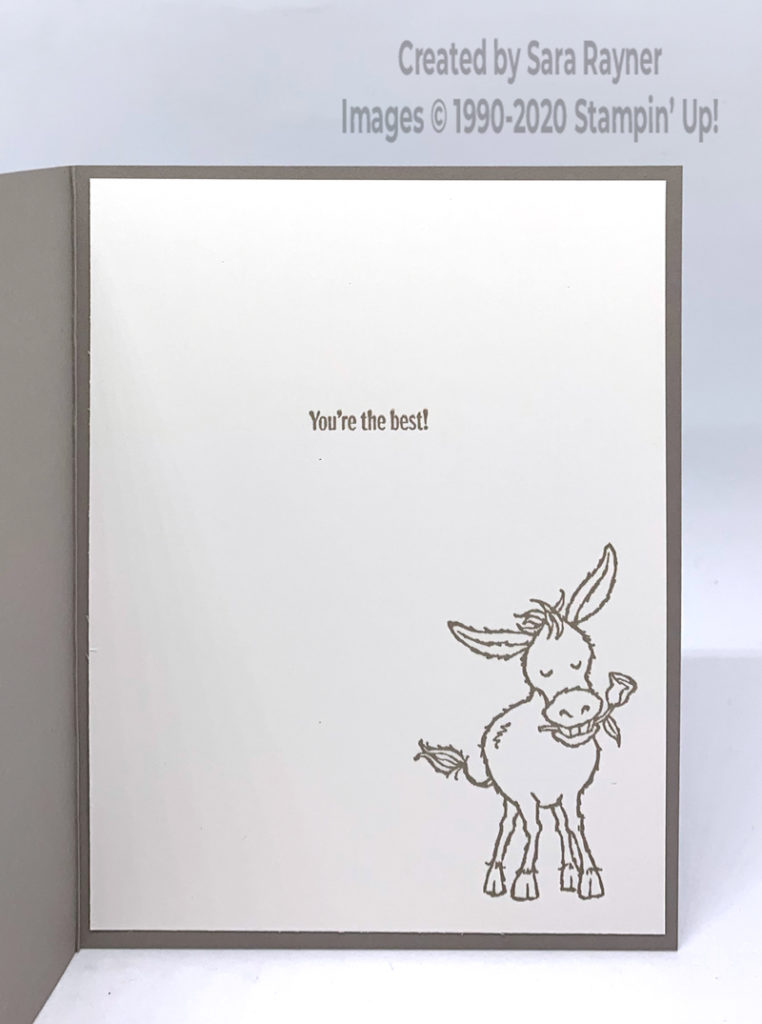
On the Whisper White insert, using Gray Granite ink, stamp another sentiment from the Darling Donkeys set. Add the donkey holding a flower in the lower right corner.
This card was my own swap for my Paper Dolls team last month.
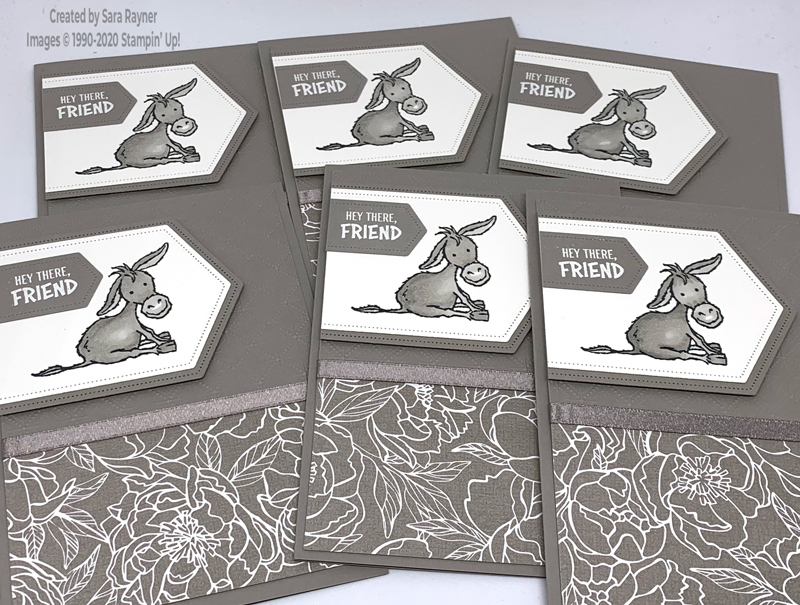
Swapping is just one of the benefits of being part of our team. It gives a fun purpose to our crafting, provides lots of inspiration to each other and lets us see some of the products we may not yet have. Of course it’s all a personal choice. If you don’t want to swap you don’t have to, whether that’s all the time, or you just need a month off because you’re too busy.
When Sale-a-bration starts next Tuesday, there’ll also be an additional bonus for joining, so don’t forget to check that out or get in touch with me for more details.
Thanks for stopping by.
Sara xx
You can find supplies for this shimmer donkey hello card in my online shop with the exception of the Darling Donkeys stamp set which won’t be available until 5 January 2021.


0 Comments
Trackbacks/Pingbacks