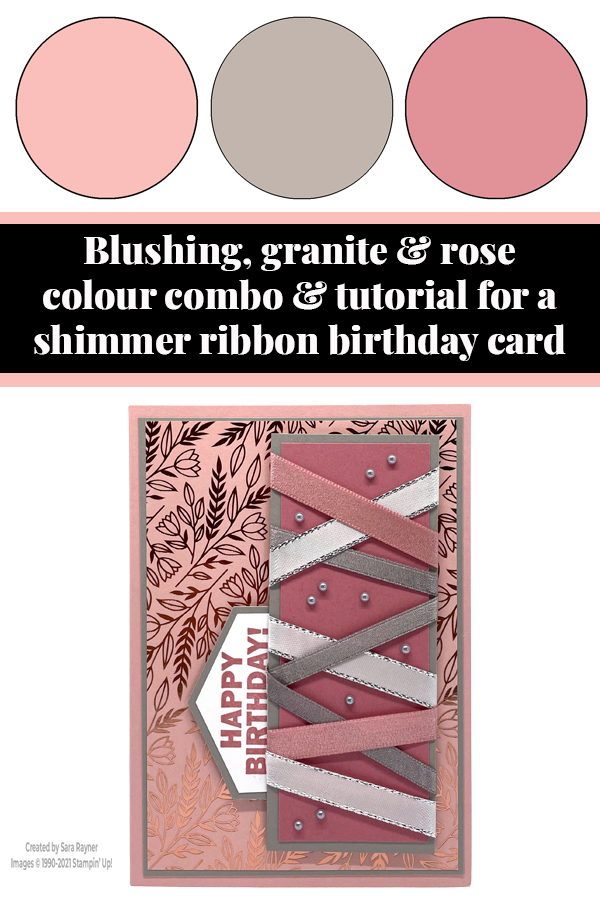
Happy New Year! Today’s tutorial is for a shimmer ribbon birthday card and returns to a sneak peek of one of our upcoming Sale-a-bration freebies; the Approaching Perfection stamp set. We used this set here for a more masculine card and today we’re creating a more feminine card with it. Also included is a sneak peek of a pretty, specialty DSP and a new ribbon, coming in the new January – June catalogue (out on 5 January).
For this birthday card I’m using a panel created from ribbon scraps. Please hop over to my Facebook page or Youtube channel to check out the video and Like/Follow/Subscribe for further weekly tips in the future. Thanks!
In the tutorial below, I take you step by step through creating the shimmer ribbon birthday card. I also have a supply list for purchasing anything you don’t already own.
This is of those designs that I like to recycle because it’s great for using up scraps of ribbon that you have left over from other projects. You can see another example of it here from a couple of years ago.
The plain Blushing Bride ribbon is actually the reverse side of the gold ribbon I used on the alternate anniversary card here. It creates a totally different look.
From 5 January 2021 you’ll have the chance to choose a free Sale-a-bration product when you spend £45.
Colour Combo
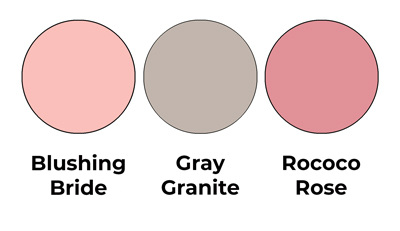
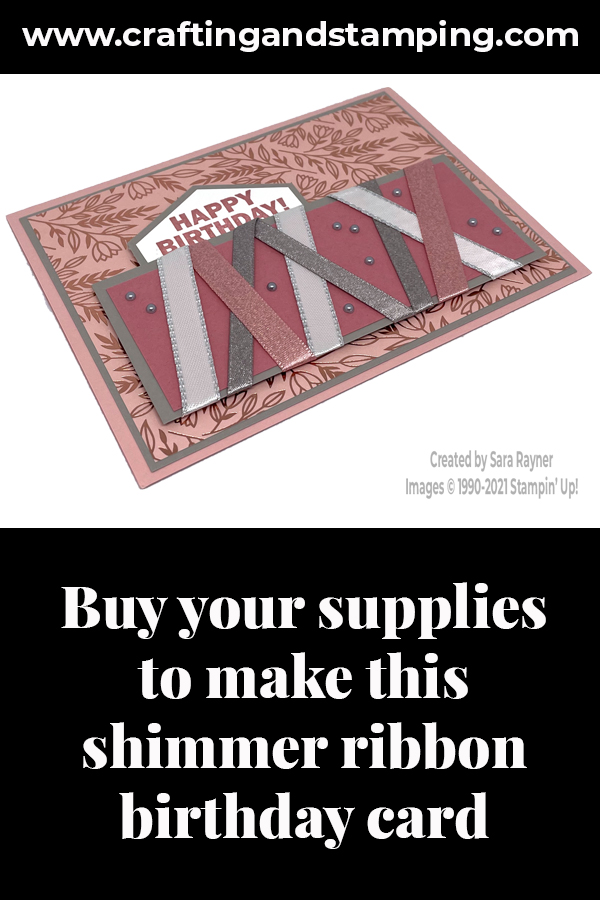
The colour combo mixes Blushing Bride, Gray Granite and Rococo Rose.
Shimmer ribbon birthday card tutorial
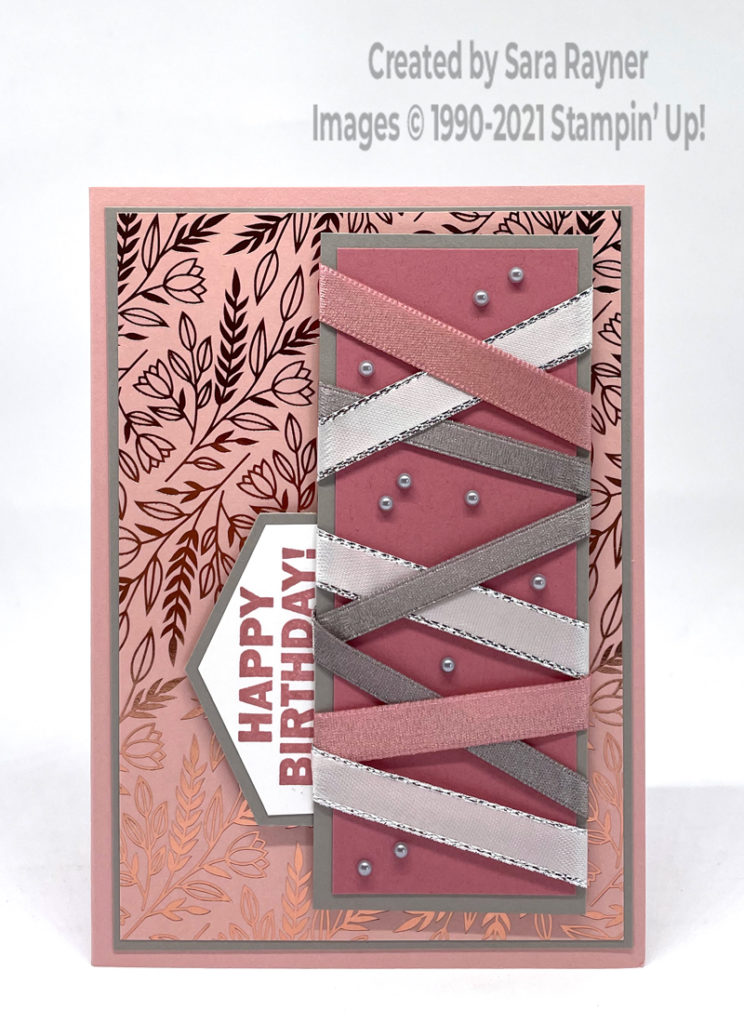
Start with an A6 portrait card of Blushing Bride. Cut decreasing size card front layers from Gray Granite and Love You Always Specialty DSP. Cut a long narrow panel of Rococo Rose card and mat onto Gray Granite. Take short scraps of Gray Granite Shimmer Ribbon, Blushing Bride Metallic Ribbon and Silver Metallic-Edge Ribbon and wrap them at varying angles across the panel. Using Rococo Rose ink, stamp a sentiment from the Approaching Perfection set onto a small scrap of Whisper White card. Punch out with the Tailored Tag punch as close to the “Happy” as you can. Trim the sides of the sentiment by about a 1/16″ and mat onto another Tailored Tag punched from Gray Granite card. Adhere the sentiment behind the ribbon wrapped panel and pop up on dimensionals on the card front. Finish by adding silver Metallic Pearls in between the gaps in the ribbon.
Shimmer ribbon birthday card insert
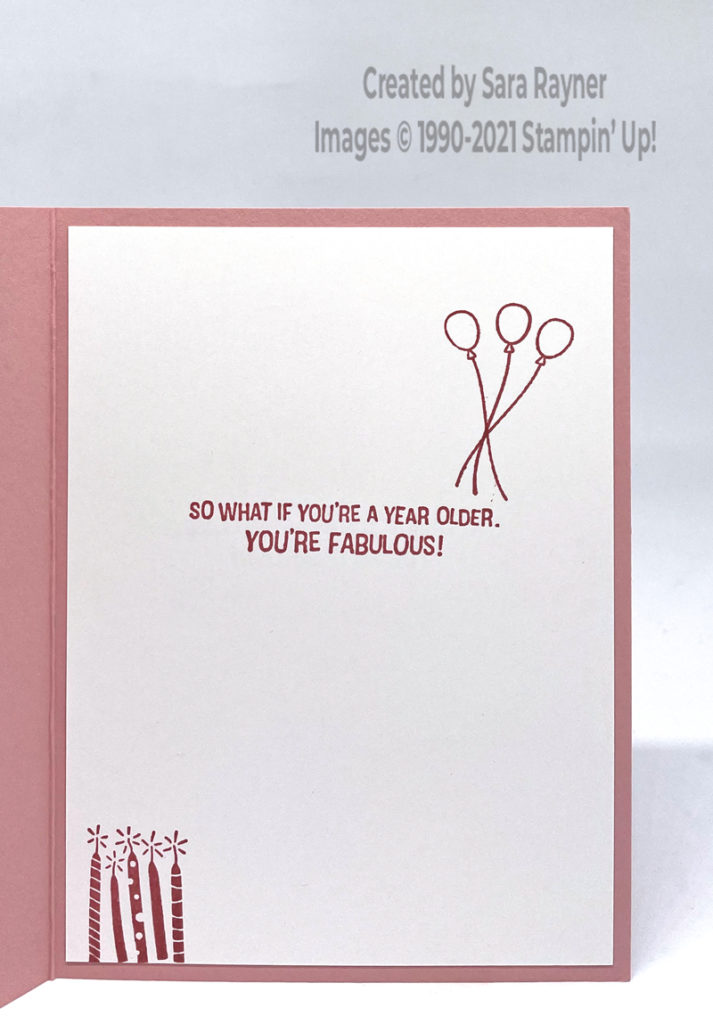
On the Whisper White insert, using Rococo Rose ink, stamp another sentiment from the Approaching Perfection set. Stamp the same balloon three times, rotating the stamp and overlapping the strings. Add the candles along the base.
You can find supplies for this shimmer ribbon birthday card in my online shop with the exception of the Approaching Perfection stamps, Love You Always Specialty DSP and Blushing Bride Metallic Ribbon, which won’t be available until 5 January 2021.


0 Comments
Trackbacks/Pingbacks