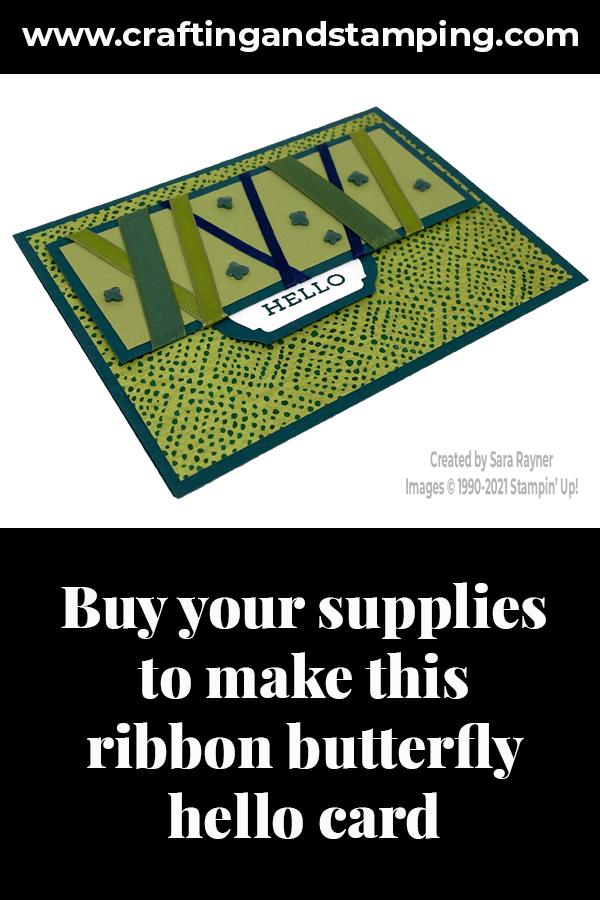
My tutorial today is for a ribbon butterfly hello card. It’s another take on a card I shared a few weeks ago but in a different colour scheme.
In the tutorial below, I take you step by step through creating the ribbon butterfly hello card. I also have a supply list for purchasing anything you don’t already own.
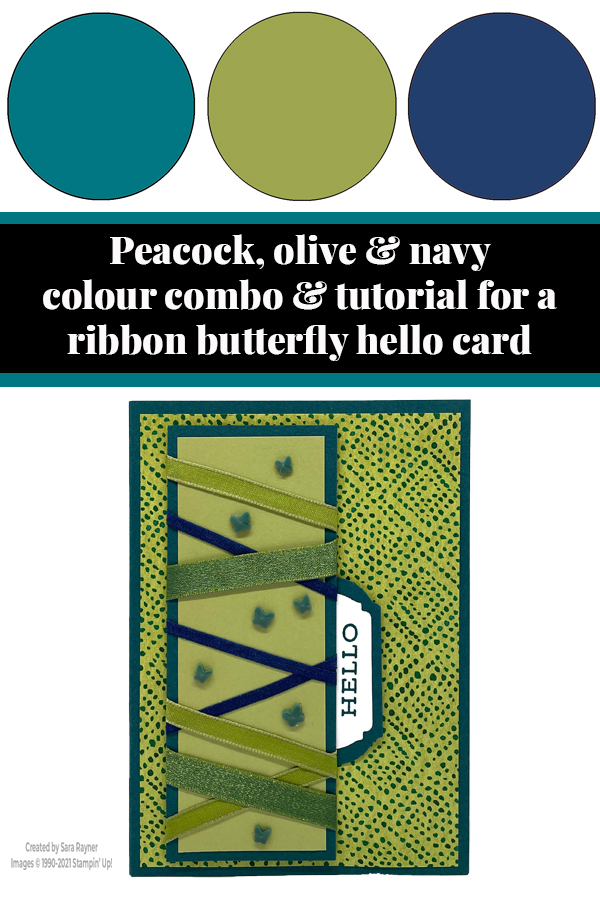
For my previous ribbon card I used the Tailored Tag punch. This time I’ve combined a duo of punches; Label Me Fancy and Timeless Label.
Colour Combo
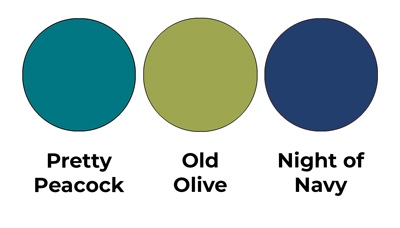
The colour combo mixes Pretty Peacock, Old Olive and Night of Navy.
Ribbon butterfly hello card tutorial
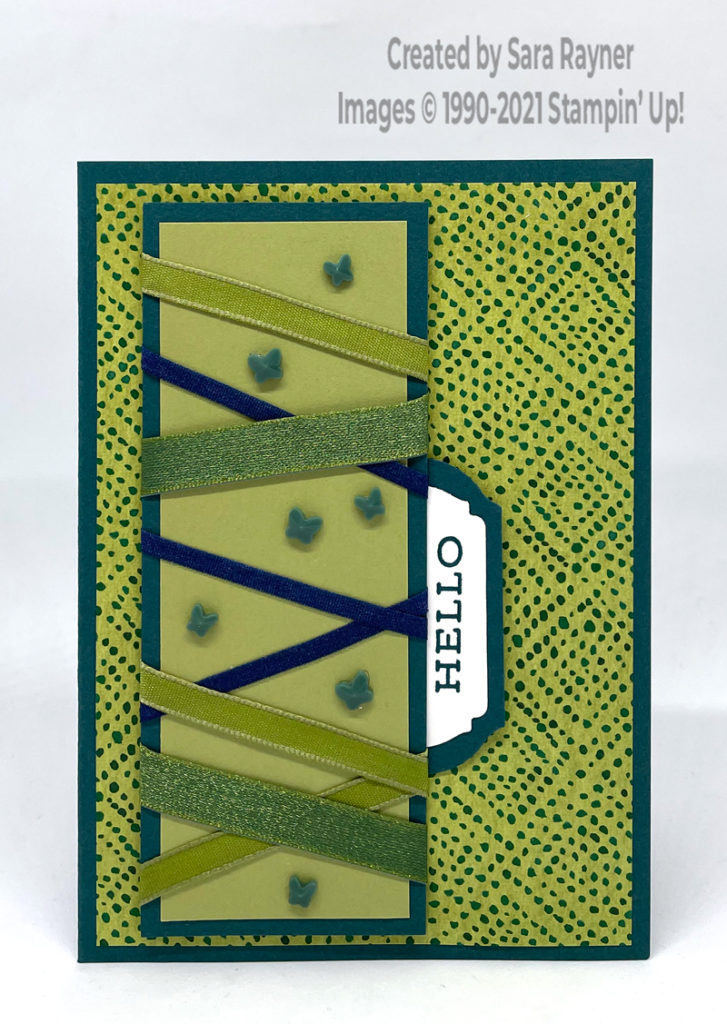
Start with an A6 portrait card of Pretty Peacock. Mat with Forever Greenery DSP. Cut a long narrow panel of Pear Pizzazz card and mat onto Pretty Peacock card. Take short scraps of Reversible Ribbon, Old Olive Ornate Garden Ribbon and Night of Navy Playing with Patterns Ribbon and wrap them at varying angles across the panel (see video). Using Pretty Peacock ink, stamp a sentiment from the Forever Fern set onto a small scrap of Basic White card. Punch out with the Label Me Fancy punch. Mat onto a Timeless Label punched from Pretty Peacock card. Adhere the sentiment behind the ribbon wrapped panel and pop up on dimensionals on the card front. Finish by adding Butterfly Gems in between the gaps in the ribbon.
Ribbon butterfly hello card insert
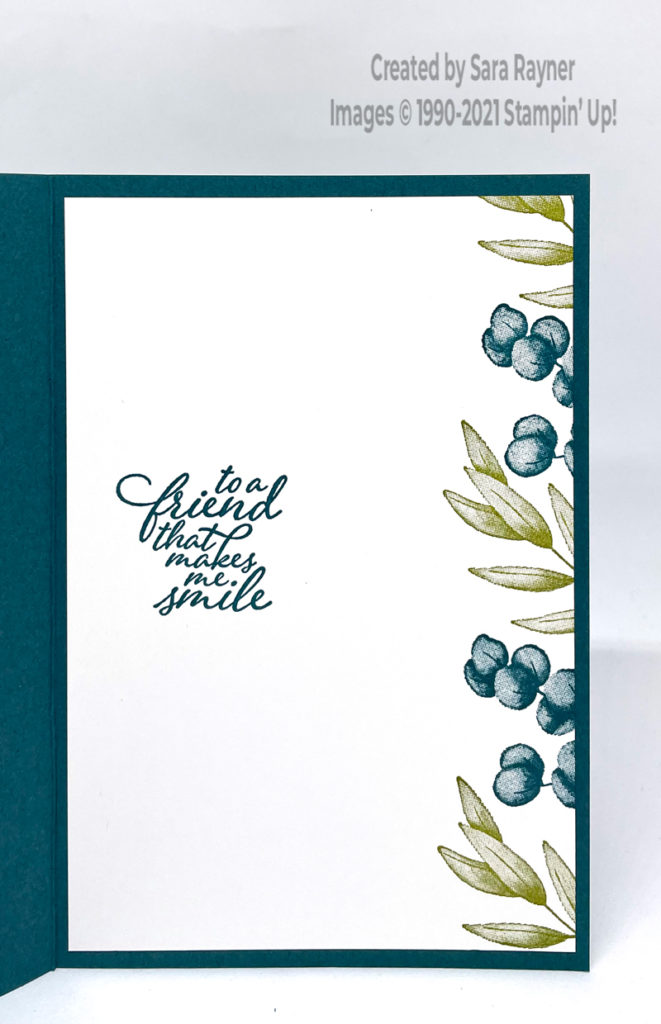
On the Basic White insert, using Pretty Peacock ink, stamp another sentiment from the Forever Fern set. Add leaves down the right border using different leaves and stems from the same set with Pretty Peacock and Olive inks, stamping off the edge of the card.
Thanks for stopping by.
Sara xx
Buy the supplies for this ribbon butterfly hello card in my online shop.
Reminder – you can now choose a free Sale-a-bration product with every £45 you spend.


0 Comments