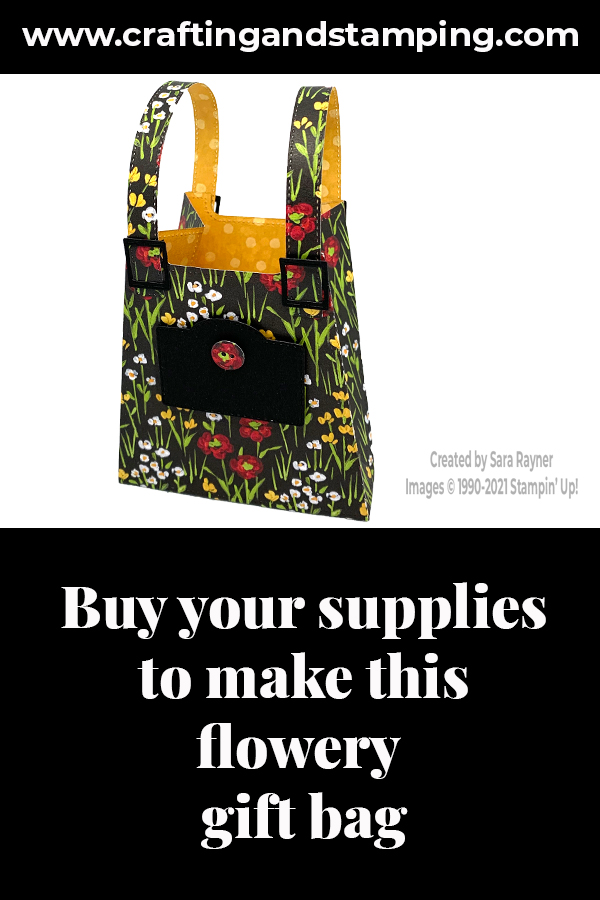
Today’s tutorial shows how to create a flower & field bag. This little gift bag is designed to go with yesterday’s birthday card.
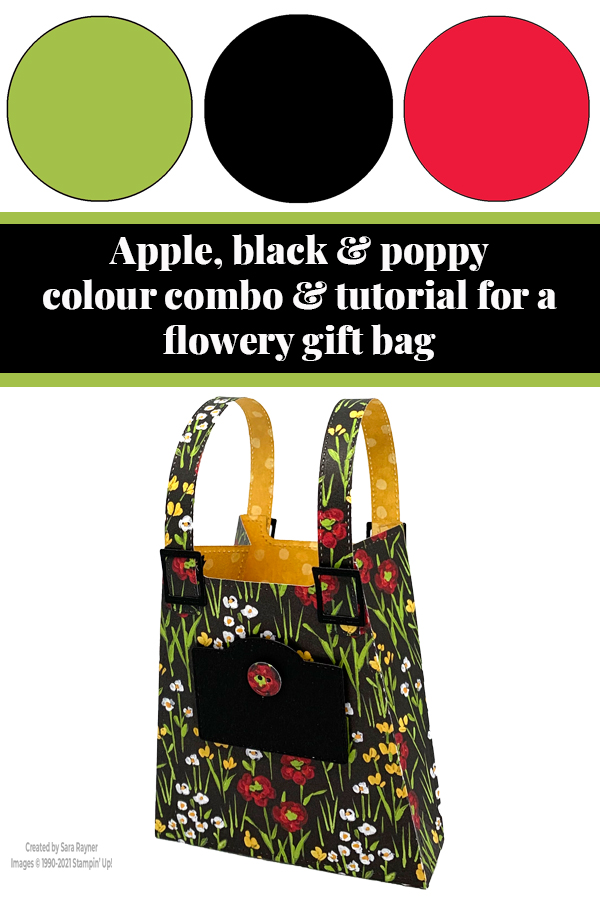
In the tutorial below, I take you step by step through creating this flower & field bag. I also have a supply list for purchasing anything you don’t already own.
Colour Combo
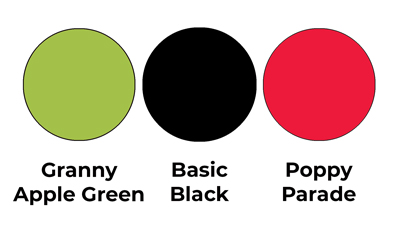
The colour combo is the same as the card, mixing Granny Apple Green, Basic Black and Poppy Parade.
Flower & field bag tutorial
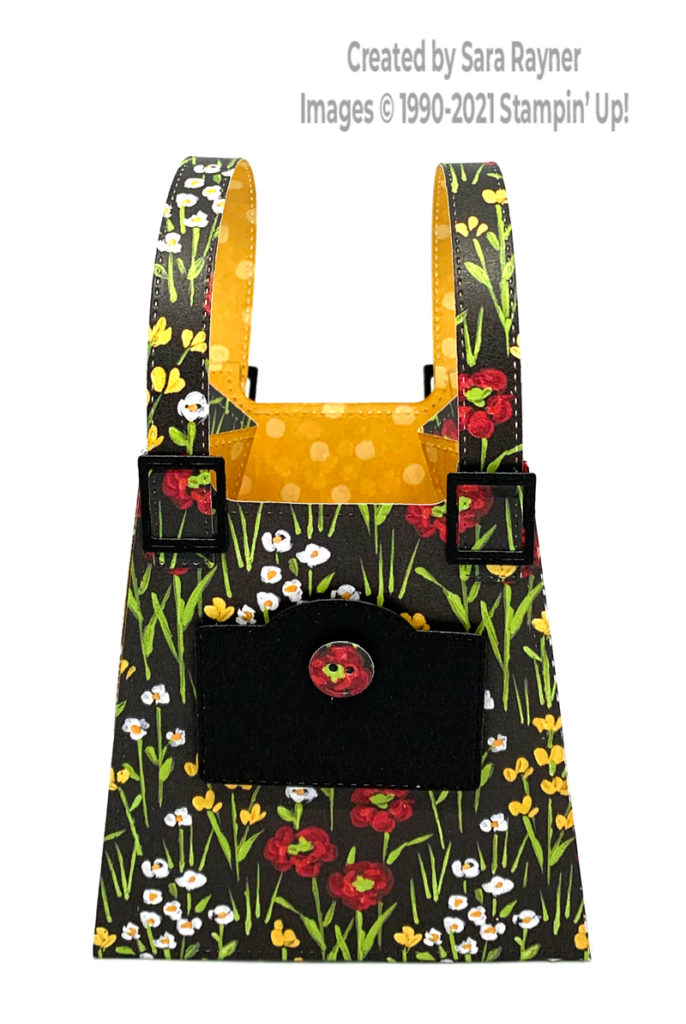
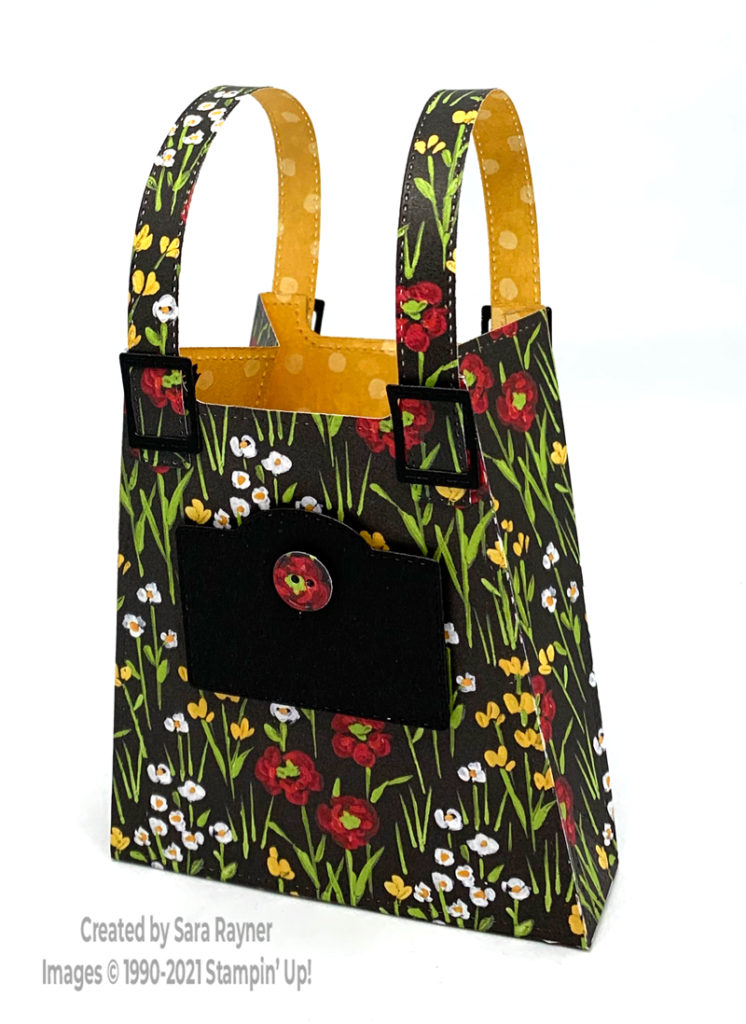
Using the All Dressed Up dies, die cut two main bag pieces, two stitched handles and one small button from Flower & Field DSP. The button is centred on one of the teeny poppies in the DSP. Die cut four buckles and one pocket from Basic Black card. Assemble the main bag. Thread Basic Black buckles onto the ends of the bag straps and adhere them in place. Use dimensionals to pop the pocket up on the front of the bag. Adhere the button to the pocket.
A couple of tips:
- as we’re working with dark colours on this bag, the black dimensionals are very effective;
- if your Dressed Up dies crease the DSP too deeply, you can strengthen the folds by applying some washi tape behind the fold lines
Thanks for stopping by.
Sara xx
Buy the supplies for this flower & field bag in my online shop.
Reminder – you can now choose a free Sale-a-bration product with every £45 you spend. To add this Flower & Field DSP to your basket, use the code 155223 once your order reaches £45.


0 Comments