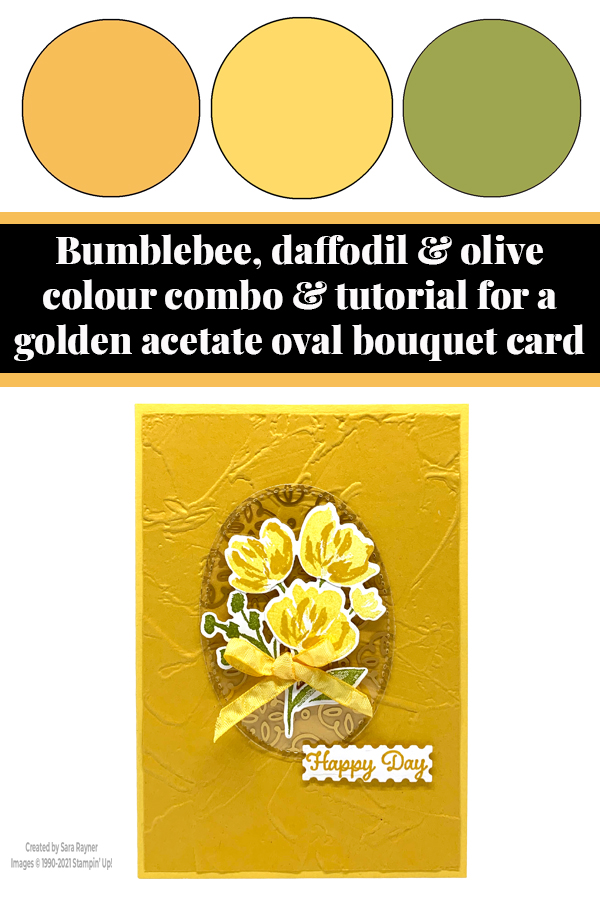
My tutorial today is for a Golden Garden Acetate oval card. This time I’m using an oval, die cut from the acetate, to frame a floral bouquet on the card front.
In the tutorial below, I take you step by step through creating the Golden Garden Acetate oval card. I also have a supply list for purchasing anything you don’t already own.
This card was one that I created to celebrate and thank another of my Paper Dolls team members on their first “Stampaversary” ie. a year on my team. I have a great team of crafters. Most of them are with me to simply enjoy the fun of “stamping together” (we meet via Zoom and Facebook), whilst getting a substantial discount on their crafting supplies. If you’d like to join us, then why don’t we have a chat (by phone or Zoom). I can tell you about the savings you can make and answer any questions you might have. Tip – there are extras to be had if you join before the end of Sale-a-bration in just over a week.
Colour Combo
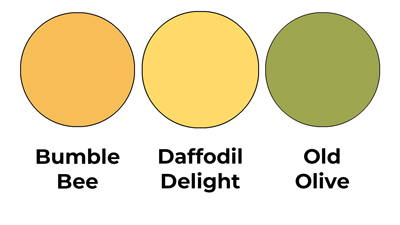
The colour combo mixes Bumble Bee, Daffodil Delight and Old Olive.
Golden Garden Acetate oval card tutorial
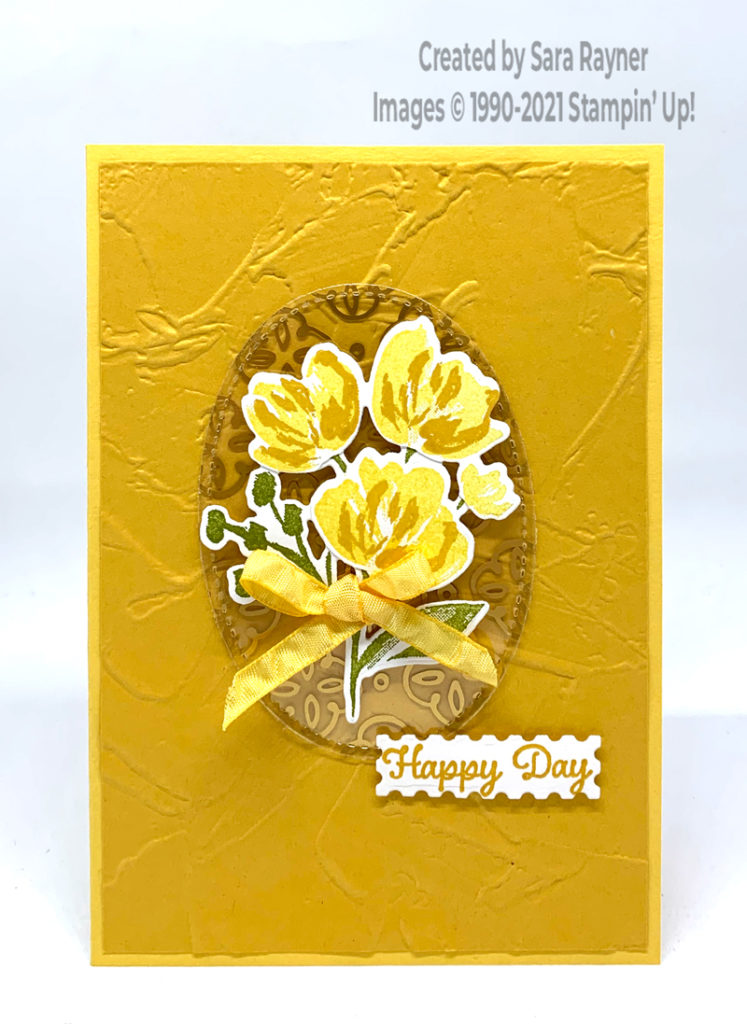
Start with an A6 portrait card of Daffodil Delight Cut a card front layer from Bumble Bee card. Run it through the Stampin’ Cut & Emboss machine using the Painted Texture 3D embossing folder. Adhere direct to the card front.
Using Old Olive ink, stamp the flower spray from the Art Gallery set onto Basic White card and die cut out with the matching Floral Gallery dies. Stamp the same flower spray using Daffodil Delight ink, adding detail to the three larger flower heads with Bumble Bee ink and the small detail stamp. Die cut out the full spray and then cut away the leaves from this yellow version. Adhere just the flower heads directly over the top of the Old Olive spray. Tie a bow of Daffodil Delight Ruched Ribbon around the die cut stem of the spray.
Using the Stitched Shape dies, die cut a large oval from the Golden Garden Designer Specialty Acetate. Remove the protective backing. Pop the flower spray up on the oval with mini dimensionals. Apply a strong adhesive (Tear & Tape or Seal+) behind the flowers, on the back of the acetate (so that it’s hidden) and adhere direct to the card front. (I have a video here with tips for using your acetate). Using Bumble Bee ink, stamp a sentiment (I used Itty Bitty Birthdays as a more appropriate phrase) from the Art Gallery set onto a scrap of Basic White card. Die cut out with the postage edged labels die and pop up on the card front.
Golden Garden Acetate oval card insert
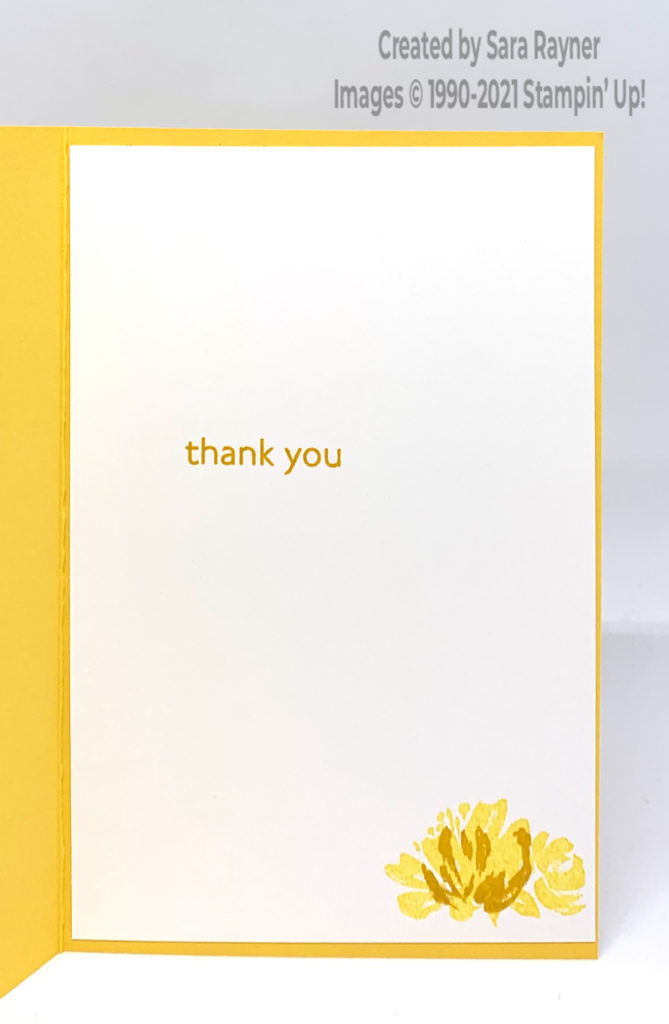
On the Basic White insert, using Bumble Bee ink, stamp another sentiment from the Art Gallery set. In the lower right corner, stamp the smaller (2-step) flower from the same set, using Daffodil Delight ink for the first step and Bumble Bee for the second.
Thanks for stopping by.
Sara xx
Buy the supplies for this Golden Garden Acetate oval card in my online shop.
Reminder – there’s only a little over a week left to choose a free Sale-a-bration product with every £45 (or £90) you spend.


0 Comments