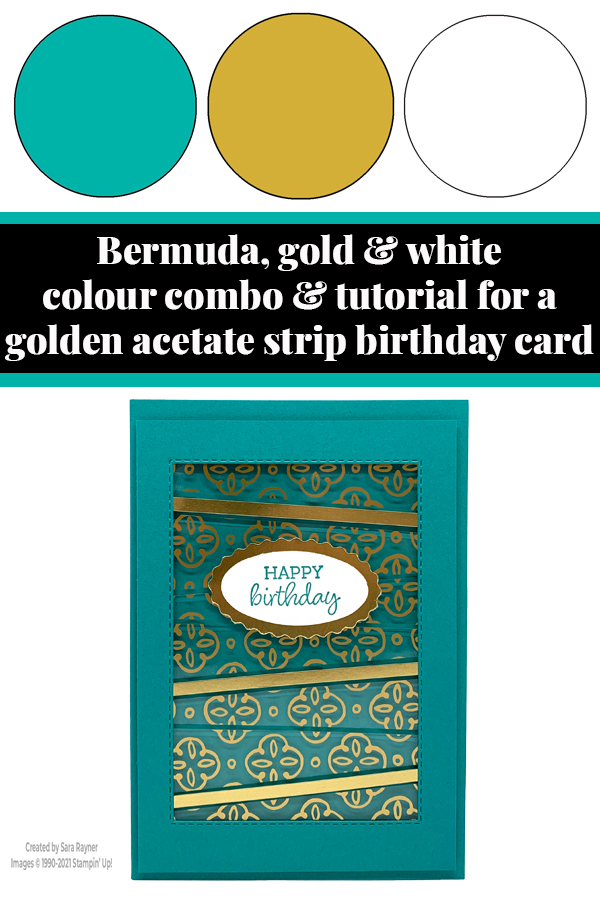
My tutorial today is for a Golden Garden Acetate strip birthday card. There is a short video showing how to assemble the strips.
I started with a fairly long panel of acetate for this card. If you prefer, you can start with a shorter panel and either add more foil strips or space them further apart.
In the tutorial below, I take you step by step through creating the acetate strip birthday card. I also have a supply list for purchasing anything you don’t already own.
My first take for this card used Magenta Madness as the base colour. I used a shorter panel and had more spacing between the strips. I also assembled the pieces from the back of the frame but I found it more difficult to keep the strips taught and keep the pattern straight.
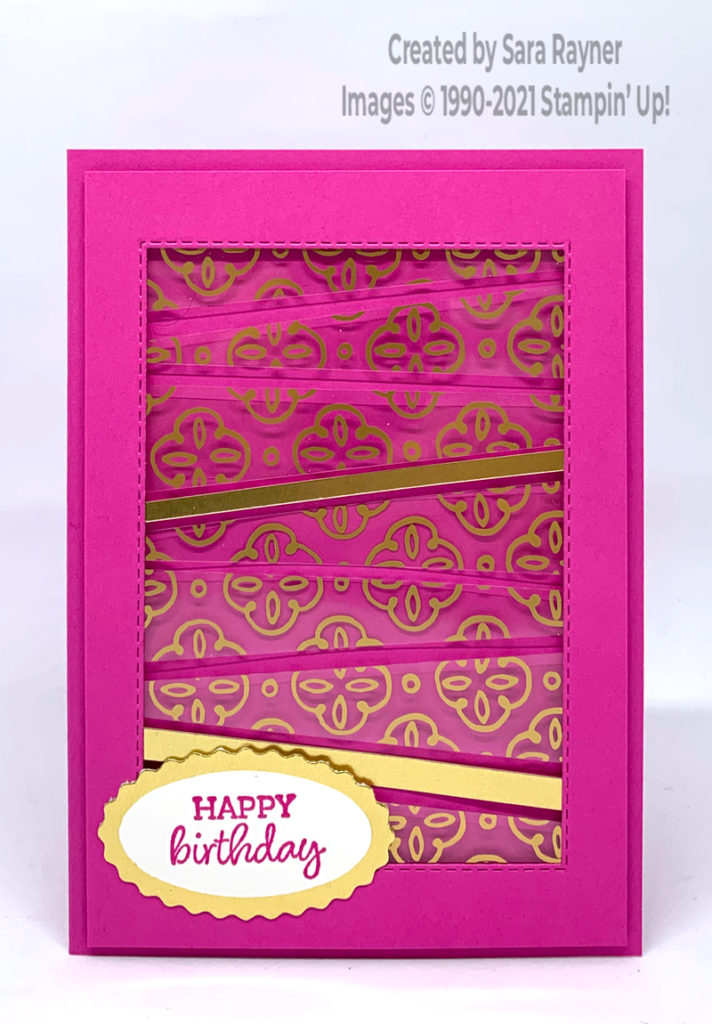
As a result, I figured a way to pick up the pieces from the front and I share that with you in the video below.
Colour Combo
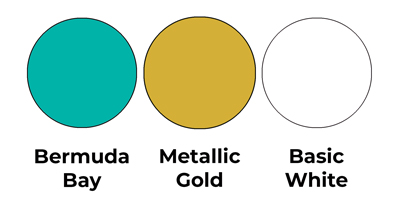
The colour combo mixes Bermuda Bay with Metallic Gold and just a splash of Basic White.
Golden Garden Acetate strip birthday card tutorial
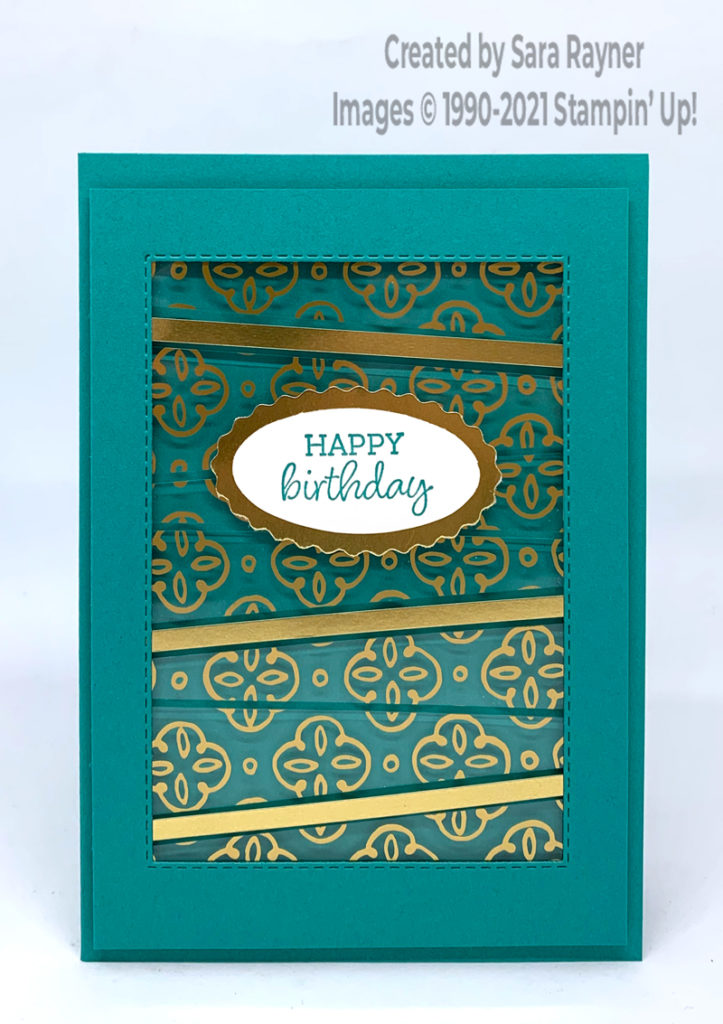
Start with an A6 portrait card of Bermuda Bay. Cut a card front layer of the same colour card. Using Stitched Rectangle dies, die cut a large aperture from the centre of the layer (retain the centre for another project). Cut a panel of Golden Garden Designer Specialty Acetate, wide enough to span the frame. Remove the protective backing from the acetate and cut into angled strips. Tip – Cut one piece from your panel at a time and lay the pieces out on your silicone mat as you cut them so that you can keep the pattern consistent.
Here’s a video showing how to assemble and adhere the strips behind the frame. Please subscribe to my Youtube channel to make sure you see all future quick tips.
Using Bermuda Bay ink, stamp a sentiment from the Oval Occasions set onto a scrap of Basic White card. Punch out with the plain oval part of the Double Oval punch. Adhere the stamped oval direct to the centre of a scalloped Gold Foil oval, punched with the same punch. Adhere the sentiment to the front of the framed strips layer. Add dimensionals behind the sentiment and evenly around the frame edges, before popping up on the card front.
Golden Garden Acetate strip birthday card insert
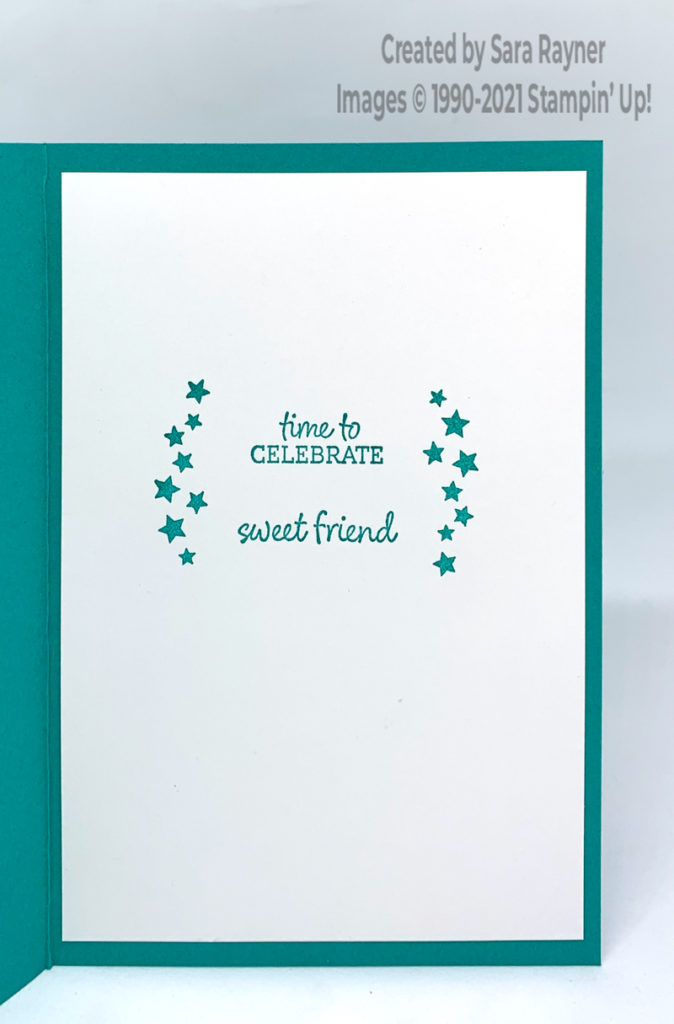
On the Basic White insert, using Bermuda Bay ink, stamp sentiments and stars from the Oval Occasions set.
Thanks for stopping by.
Sara xx
Buy the supplies for this golden garden acetate strips birthday card in my online shop.
Reminder – there’s only a little over a week left to choose a free Sale-a-bration product with every £45 (or £90) you spend.


0 Comments
Trackbacks/Pingbacks