My tutorial today is for a bright snail mail card. For this card we’re using the Snail dies to die cut one of the snails from the co-ordinating DSP (I love how this saves me from fussy cutting)!
The dies can cut two different snails, two different mail envelopes plus various bubble greetings, all from the Snail Mail DSP.
In the tutorial below, I take you step by step through creating the bright snail mail card. I also have a supply list for purchasing anything you don’t already own.
This was another of the make and takes at our Paper Dolls team meeting last month. If you’d like to join our next online monthly meeting then please get in touch for more information.
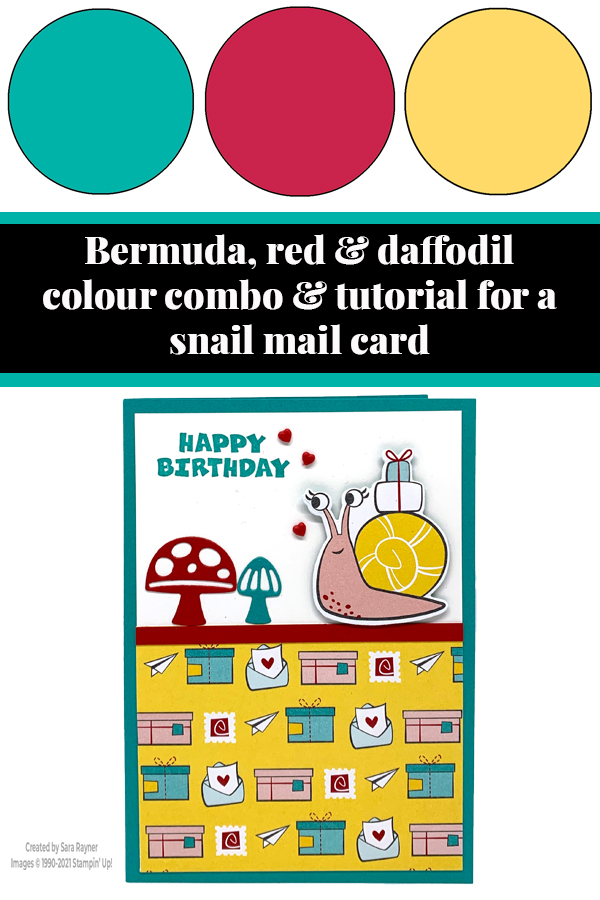
Colour Combo
The colour combo mixes Bermuda Bay, Real Red and Daffodil Delight.
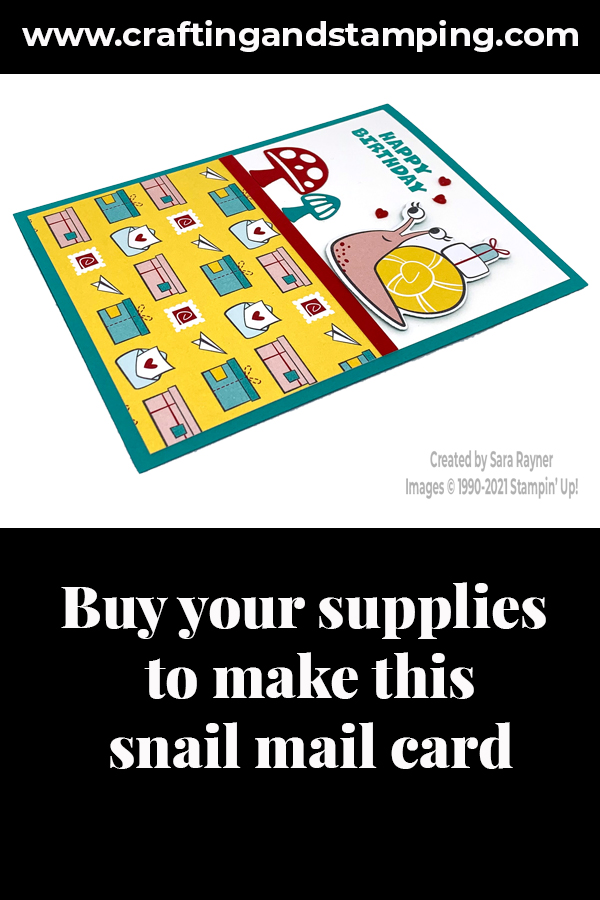
Bright snail mail card tutorial
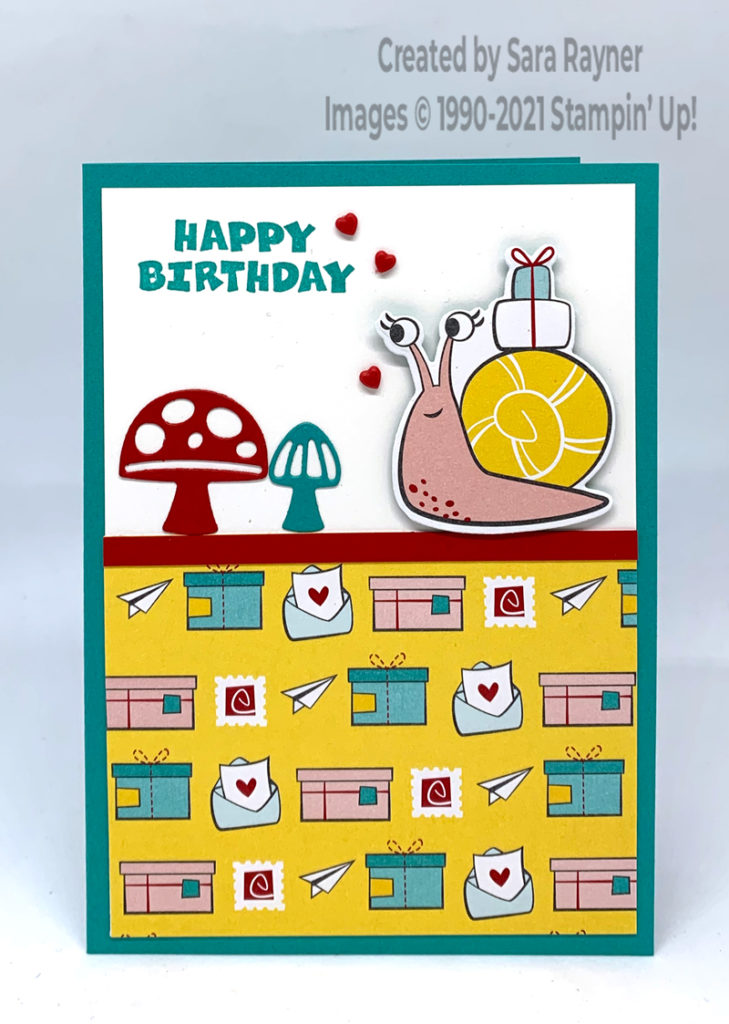
Start with an A6 portrait card of Bermuda Bay. Using Bermuda Bay ink, stamp a sentiment from the A Grand Kid set to the top left corner of a card front layer of Basic White card. Add a panel of Snail Mail DSP to the lower half of the layer. Adhere a skinny strip of Real Red card just above the DSP. Trim away any excess and adhere the layer direct to the card front. Using the Snail dies, die cut the large toadstool from Real Red card, the small toadstool from Bermuda Bay card and the snail with gifts from the Snail Mail DSP. Adhere the toadstools direct to the card front below the sentiment. Pop the snail up on dimensionals. Finish with some Resin Hearts.
Bright snail mail card insert
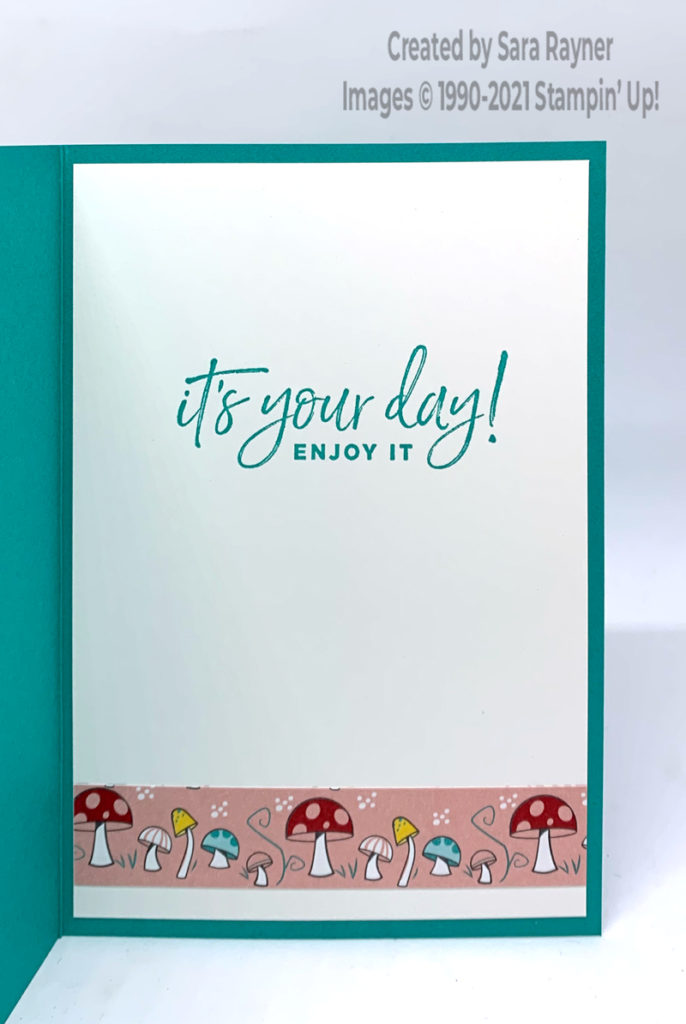
On the Basic White insert, using Bermuda Bay ink, stamp a sentiment from the Happiest of Birthdays set. Add a strip of Snail Mail DSP along the base.
Thanks for stopping by.
Sara xx
Buy the supplies for this bright snail mail card in my online shop.


0 Comments
Trackbacks/Pingbacks